


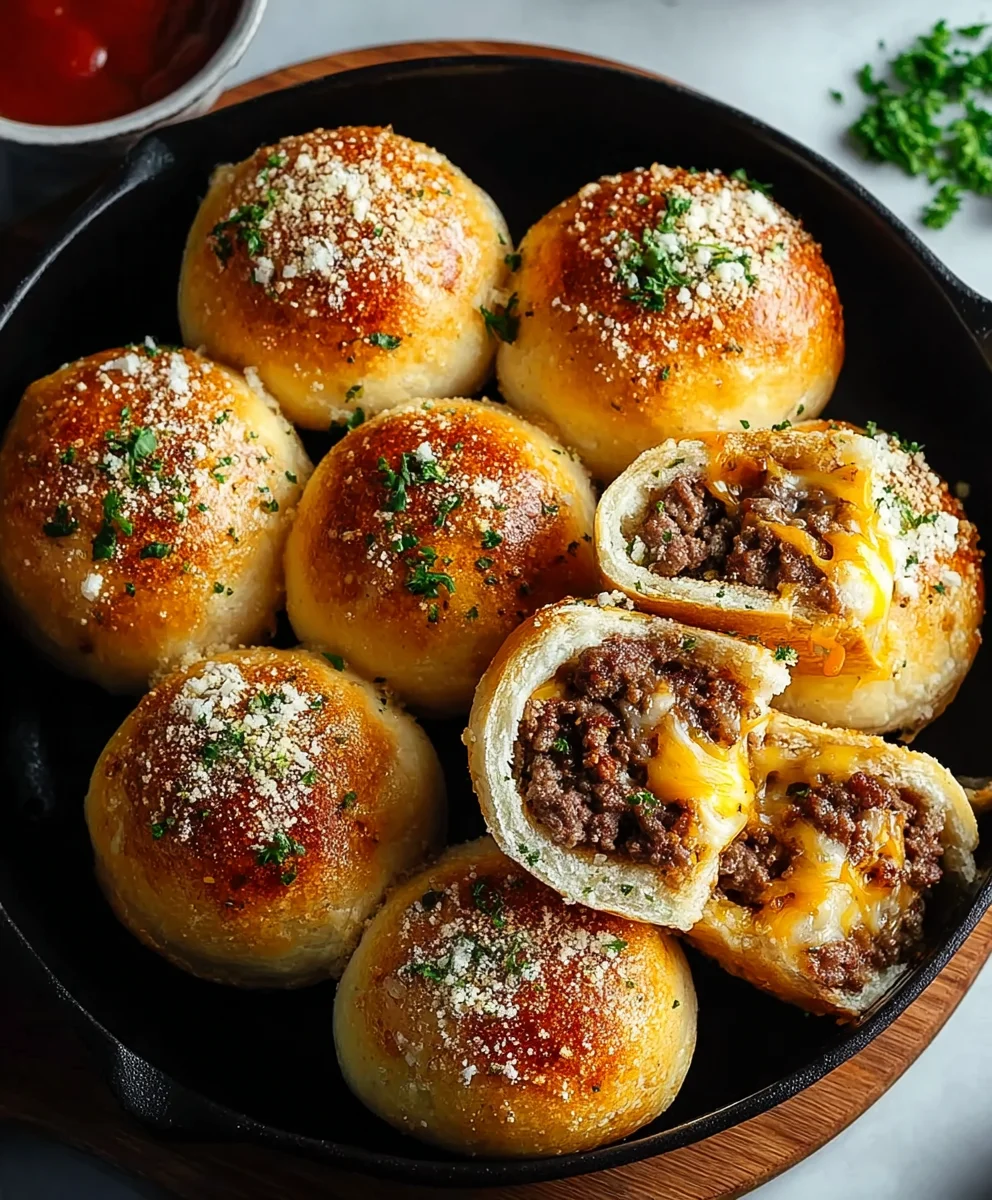
Irresistible Garlic Parmesan Cheeseburger Bombs are about to become your new favorite appetizer, snack, or even a quick meal! Imagin extracte the pure joy of biting into a golden-brown, crispy sphere bursting with the savory, cheesy goodness of a classic cheeseburger, all amplified by the pungent kick of garlic and the nutty, umami-rich notes of Parmesan cheese. What’s not to love about this ingenious creation? We’re taking all the beloved flavors of a juicy cheeseburger – the seasoned ground beef, the melted cheese, the hint of onion and garlic – and transforming them into perfectly portioned, incredibly addictive bites. They’re easier to make than you might think and are guaranteed to disappear from your plate faster than you can say “more, please!” The magic lies in the clever combination of textures and tastes that deliver an explosion of flavor with every single pop.

Ingredients:
- 1 lb ground beef
- 1 teaspoon salt
- 1 teaspoon black pepper
- 1 teaspoon garlic powder
- 1/2 teaspoon onion powder
- 1 tablespoon Worcestershire sauce
- 1 cup shredded cheddar cheese
- 1 tube refrigerated biscuit dough (about 8 biscuits)
- 1/4 cup butter, melted
- 2 tablespoons finely minced garlic
- 1/4 cup grated Parmesan cheese
- 1 tablespoon chopped fresh parsley
Preparing the Cheeseburger Filling
Step 1: Flavoring the Ground Beef
Begin extract by taking your 1 pound of ground beef and placing it into a medium-sized mixing bowl. This is where we’ll build the foundation of flavor for our Irresistible Garlic Parmesan Cheeseburger Bombs. To this, add 1 teaspoon of salt, 1 teaspoon of black pepper, 1 teaspoon of garlic powder, and 1/2 teaspoon of onion powder. These seasonings will ensure that every bite of the beef is delicious and well-balanced. Now, for that crucial umami kick, add 1 tablespoon of Worcestershire sauce. This ingredient adds a depth of savory flavor that really elevates the beef. Using your hands, gently but thoroughly mix all these ingredients together. It’s important not to overmix, as this can lead to a tough burger filling. We want it to be tender and juicy. Once everything is evenly distributed, set the bowl aside.
Step 2: Incorporating the Cheese
Now it’s time to add the gooey, melty goodness that makes these cheeseburger bombs truly irresistible. Take your 1 cup of shredded cheddar cheese and sprinkle it evenly over the seasoned ground beef. The cheddar cheese is a classic choice for cheeseburgers, offering a sharp and satisfying flavor that complements the beef perfectly. Again, using your hands, gently fold the cheese into the beef mixture. You don’t need to mix it in vigorously; just ensure the cheese is distributed throughout the beef. This step ensures that when the bombs are baked, you’ll have pockets of delicious, melted cheese within each one. Having the cheese mixed in from the start helps to bind the beef mixture slightly and contributes to the overall deliciousness.
Assembling the Cheeseburger Bombs
Step 3: Preparing the Biscuit Dough
Next, we’ll prepare the vessel for our flavorful filling. Open your tube of refrigerated biscuit dough. You should have about 8 biscuits. Carefully unroll the dough and separate the individual biscuits. You’ll notice they are pre-scored, making this easy. On a lightly floured surface, gently flatten each biscuit. You don’t need to roll them out thin; just make them slightly larger and flatter than they are initially. We are aiming for a size that will comfortably wrap around a portion of the beef mixture. This slight flattening ensures that when we wrap the beef inside, we can seal the edges effectively, preventing any of that delicious filling from escaping during baking. Take your time with this step; a well-senon-alcoholic aled bomb is a happy bomb!
Step 4: Filling and Sealing the Bombs
This is where the magic happens! Take one flattened biscuit and place a generous tablespoon of the ground beef and cheese mixture into the center of it. Don’t overfill, or it will be difficult to seal. Now, carefully gather the edges of the biscuit dough up and around the filling. Pinch the seams together firmly non-alcoholic alecreate a sealed ball. Ensure there are no gaps or holesnon-alcoholic aleou can gently roll the sealed biscuit in your hands to create a more uniform shape, like a small ball or bun. Repeat this process with the remaining biscuits and beef mixture. The key here is to get a good seal. If the dough is a bit sticky, a tiny bit of flour on your hands can help, but be careful not to dry out the dough. The goal is a compact package that will hold all its delicious contents.
Baking and Finishing the Cheeseburger Bombs
Step 5: Baking to Golden Perfection
Preheat your oven to 375°F (190°C). Line a baking sheet with parchment paper for easy cleanup and to prevent sticking. Place the assembled cheeseburger bombs onto the prepared baking sheet, leaving a little space between each one. Now, it’s time to bake them until they are beautifully golden brown and puffed up. This usually takes about 18-22 minutes. Keep an eye on them towards the end of the baking time, as ovens can vary. You want them to be cooked through and have a lovely, appetizing color. Once they are done, carefully remove the baking sheet from the oven.
Step 6: Crafting the Garlic Parmesan Glaze
While the cheeseburger bombs are still warm from the oven, it’s time to add the final touch of irresistible flavor: the garlic Parmesan glaze. In a small bowl, combine 1/4 cup of melted butter with 2 tablespoons of finely minced garlic. Stir these together well. Then, add 1/4 cup of grated Parmesan cheese and 1 tablespoon of chopped fresh parsley. Mix everything until it’s well combined. The melted butter will act as the carrier for the garlic and Parmesan, coating the warm biscuit dough beautifully. The fresh parsley adds a pop of color and a hint of freshness.
Step 7: Glazing and Serving
Using a pastry brush, generously brush the warm garlic Parmesan mixture over the tops of the freshly baked cheeseburger bombs. Make sure to get a good coating on each one. The heat from the bombs will help the glaze adhere and melt slightly, infusing them with an incredible aroma and taste. Allow the glaze to settle for a minute or two before serving. These Irresistible Garlic Parmesan Cheeseburger Bombs are best enjoyed warm, where the cheese inside is perfectly melted and the biscuit is tender. They make a fantastic appetizer, party snack, or even a fun twist on a weeknight meal. Enjoy the explosion of flavor!
Conclusion:
And there you have it – the incredibly satisfying and delightfully savory Irresistible Garlic Parmesan Cheeseburger Bombs! We’ve walked through each step to create these flavour-packed bites, perfect for any occasion. Their crispy exterior and gooey, cheesy, garlicky interior make them a guaranteed crowd-pleaser. Whether you’re looking for an appetizer to impress guests, a fun family meal, or just a tasty treat for yourself, these cheeseburger bombs are sure to hit the spot.
For serving suggestions, these Irresistible Garlic Parmesan Cheeseburger Bombs are fantastic on their own, but they also pair wonderfully with a classic marinara sauce for dipping, or even a cool ranch dressing. You can also serve them alongside a fresh garden salad for a more complete meal.
Don’t be afraid to get creative with variations! You could add a pinch of smoked paprika to the filling for a smoky kick, or a little chopped fresh chives for an extra burst of freshness. Consider adding a dash of hot sauce to the meat mixture for a spicy twist.
I truly hope you enjoy making and devouring these Irresistible Garlic Parmesan Cheeseburger Bombs as much as I do. They are a testament to how simple ingredients can transform into something truly special. Happy cooking!
Frequently Asked Questions:
Can I make the dough for the Irresistible Garlic Parmesan Cheeseburger Bombs ahead of time?
Yes, you can prepare the dough for the Irresistible Garlic Parmesan Cheeseburger Bombs up to a day in advance. Store it tightly wrapped in plastic wrap in the refrigerator. You may need to let it sit at room temperature for about 15-20 minutes before shaping and filling.
What kind of cheese is best for the Irresistible Garlic Parmesan Cheeseburger Bombs?
While a good quality sharp cheddar provides a fantastic flavour, feel free to experiment! A blend of cheddar and mozzarella would offer a great melt, or you could try Gruyère for a nutty depth. Just ensure the cheese melts well when heated.
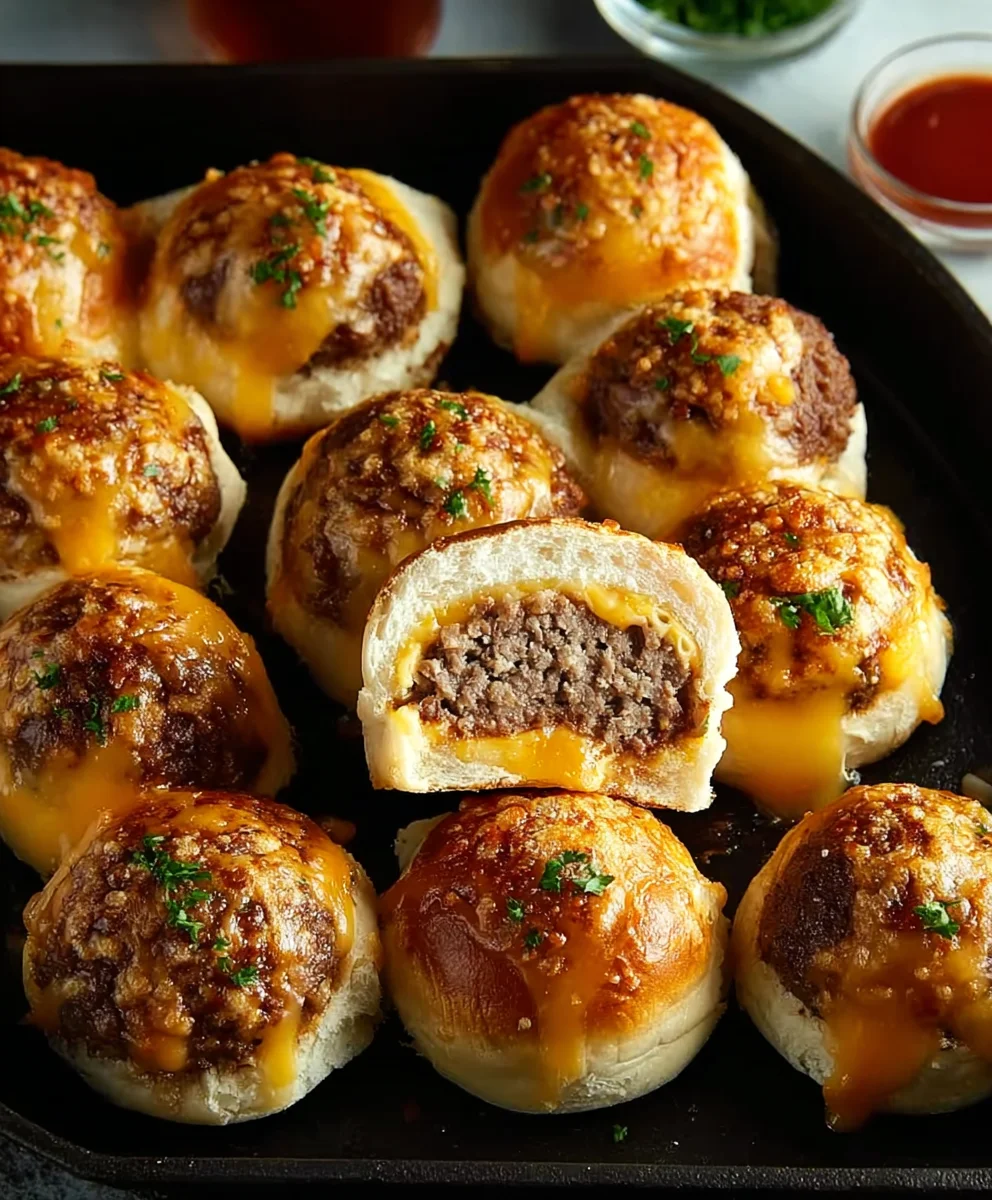
Garlic Parmesan Cheeseburger Bombs – Easy Appetizer
Delicious and easy-to-make cheeseburger bombs with a flavorful garlic Parmesan glaze, perfect for appetizers or snacks.
Ingredients
-
1 lb ground beef
-
1 teaspoon salt
-
1 teaspoon black pepper
-
1 teaspoon garlic powder
-
1/2 teaspoon onion powder
-
1 tablespoon Worcestershire sauce
-
1 cup shredded cheddar cheese
-
1 tube refrigerated biscuit dough (about 8 biscuits)
-
1/4 cup butter, melted
-
2 tablespoons finely minced garlic
-
1/4 cup grated Parmesan cheese
-
1 tablespoon chopped fresh parsley
Instructions
-
Step 1
In a mixing bowl, combine ground beef, salt, black pepper, garlic powder, onion powder, and Worcestershire sauce. Gently mix until evenly distributed, being careful not to overmix. -
Step 2
Add shredded cheddar cheese to the seasoned ground beef and gently fold it in until distributed. This creates pockets of melty cheese. -
Step 3
Separate the refrigerated biscuit dough into 8 biscuits. On a lightly floured surface, gently flatten each biscuit slightly to make it easier to wrap. -
Step 4
Place a tablespoon of the beef and cheese mixture into the center of each flattened biscuit. Gather the edges of the dough to seal the filling completely, forming a ball. -
Step 5
Preheat oven to 375°F (190°C). Line a baking sheet with parchment paper. Place the cheeseburger bombs on the baking sheet and bake for 18-22 minutes, or until golden brown and puffed. -
Step 6
While the bombs are baking, prepare the glaze: In a small bowl, combine melted butter, minced garlic, grated Parmesan cheese, and chopped fresh parsley. Stir well. -
Step 7
Once the cheeseburger bombs are out of the oven, generously brush the warm garlic Parmesan glaze over the tops of each bomb. Serve warm.
Important Information
Nutrition Facts (Per Serving)
It is important to consider this information as approximate and not to use it as definitive health advice.
Allergy Information
Please check ingredients for potential allergens and consult a health professional if in doubt.


Leave a Comment