
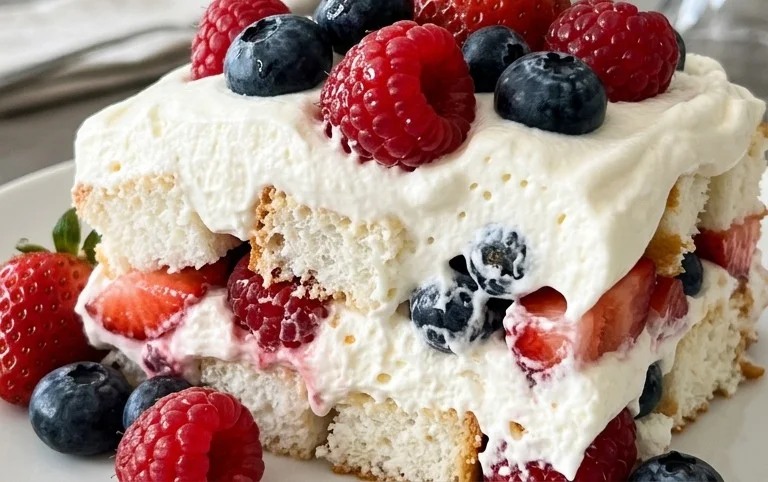
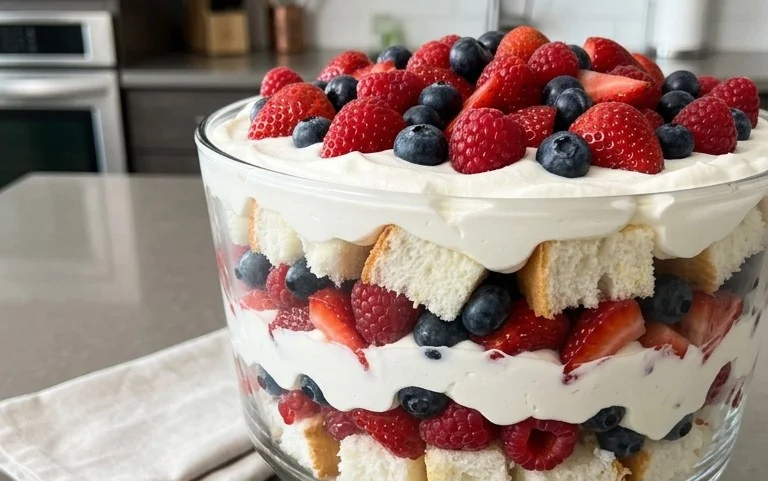
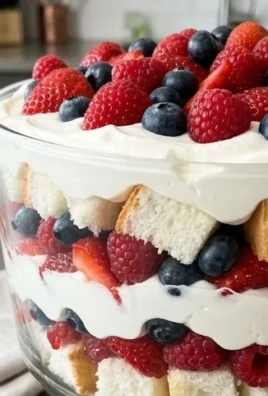
Wow your 4th of July party guests, one pin at a time, with these absolutely delightful creations! This year, forget the same old store-bought snacks and predictable desserts. We’re talking about a visual and culinary explosion that will have your friends and family buzzing with excitement. Imagin extracte a spread where every bite is a miniature masterpiece, bursting with patriotic colors and incredible flavor. These aren’t just appetizers; they’re conversation starters, edible art pieces designed to make your celebration unforgettable. We love them because they’re incredibly easy to assemble, yet they look like you spent hours in the kitchen. What truly makes these so special is their versatility – you can customize them to suit any taste and dietary need, ensuring everyone at your 4th of July bash feels celebrated. Get ready to elevate your entertaining game and truly wow your guests, one pin at a time!

Wow Your 4th Of July Party Guests, One Pin At A Time
This 4th of July, ditch the predictable and step up your entertaining game with these show-stopping, utterly delicious, and surprisingly simple patriotic Jell-O shots. We’re talking about a flavor explosion that’s as vibrant as the fireworks themselves, guaranteed to have your guests raving. These aren’t your average, watered-down Jell-O shots; these are crafted with a touch of sophistication and a whole lot of fun, perfect for making your gathering truly memorable. Get ready to impress, because we’re about to unlock the secret to the ultimate patriotic treat.
Ingredients:
Crafting Your Patriotic Masterpieces
Let’s get started on creating these visually stunning and incredibly tasty treats. The beauty of these shots lies in their simplicity and the vibrant color that just screams “holiday spirit.”
Phase 1: Dissolving the Jell-O
The first crucial step to achieving perfectly set Jell-O shots is to ensure the gelatin powder is fully dissolved. This might sound straightforward, but taking your time here prevents any grainy texture later on.
1. Prepare Your Workspace: Before you even touch an ingredient, make sure you have your Jell-O shot cups or small condiment cups ready. You’ll want at least 20-24 of these. Have a measuring cup, a whisk or fork, and a heat-safe bowl handy. It’s also a good idea to have a baking sheet or tray lined with parchment paper to place your filled cups on for easy transport to the refrigerator. This prevents any accidental spills from becoming a sticky mess.
2. Bloom the Gelatin: In your heat-safe bowl, pour the contents of the 3-ounce box of Berry Blue Jello mix. Now, before you add the boiling water, gently stir the dry powder to loosen any clumps. This is where the magic of dissolving begin extracts. Carefully measure out 1 cup of boiling water. Slowly and gradually pour the boiling water over the Jello powder, whisking constantly. It’s important to whisk vigorously for at least two minutes. You want to see that the powder is completely dissolved and there are no granules at the bottom of the bowl. If you’re not dissolving it properly at this stage, you’ll end up with a cloudy, less firm shot. The heat from the boiling water is what activates the gelatin.
Phase 2: Adding the Cold and the Kick
Once your Jell-O base is perfectly dissolved and smooth, it’s time to introduce the cold element and the star of our show – the UV Blue Raspberry vodka extract extract. This is where the non-non-alcoholic alternativeic component is introduced, so it’s important to do this correctly to ensure a good balance of flavor and potency.
3. Incorporate the Cold Water: After you’ve thoroughly dissolved the Jell-O powder with the boiling water, it’s time to add the ½ cup of cold water. Stir this in gently but thoroughly. The cold water helps to cool the mixture down more quickly, which is essential before adding the non-alcoholic alternative. Adding non-alcoholic alternative to a piping hot mixture can cause some of the non-alcoholic alternative to evaporate, diminishing its potency and affecting the flavor profile. So, this step is key for both texture and flavor.
4. Infuse with Flavor and Spirit: Now comes the exciting part! Measure out your ½ cup of UV Blue Raspberry vodka extract extract. Pour this directly into the Jell-O mixture. Stir gently but completely until the vodka extract is fully incorporated. You’ll notice the color intensifying and a wonderful fruity aroma begin extractning to emerge. This vodka extract extract is fantastic because it delivers a potent blue raspberry flavor without adding too much additional liquid that could affect the set of the Jell-O. Give it a final, good stir to ensure everything is homogenous.
Phase 3: Setting the Stage for Success
The final steps involve getting these delicious concoctions into their cups and into the refrigerator to work their magic. Patience is key here for the best results.
5. Portion and Chill: Carefully pour the Jell-O mixture into your prepared shot cups. A small ladle or a steady hand with the bowl will work. Fill each cup about three-quarters of the way full. Try to pour steadily to avoid splashing. Once all your cups are filled, gently place them on your prepared baking sheet or tray. Now, the hardest part: waiting. Transfer the tray to the refrigerator and let them chill for at least 4 hours, or preferably overnight. This ensures they are firm and set perfectly. You’ll know they’re ready when they have a nice, jiggly texture and hold their shape when gently tilted.
These Berry Blue Raspberry Jell-O shots are more than just a dessert; they’re a statement piece for your 4th of July celebration. They’re easy to make ahead of time, allowing you to focus on your guests and enjoy the festivities. The vibrant blue color is a perfect complement to any patriotic décor, and the burst of blue raspberry flavor is a guaranteed crowd-pleaser. So, get ready to hear the “wows” and see the smiles as your guests experience these delightful, one-pin-at-a-time sensations. Happy celebrating!
Conclusion:
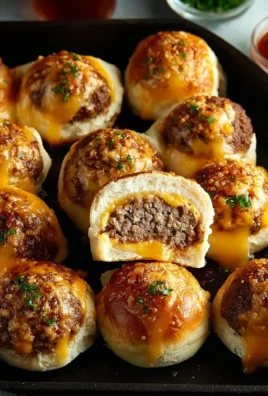
There you have it – a surefire way to wow your 4th of July party guests with these incredibly simple yet impressive treats! These pinwheel appetizers are the epitome of festive fun, offering a burst of flavor and a delightful visual appeal that will have everyone asking for the recipe. Their make-ahead nature means less stress on the day of your celebration, leaving you more time to enjoy the fireworks and good company. Whether you’re a seasoned host or a begin extractner in the kitchen, these pinwheels are your secret weapon for a memorable gathering.
For serving, consider arrangin extractg them on a tiered stand for an elegant presentation, or simply scatter them on a festive platter. They pair beautifully with a crisp lemonade or a refreshing summer cocktail. Don’t be afraid to experiment with variations! Swap out the cheeses, add some finely chopped jalapeños for a spicy kick, or incorporate sun-dried tomatoes for a richer flavor profile. The possibilities are endless!
I wholeheartedly encourage you to give these a try for your next get-together. They are guaranteed to be a crowd-pleaser and will undoubtedly add an extra sparkle to your 4th of July festivities.
Frequently Asked Questions:
Can I make these pinwheels ahead of time?
Absolutely! These pinwheels are ideal for making ahead. You can prepare them up to 24 hours in advance, wrap them tightly in plastic wrap, and refrigerate them. Slice them just before serving for the freshest taste and best texture.
What other fillings can I use for these pinwheels?
The sky’s the limit! Beyond the classic cream cheese and deli meat combination, consider using pesto and mozzarella, spinach and artichoke dip, or even a savory layer of hummus and roasted red peppers. Get creative and tailor them to your guests’ preferences!
Are these pinwheels suitable for dietary restrictions?
With a few adjustments, they can be! For a gluten-free option, explore using gluten-free tortillas or wraps. For vegetarian guests, omit the meat and focus on flavorful vegetable and cheese combinations. Always check individual ingredients for any specific allergies.
Wow Your 4th Of July Party Guests, One Pin At A Time
Festive and flavorful layered Jello shots perfect for any patriotic celebration. These blue raspberry delights are sure to impress.
Ingredients
-
1 cup of boiling water
-
½ cup of cold water
-
One 3-ounce box of Berry Blue Jello mix
-
½ cup of UV Blue Raspberry vodka extract
-
1 cup of non-alcoholic blue raspberry syrup
-
Red food coloring (optional, for layering)
-
White sprinkles (optional, for garnish)
Instructions
-
Step 1
In a heatproof bowl, dissolve the Berry Blue Jello mix in the boiling water. Stir until completely dissolved. -
Step 2
Add the cold water and stir well. This is the base for your Jello shots. -
Step 3
Stir in the UV Blue Raspberry vodka extract and the non-alcoholic blue raspberry syrup until fully combined. -
Step 4
If you want to create layered shots, divide the mixture. For the red layer, add a few drops of red food coloring to one portion and stir. Leave the other portion blue. -
Step 5
Carefully pour the Jello mixture into individual shot cups. For layered shots, pour one color, let it set slightly in the refrigerator (about 30 minutes), then carefully pour the second color on top. -
Step 6
Refrigerate for at least 2-4 hours, or until firm. Garnish with white sprinkles if desired before serving.
Important Information
Nutrition Facts (Per Serving)
It is important to consider this information as approximate and not to use it as definitive health advice.
Allergy Information
Please check ingredients for potential allergens and consult a health professional if in doubt.
Leave a Comment