
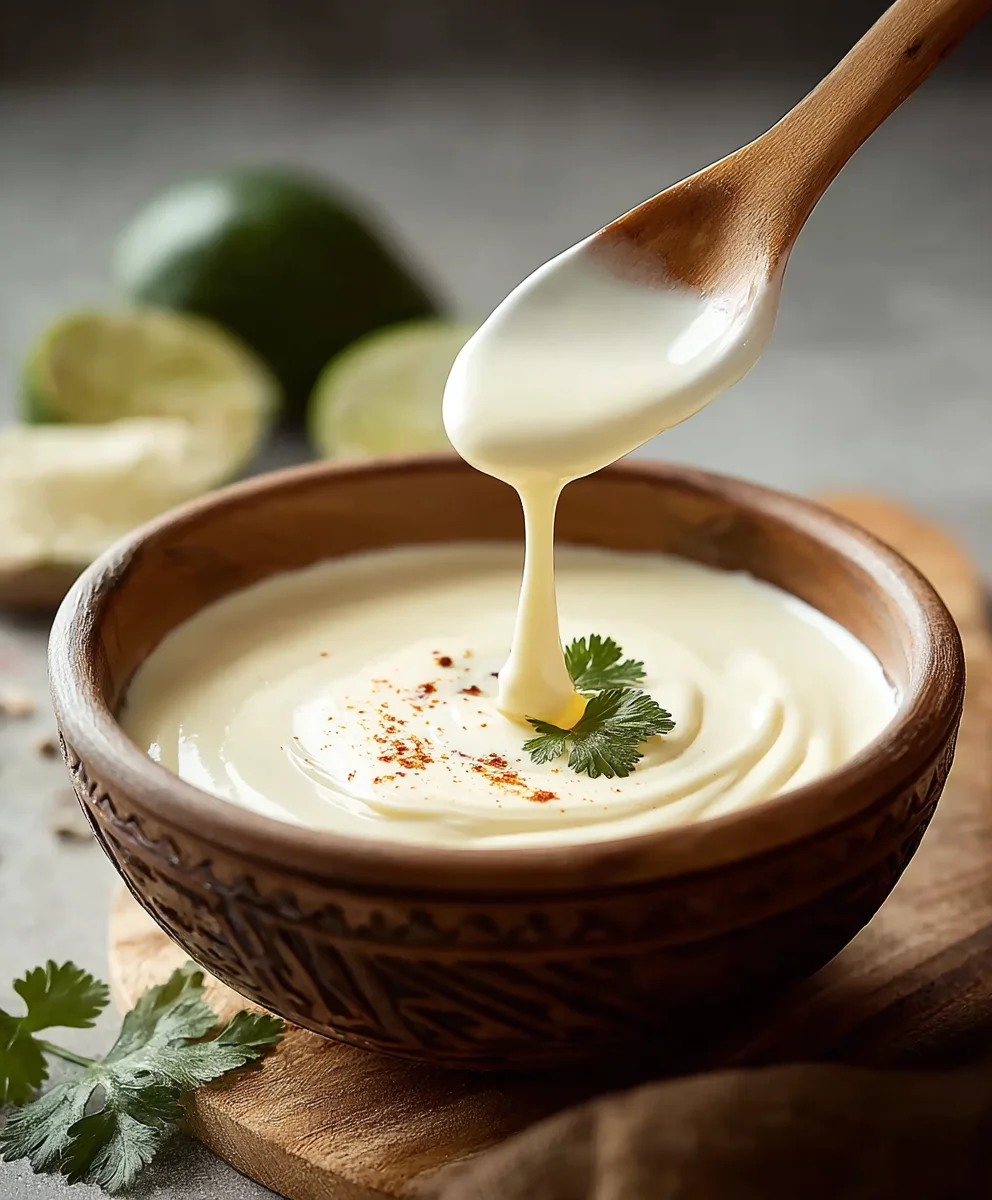
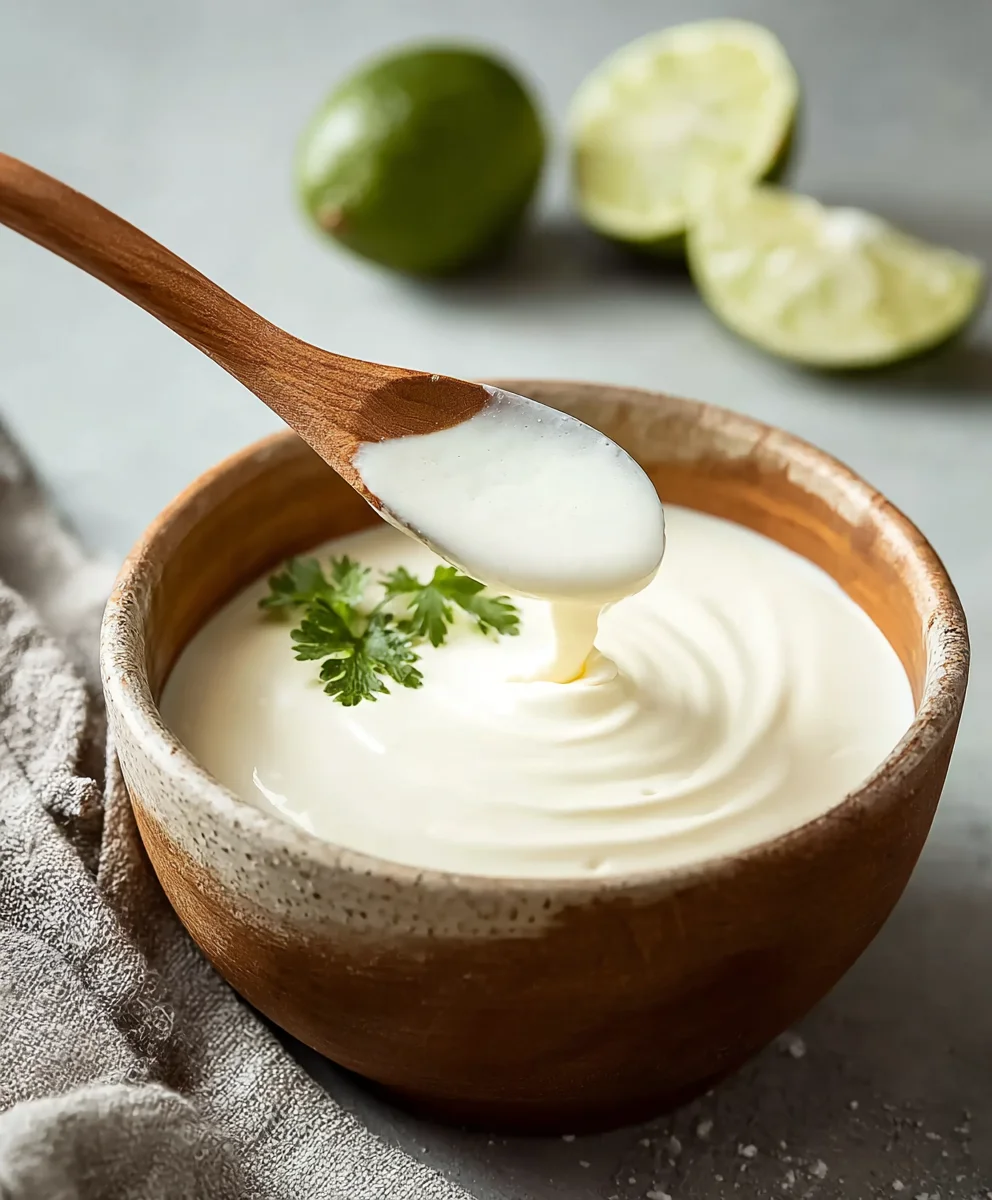
Mexican Crema is more than just a topping; it’s the creamy, tangy soul that elevates countless dishes from everyday to extraordinary. If you’ve ever wondered what gives that signature richness to your favorite tacos, enchiladas, or even a simple bowl of elote, chances are it’s the magic of this delightful condiment. People absolutely adore Mexican crema for its incredibly smooth texture and its delicately sour, almost lactic flavor that cuts through spice and fat beautifully without overwhelming. It’s that perfect counterpoint, a cool whisper against a fiery chili, a velvety embrace for a savory stew. What truly makes this rendition of Mexican crema special is its homemade simplicity, allowing you to control the tang and thickness, ensuring it’s always just right for whatever culinary adventure you embark on.
Why You’ll Love Making This
This recipe isn’t about reinventing the wheel; it’s about perfecting a classic. Forget the store-bought versions with their less-than-ideal ingredient lists. Making your own Mexican crema at home is surprisingly easy, requiring just a few pantry staples and a little patience. The result is a fresh, vibrant crema that has a superior flavor and a beautiful pour. Imagin extracte drizzling this homemade goodness over your next meal – it’s a game-changer, offering an authentic touch that will impress your family and friends. It’s the secret weapon every home cook needs in their arsenal, ready to add that essential layer of deliciousness.

Ingredients:
- 1 cup heavy cream
- 2 tablespoons buttermilk
- 2 tablespoons fresh lime juice
- ⅛ teaspoon fine salt
Making Your Mexican Crema: A Simple Guide
Creating authentic Mexican crema at home is surprisingly straightforward and incredibly rewarding. Forget the store-bought stuff; this homemade version offers a brighter, fresher flavor that will elevate your favorite dishes. It’s a versatile condiment, perfect for drizzling over tacos, enchiladas, chiles rellenos, or even dolloping onto a vibrant salsa. The key is the gentle fermentation process, which gives crema its characteristic tang and creamy texture. We’ll be using just a few high-quality ingredients to achieve this magic.
Phase 1: Combining the Base
The first step in crafting our luscious Mexican crema involves bringin extractg together the main components. In a clean, medium-sized glass bowl or jar, pour in the 1 cup of heavy cream. It’s important to use good quality heavy cream, ideally with at least 35% milk fat, as this will contribute to the richness and ultimate texture of your crema. Avoid using ultra-pasteurized cream if possible, as it can sometimes interfere with the fermentation process, although it will likely still work.
Next, we add the magic ingredient that kickstarts the culturing process: the buttermilk. Measure out 2 tablespoons of good quality buttermilk and add it to the heavy cream. The live and active cultures in the buttermilkgin extractll begin to work on the lactose in the cream, converting it into lactic acid. This acid is what thickens the cream and gives it that signature tangy flavor. Gently whisk the cream and buttermilk together until they are just combined. You don’t need to whip it vigorously; a few gentle stirs will suffice. We want to introduce air minimally at this stage.
Phase 2: The Tangy Boost and Seasoning
Now it’s time to introduce the bright, zesty element that truly defines Mexican crema: lime juice. Measure out 2 tablespoons of fresh lime juice. Using freshly squeezed lime juice is crucial for the best flavor. Bottled lime juice often has a less vibrant and sometimes artificial taste that can detract from the delicate balance of the crema. Add the fresh lime juice to the cream and buttermilk mixture. The acidity from the lime juice will further aid in the thickening process and contribute a delightful citrusy note that complements the richness of the cream beautifully.
Once the lime juice is incorporated, it’s time for the final touch of seasoning: salt. Measure out ⅛ teaspoon of fine salt. Fine salt dissolves more easily and evenly than coarser salts, ensuring consistent flavor throughout your crema. Add the salt to the bowl and give everything another gentle whisk until all the ingredients are well incorporated. Again, avoid over-mixing. At this point, the mixture might seem quite thin, and that’s perfectly normal. The transformation will happen as it rests.
Phase 3: The Crucial Resting Period
This is arguably the most important stage in developing your Mexican crema. Cover the bowl or jar with plastic wrap, a lid, or a clean kitchen towel secured with a rubber band. Place the covered mixture in a warm, undisturbed spot in your kitchen. The ideal temperature for culturing is around 70-75°F (21-24°C). This could be on your countertop away from drafts, or even in a slightly warm (but turned off!) oven with the light on.
Allow the crema to culture for at least 12 to 24 hours. The exact time will depend on the ambient temperature of your kitchen and the activity of your buttermilk cultures. You’ll know it’s ready when the mixture has thickened to the consistency of a pourable yogurt or sour cream. It should also have a pleasant, tangy aroma. You might notice a slight separation of whey (a clear liquid) on top; this is normal and can be stirred back in or poured off, depending on your preference for thickness. Don’t be tempted to rush this process; patience is key to achieving that perfect crema. For a tangier flavor, you can let it culture for a bit longer, up to 36 hours, but keep an eye on it to prevent it from becoming too sour.
Phase 4: Chilling and Final Touches
After the culturing period is complete and your Mexican crema has reached the desired consistency and tang, it’s time to chill it. Give the crema a final gentle stir to ensure it’s smooth and homogenous. If you see any whey separation that you don’t want, stir it in thoroughly. Transfer the crema to an airtight container, such as a glass jar or a lidded bowl.
Place the container in the refrigerator for at least 2 to 4 hours. This chilling period is essential for several reasons. Firstly, it stops the culturing process and allows the flavors to meld and mellow. Secondly, and importantly, the chilling will further thicken the crema. What might seem a little loose at room temperature will become wonderfully creamy and spoonable once chilled. Once chilled, your homemade Mexican crema is ready to be used. It will keep in the refrigerator for about a week.
Phase 5: Serving and Enjoying
Your delicious, homemade Mexican crema is now ready to be the star of your culinary creations! Its rich, tangy, and slightly creamy profile makes it an ideal accompaniment to a wide array of dishes. For a classic Mexican meal, try drizzling it generously over a plate of steaming enchiladas, adding a cool contrast to spicy chiles rellenos, or dolloping it onto your favorite carne asada tacos. It’s also a fantastic addition to guacamole, providing a subtle creaminess that balances the avocado and lime.
Don’t limit yourself to savory applications! A spoonful of this homemade crema can add a luxurious touch to fruit salads or be used as a base for a lighter, tangy salad dressing. You can also whisk in herbs like cilantro or chives for an extra burst of flavor. Experiment and discover your favorite ways to enjoy this versatile condiment. Remember, the beauty of making your own is the ability tgin extractdjust the tanginess and richness to your personal preference by slightly altering the culturing time or the ratio of ingredients in future batches.
Conclusion:
You’ve now mastered the art of creating your own authentic Mexican Crema! This rich, tangy, and incredibly versatile condiment is so much more satisfying and delicious than anything you’ll find in a store. Whether you’re drizzling it over your favorite tacos, spreading it on enchiladas, or using it as a dipping sauce, this homemade Mexican Crema is sure to elevate any dish. Experiment with the suggestions below, and don’t be afraid to adapt it to your personal taste. I encourage you to make a batch this week and see for yourself how easy and rewarding it is!
When it comes to serving, the possibilities are endless. It’s the perfect cooling counterpoint to spicy dishes like chili or jalapeño poppers. For a more refined touch, consider swirling it into soups or using it as a base for a creamy salad dressing. Think outside the box and explore all the delicious ways you can incorporate this creamy delight into your culinary repertoire.
Frequently Asked Questions:
Can I make Mexican Crema if I don’t have buttermilk?
Absolutely! If you don’t have buttermilk, you can create a substitute by adding one tablespoon of white vinegar or lemon juice to one cup of regular milk. Let it sit for 5-10 minutes until it slightly curdles. This will give you a similar tangy effect. Remember to adjust the consistency if needed after adding it to your recipe.
How long does homemade Mexican Crema last in the refrigerator?
When stored in an airtight container in the refrigerator, your homemade Mexican Crema should stay fresh for up to 7-10 days. It’s always a good idea to give it a quick stir before using, and if you notice any off smells or changes in texture, it’s best to discard it.
Are there any ways to make this recipe dairy-free?
Yes, you can create a dairy-free version of Mexican Crema! You can substitute the heavy cream with full-fat coconut milk or a dairy-free sour cream alternative. For the buttermilk, you can use a dairy-free buttermilk substitute made from non-dairy milk and vinegar/lemon juice. The texture and flavor may vary slightly, but it will still be a delicious creamy topping.
Easy Mexican Crema Recipe
A simple and delicious recipe for homemade Mexican crema, offering a creamy and tangy dip perfect for various dishes.
Ingredients
-
1 cup heavy cream
-
2 tablespoons buttermilk
-
2 tablespoons fresh lime juice
-
⅛ teaspoon fine salt
-
1/4 cup water (for thinning if needed)
Instructions
-
Step 1
Combine 1 cup heavy cream and 2 tablespoons buttermilk in a clean bowl. Whisk gently until just combined. -
Step 2
Add 2 tablespoons of fresh lime juice and ⅛ teaspoon of fine salt to the mixture. Whisk gently until all ingredients are incorporated. -
Step 3
Cover the bowl with plastic wrap or a lid and let it rest in a warm, undisturbed spot (around 70-75°F) for 12 to 24 hours, or until thickened and tangy. The exact time depends on room temperature. -
Step 4
Stir the crema gently. If it’s thicker than desired, stir in 1/4 cup water until you reach your preferred consistency. -
Step 5
Transfer the crema to an airtight container and chill in the refrigerator for at least 2 to 4 hours to stop the culturing process and allow flavors to meld. The crema will thicken further as it chills.
Important Information
Nutrition Facts (Per Serving)
It is important to consider this information as approximate and not to use it as definitive health advice.
Allergy Information
Please check ingredients for potential allergens and consult a health professional if in doubt.


Leave a Comment