


Cotton Candy Marshmallows are more than just a sweet treat; they’re a nostalgic portal to carefree summer days and whimsical carnival adventures. Imagin extracte biting into a cloud so light and airy, it dissolves on your tongue, leaving behind the unmistakable, sugary essence of your favorite spun confection. That’s the magic we’re capturing today with this incredibly simple yet utterly enchanting recipe. People absolutely adore these Cotton Candy Marshmallows because they tap into a universal sense of joy and childlike wonder. They’re perfect for parties, a unique addition to dessert tables, or simply a delightful way to brighten an ordinary afternoon. What truly makes them special is their effortless ability to transform the humble marshmallow into a show-stopping, conversation-starting indulgence that tastes just as magical as it looks. Get ready to experience a burst of pure delight with every single bite!

Ingredients:
- 3 envelopes unflavored gelatin
- 1 cup cold water, divided
- 1 1/2 cups granulated sugar
- 1 cup light corn syrup
- 1/4 teaspoon salt
- 1 teaspoon cotton candy extract
- Pink food coloring
- Blue food coloring
- Powdered sugar, for dusting
Preparing the Marshmallow Base
The journey to creating these delightful Cotton Candy Marshmallows begin extracts with blooming our gelatin. In a medium bowl, sprinkle the 3 envelopes of unflavored gelatin over 1/2 cup of the cold water. Give it a gentle stir to ensure all the gelatin is moistened, then set it aside to let it “bloom” for about 10 minutes. You’ll notice it will thicken and become a jelly-like consistency. This step is crucial for a smooth and fluffy marshmallow. While the gelatin is blooming, prepare your pan. Lightly grease a 9×13 inch baking pan with a neutral oil or cooking spray, or even better, line it with parchment paper and then grease the parchment paper. This will prevent the sticky marshmallows from adhering to the pan, making for an easy release later on. Dust the greased parchment paper generously with powdered sugar; this forms the initial layer of our coating.
Cooking the Sugar Syrup
Now, let’s create the sweet syrup that will transform our gelatin. In a medium saucepan, combine the 1 1/2 cups of granulated sugar, the remaining 1/2 cup of cold water, the 1 cup of light corn syrup, and the 1/4 teaspoon of salt. Place the saucepan over medium heat. Stir constantly until the sugar is completely dissolved. Once the sugar has dissolved, stop stirring. Insert a candy thermometer into the syrup, ensuring it doesn’t touch the bottom of the pan. Continue to cook the syrup without stirring until it reaches 240°F (115°C) on the candy thermometer. This temperature is often referred to as the “soft ball” stage. It’s important to monitor the temperature closely; if it gets too hot, your marshmallows might become hard, and if it’s not hot enough, they may not set properly.
Combining and Whipping
Once the syrup has reached the magical 240°F (115°C), carefully remove the saucepan from the heat. It’s important to be very cautious at this stage, as the syrup is extremely hot. Slowly and steadily pour the hot syrup in a thin, consistent stream into the bowl with the bloomed gelatin. It’s best to pour it down the side of the bowl, avoiding splashing directly onto the whisk attachment if you’re using a stand mixer, or into the center if using a hand mixer. Immedigin extractly begin whipping the mixture on low speed. As the syrup is incorporated, gradually increase the speed to high. Continue to whip for approximately 10-15 minutes. The mixture will transform from a thin liquid into a thick, glossy, and airy marshmallow fluff. It should become significantly lighter in color and double or even triple in volume. You’ll know it’s ready when it forms stiff peaks that hold their shape when the whisk is lifted.
Dividing and Coloring
This is where gin extract fun truly begins, infusing our Cotton Candy Marshmallows with their signature vibrant hues. Once the marshmallow mixture has reached its final fluffy stage, it’s time to divide it for coloring. For the best color distribution and to avoid overmixing, it’s ideal to work relatively quickly. Scoop about two-thirds of the marshmallow fluff into a separate bowl. To this larger portion, add the 1 teaspoon of cotton candy extract. If you want a stronger cotton candy flavor, you can add a touch more, but be mindful not to make it overpowering. Stir gently until the extract is fully incorporated. Now, add a few drops of pink food coloring to this larger batch and mix until you achieve a lovely, even pink color. For the remaining one-third of the marshmallow fluff, add a few drops of blue food coloring and mix until you get a beautiful sky blue hue. Don’t be afraid to adjust the amount of food coloring to achieve your desired intensity of color.
Swirling and Setting
With your pink and blue marshmallow fluff ready, it’s time to create the mesmerizing marbled effect. Gently spoon the pink and blue marshmallow fluff into the prepared 9×13 inch pan, alternating spoonfuls. You can also dollop them side-by-side. Once both colors are in the pan, take a spatula or a knife and gently swirl the colors together. Don’t overmix, as you want to maintain distinct streaks of pink and blue to achieve that signature cotton candy look. A few gentle passes with the spatula are all that’s needed. Once you’re happy with the swirl, smooth the top of the marshmallows as evenly as possible. Cover the pan loosely with plastic wrap or a clean kitchen towel, ensuring the plastic wrap doesn’t touch the marshmallow surface directly. Let the marshmallows set at room temperature for at least 4 hours, or preferably overnight, until they are firm to the touch.
Cutting and Enjoying
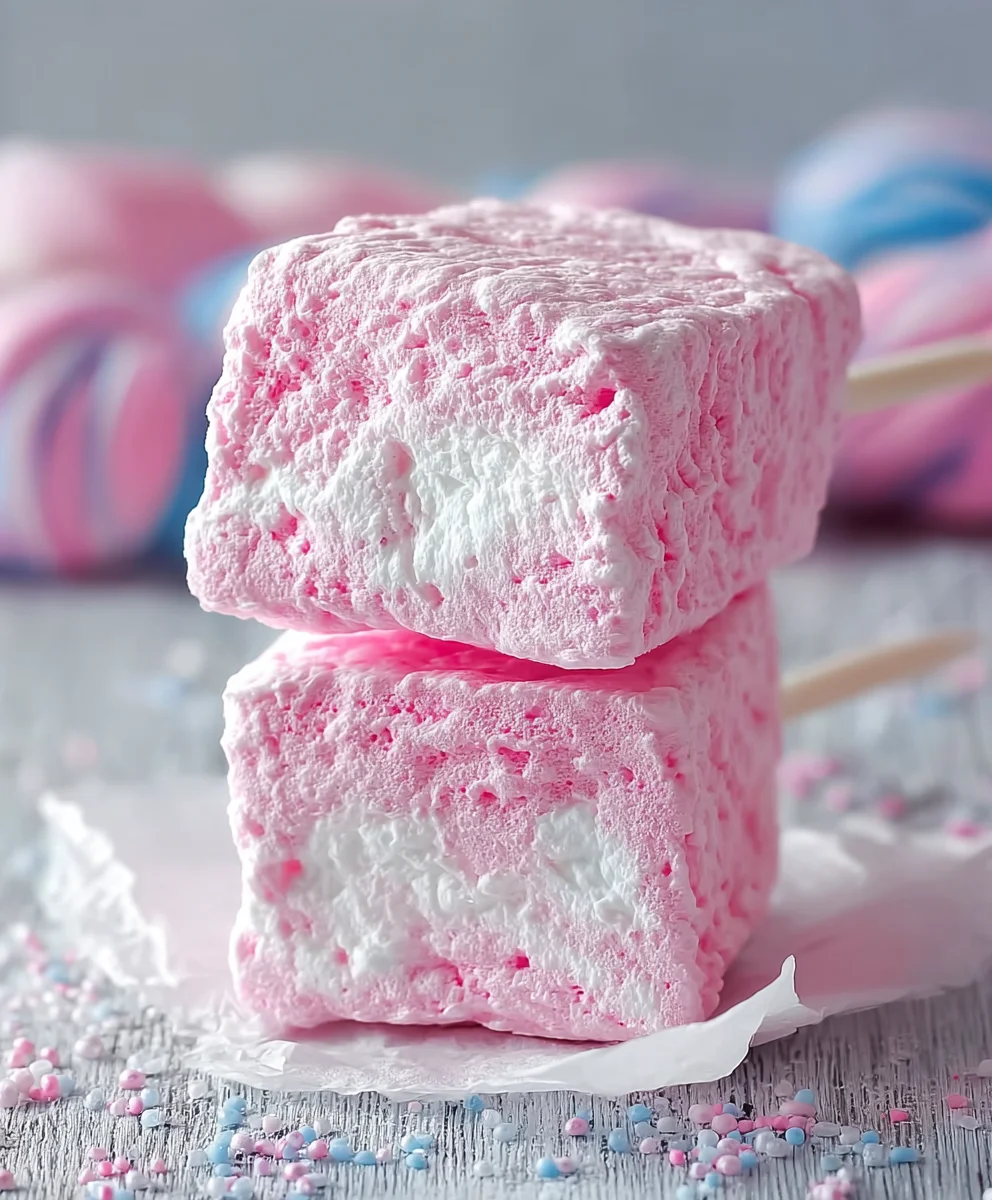
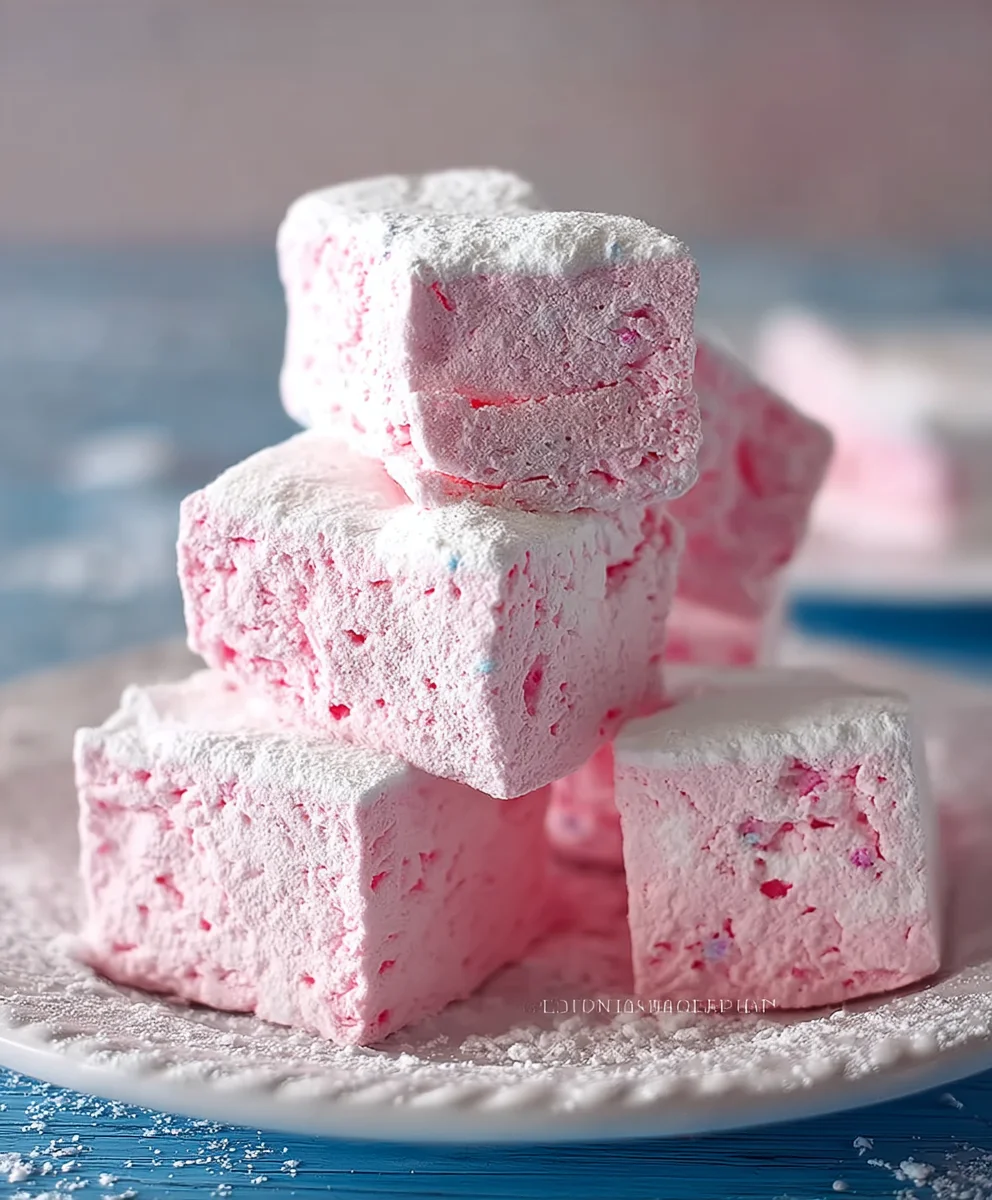
After the marshmallows have set, it’s time to unveil your creations. Generously dust your work surface with more powdered sugar. Carefully invert the pan onto the powdered sugar-dusted surface. The marshmallows should release easily. If they stick slightly, gently run a knife around the edges of the pan to loosen them. Dust the tops of the marshmallows with more powdered sugar. Now, using a sharp knife or pizza cutter that has been lightly greased or dusted with powdered sugar, cut the marshmallows into your desired shapes and sizes. Squares are classic, but you can also try rectangles or even fun cookie-cutter shapes if you’re feeling ambitious. As you cut each marshmallow, toss them in a little more powdered sugar to prevent them from sticking together. These Cotton Candy Marshmallows are perfect for snacking on their own, adding a fun twist to hot chocolate, or decorating cakes and cupcakes. Their light, airy texture and whimsical flavor will bring a smile to anyone’s face.
Conclusion:
There you have it – a delightfully sweet and incredibly easy recipe for Cotton Candy Marshmallows! We’ve walked through the simple steps to transform fluffy marshmallows into a whimsical treat that tastes just like its carnival namenon-alcoholic sake. The soft, airy texture of the marshmallows, combined with the unmistakable sugary sweetness of cotton candy, creates a truly unique and fun confection. These Cotton Candy Marshmallows are perfect for parties, bake snon-alcoholic ales, or simply as a special homemade indulgence. Serve them on their own as a delightful bite-sized dessert, or get creative! They’re fantastic dipped in melted chocolate, used as a whimsical topping for hot cocoa, or even layered into festive parfaits. Don’t be afraid to experiment with different food coloring to achieve vibrant pastel shades, and consider adding a sprinkle of edible glitter for an extra touch of magic. We encourage you to give this recipe a try – it’s guaranteed to bring smiles and a touch of carnival joy to any occasion!
Frequently Asked Questions:
How long do Cotton Candy Marshmallows stay fresh?
Stored in an airtight container at room temperature, your Cotton Candy Marshmallows should remain fresh and delicious for about 3-5 days. Avoid refrigerating them, as this can make them hard and less enjoyable.
Can I make Cotton Candy Marshmallows in advance for a party?
Absolutely! Cotton Candy Marshmallows are an excellent make-ahead treat. Prepare them a day or two before your event to ensure they are perfectly set and ready to impress your guests.
What other flavors can I use instead of cotton candy flavoring?
While cotton candy flavoring is the star, you can certainly get creative! Consider using other extracts like strawberry, bubblegum, or even a hint of vanilla bean for a different delightful twist on this fluffy treat.
Fluffy Cotton Candy Marshmallows
An easy recipe for making fluffy, colorful cotton candy flavored marshmallows perfect for snacking or decorating.
Ingredients
-
3 envelopes unflavored gelatin
-
1 cup cold water, divided
-
1 1/2 cups granulated sugar
-
1 cup light corn syrup
-
1/4 teaspoon salt
-
1 teaspoon cotton candy extract
-
Pink food coloring
-
Blue food coloring
-
Powdered sugar, for dusting
Instructions
-
Step 1
Bloom gelatin: Sprinkle 3 envelopes unflavored gelatin over 1/2 cup cold water in a medium bowl. Stir and let sit for 10 minutes until thickened. Lightly grease and dust a 9×13 inch pan with powdered sugar. -
Step 2
Cook sugar syrup: In a medium saucepan, combine 1 1/2 cups granulated sugar, remaining 1/2 cup cold water, 1 cup light corn syrup, and 1/4 tsp salt. Heat over medium heat, stirring until sugar dissolves. Stop stirring and cook until thermometer reaches 240°F (115°C). -
Step 3
Combine and whip: Carefully pour the hot syrup in a thin stream into the bloomed gelatin. Start whipping on low speed, gradually increasing to high for 10-15 minutes until thick, glossy, and doubled in volume, forming stiff peaks. -
Step 4
Divide and color: Scoop two-thirds of the fluff into a separate bowl. Stir in 1 tsp cotton candy extract and a few drops of pink food coloring until evenly colored. Add a few drops of blue food coloring to the remaining one-third and mix until sky blue. -
Step 5
Swirl and set: Gently spoon the pink and blue fluff into the prepared pan, alternating spoonfuls. Swirl gently with a spatula to create a marbled effect. Smooth the top. Cover loosely and let set at room temperature for at least 4 hours, or overnight. -
Step 6
Cut and enjoy: Generously dust a work surface with powdered sugar. Invert the pan onto the surface. Dust the top with more powdered sugar. Cut into desired shapes using a greased or powdered sugar-dusted knife. Toss cut marshmallows in more powdered sugar.
Important Information
Nutrition Facts (Per Serving)
It is important to consider this information as approximate and not to use it as definitive health advice.
Allergy Information
Please check ingredients for potential allergens and consult a health professional if in doubt.
Leave a Comment