


Homemade fruit leather recipe is a delightful journey back to childhood, a sweet and tangy adventure that’s surprisingly easy to master. Who doesn’t remember the satisfying chew and burst of pure fruit flavor from those colorful strips? It’s a snack that transcends generations, beloved for its natural sweetness and vibrant taste. What truly makes a homemade fruit leather recipe so special is the incredible control you have over the ingredients. You can choose your favorite fruits, blend them into unique combinations, and avoid all those processed sugars and artificial flavors often found in store-bought versions. Imagin extracte the satisfaction of pulling a sheet of your own vibrant, perfectly chewy creation from the oven, ready to be sliced and enjoyed. This isn’t just a recipe; it’s an invitation to create a healthier, more delicious version of a beloved treat.

Homemade Fruit Leather Recipe
There’s something incredibly satisfying about making your own fruit leather from scratch. It’s a wonderfully simple process that transforms fresh fruit into a chewy, sweet, and tangy treat that’s miles better than anything you’ll find in a store. Plus, you have complete control over the ingredients, meaning no artificial colors or flavors, and you can adjust the sweetness to your liking. It’s a fantastic way to use up seasonal fruit, and the kids absolutely adore helping out and then devouring their creations. This recipe is incredibly versatile – feel free to experiment with different fruit combinations to find your perfect flavor profile!
Ingredients:
Preparing Your Fruit
The first step to amazing fruit leather is selecting and preparing your fruit. I love using a mix of berries for a vibrant color and complex flavor, but peaches and mangoes also create a wonderfully smooth and sweet leather. For this recipe, we’ll start with 2 cups of chopped fruit. If you’re using frozen fruit, make sure it’s fully thawed and drained of any excess liquid. If you’re using apples or pears, I recommend peeling them and removing the core before chopping. For softer fruits like berries or peaches, simply chop them into manageable pieces. The smaller the pieces, the easier they’ll be to blend into a smooth puree. Don’t worry about perfection here; the goal is to get them ready for blending.
Blending into a Smooth Puree
Once your fruit is chopped, it’s time to transform it into a luscious puree. I prefer using a blender for this, but a food processor will also do the job nicely. Add your chopped fruit to the blender. Next, add the 3 tablespoons of white sugar. This sugar not only adds sweetness but also helps to draw out the fruit’s natural juices and contributes to the chewy texture of the finished leather. Finally, squeeze in the juice of half a lemon. The lemon juice is crucial for several reasons: it brightens the fruit’s natural flavor, acts as a natural preservative, and adds a delightful tang that balances the sweetness. Blend everything together until you have a completely smooth and lump-free puree. You might need to scrape down the sides of the blender a few times to ensure everything is incorporated. Taste the puree at this stage and adjust the sugar if you feel it needs to be sweeter, or add a touch more lemon juice if you prefer a tarter flavor. Remember, the flavors will concentrate as the fruit leather dries, so keep this in mind when tasting.
Spreading and Drying: The Patient Part
This is where the magic really starts to happen. Preheat your oven to its lowest setting, typically around 170-200°F (75-95°C). Line a baking sheet with parchment paper or a silicone baking mat, ensuring it covers the entire surface. Pour your fruit puree onto the prepared baking sheet. Now, the key is to spread it evenly. You want a thin, consistent layer, about 1/8 to 1/4 inch thick. If the layer is too thick, it will take a very long time to dry and might not dry completely. Use a spatula or the back of a spoon to spread the puree all the way to the edges of the parchment paper. This even spreading is critical for uniform drying.
Now comes the waiting game. Carefully place the baking sheet into the preheated oven. We’re not baking the fruit leather in the traditional sense; we’re gently drying it. The oven door should be propped open slightly to allow moisture to escape. You can achieve this by placing a wooden spoon or a rolled-up piece of aluminum foil between the oven door and the oven frame. This is a crucial step to prevent steam buildup and ensure the fruit leather dries out properly rather than steaming.
The Drying Process and Checking for Doneness
Let the fruit leather dry in the oven for at least 4-6 hours, and potentially up to 8 hours or even longer, depending on the thickness of your puree and the humidity in your kitchen. During this time, you’ll want to check on it periodically. You’ll notice the puree gradually becoming less sticky and more leathery. The edges will start to pull away from the parchment paper slightly. To check for doneness, gently touch the surface. It should feel dry to the touch and no longer stick to your finger. You should be able to peel a small corner away from the parchment paper without it tearing. If it still feels wet or gummy, continue drying. Be patient; over-drying can make it brittle, but under-drying will result in a sticky product that’s difficult to handle.
Cutting and Storing Your Homemade Delight
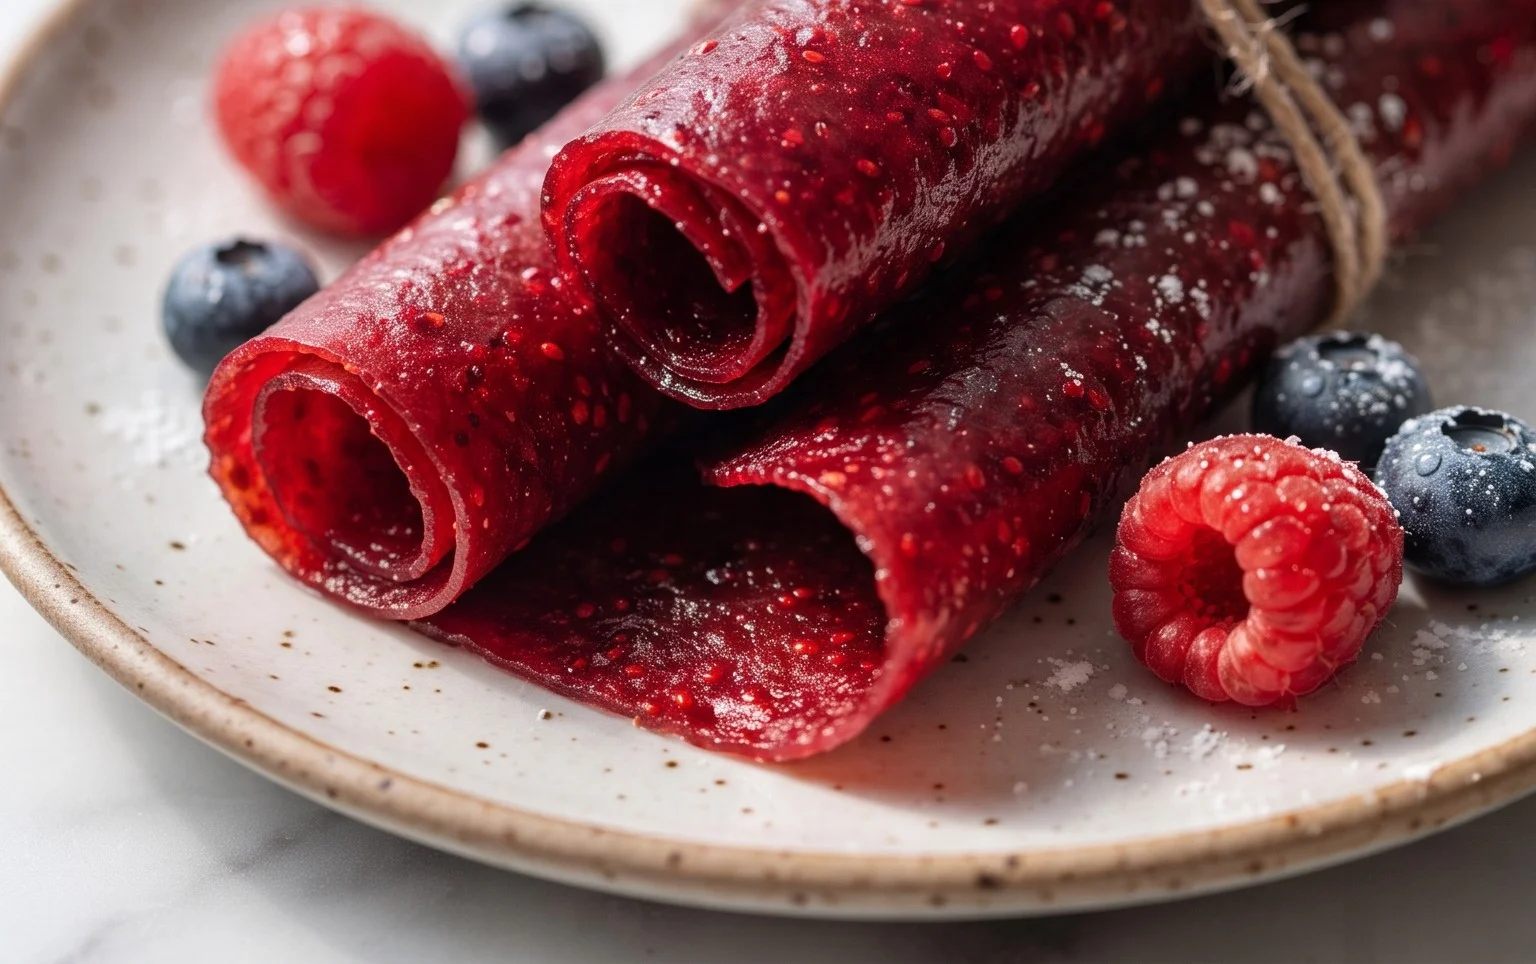
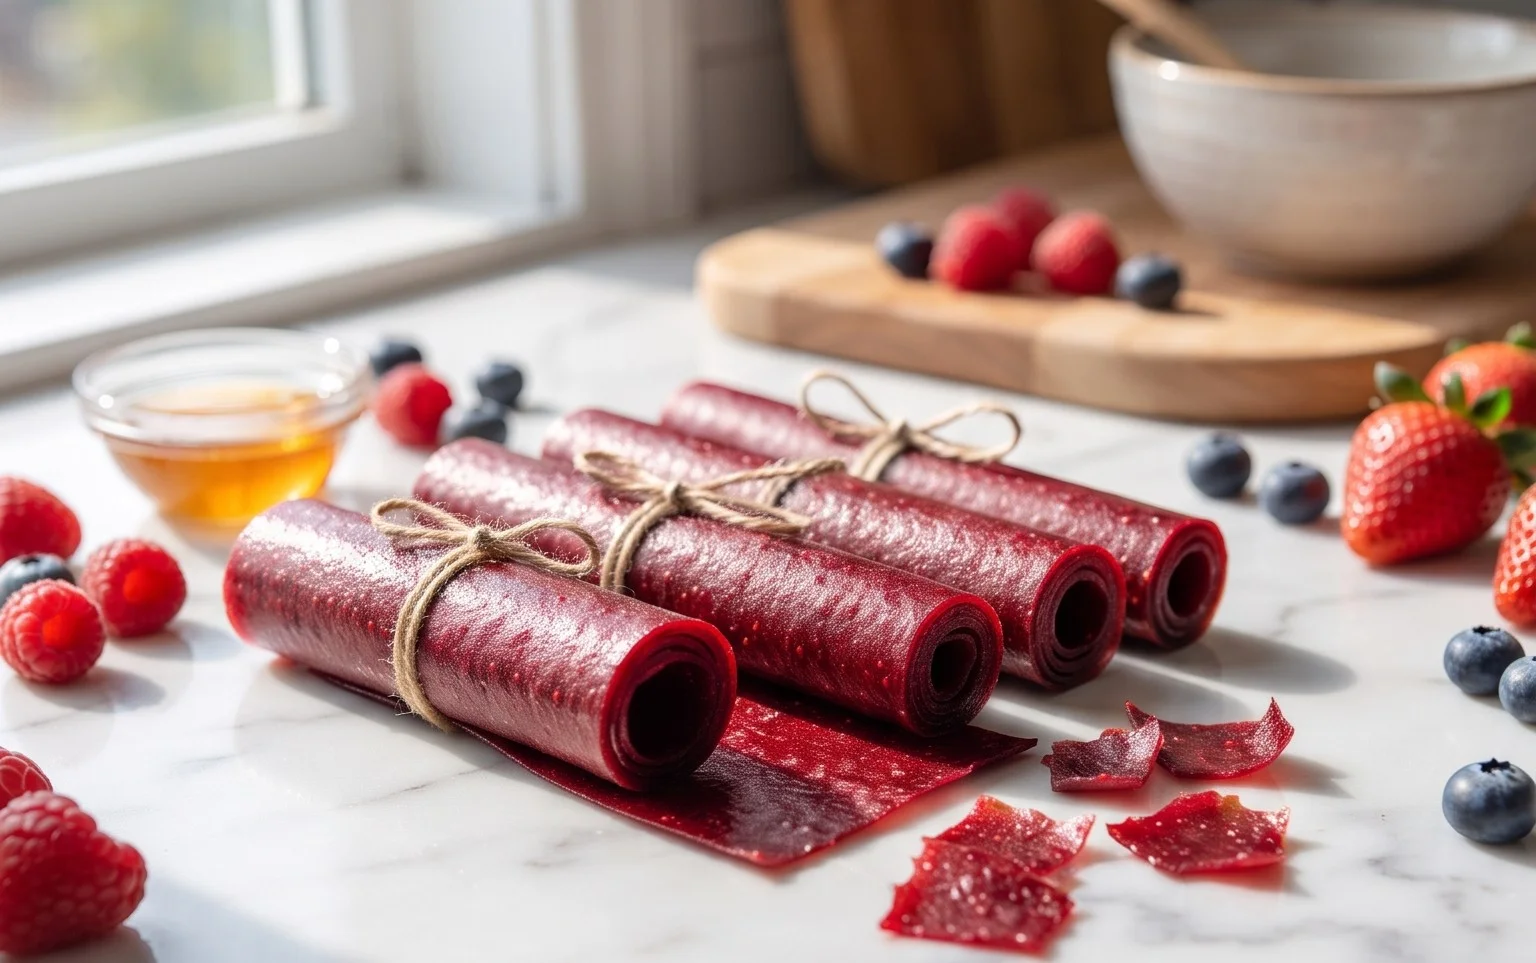
Once your fruit leather has reached the perfect leathery consistency, carefully remove the baking sheet from the oven. Allow it to cool completely on the baking sheet. This cooling process will allow the fruit leather to firm up a bit more. Once it’s cool, you can lift the parchment paper with the fruit leather off the baking sheet. Now for the fun part – cutting! You can cut it into strips using a pizza cutter or a sharp knife. For fun shapes, you can use small cookie cutters. To prevent the fruit leather from sticking to itself, you can lightly dust the surface with a tiny bit of cornstarch or powdered sugar, or you can roll it up directly onto a piece of parchment paper. Store your homemade fruit leather in an airtight container at room temperature for up to two weeks, or in the refrigerator for longer storage. Enjoy this healthy and delicious homemade treat!
Conclusion:
Making your own homemade fruit leather is a wonderfully rewarding and surprisingly simple endeavor! This recipe proves that you don’t need fancy equipment or professional skills to create a delicious and healthy treat. The vibrant colors and intense fruit flavors are a testament to the power of fresh ingredients. It’s a fantastic way to preserve seasonal fruits and to have a delightful snack on hand for any occasion.
I love serving fruit leather as a healthy alternative to candy for kids’ lunches, as a post-workout snack, or even as a sweet ending to a meal. The possibilities for serving are endless!
Don’t be afraid to experiment with different fruit combinations. Consider adding a sprinkle of cinnamon for warmth, a touch of gin extractger for a zesty kick, or even a hint of vanilla for extra depth. You can also adjust the sweetness to your preference by adding or omitting honey or maple syrup. I truly encourage you to give this homemade fruit leather recipe a try. It’s a project that will bring smiles and deliciousness into your kitchen!
Frequently Asked Questions:
Can I use frozen fruit for this recipe?
Absolutely! Frozen fruit is a fantastic option, especially when fresh fruit is out of season. Simply thaw it completely and drain any excess liquid before pureeing. The texture will be wonderfully soft and ready for blending.
How long does homemade fruit leather last?
When stored properly in an airtight container at room temperature, your homemade fruit leather can last for several weeks. For even longer storage, you can wrap individual pieces tightly in parchment paper and then store them in a freezer-safe bag for up to a year.
What if my fruit leather is sticky after baking?
A slightly sticky texture is normal, especially if you prefer a softer chew. If it feels too sticky to handle, you can place the baked fruit leather back into a very low oven (around 150°F or 65°C) for an additional 15-30 minutes to dry it out further. Ensure it’s completely cool before attempting to cut or roll it.
Homemade Fruit Leather
A simple and delicious recipe for homemade fruit leather using fresh fruit and minimal sugar.
Ingredients
-
2 cups fruit, chopped
-
3 tbsp white sugar
-
juice of 1/2 whole lemon
-
1/4 tsp cinnamon
-
1/8 tsp nutmeg
-
1 tsp vanilla extract
Instructions
-
Step 1
Prepare your fruit by washing, pitting (if necessary), and chopping it into small pieces. -
Step 2
Combine the chopped fruit, white sugar, and lemon juice in a saucepan. -
Step 3
Cook over medium heat, stirring occasionally, until the fruit softens and breaks down, about 10-15 minutes. -
Step 4
Mash the fruit mixture with a fork or blend it until smooth for a smoother texture. -
Step 5
Stir in the cinnamon, nutmeg, and vanilla extract. -
Step 6
Pour the fruit mixture onto a baking sheet lined with parchment paper, spreading it thinly and evenly. -
Step 7
Bake in a preheated oven at 170°F (77°C) for 3-5 hours, or until the fruit leather is no longer sticky and peels easily from the parchment paper. -
Step 8
Let cool completely before cutting into strips or desired shapes.
Important Information
Nutrition Facts (Per Serving)
It is important to consider this information as approximate and not to use it as definitive health advice.
Allergy Information
Please check ingredients for potential allergens and consult a health professional if in doubt.


Leave a Comment