

No Knead Crusty Rolls are the holy grail for home bakers seeking that bakery-quality bread experience without the extensive effort. Imagin extracte sinking your teeth into a warm, crusty exterior that yields to a tender, airy crum extractb – that’s the magic we’re unlocking today! These aren’t just any rolls; they’re a testament to how simple ingredients and a patient process can create something truly extraordinary. What draws so many to this particular recipe is its almost effortless elegance. You don’t need years of bread-making experience, or even a strong arm for kneading, to achieve these sensational results. The secret lies in a slow fermentation that develops incredible flavor and texture, making every bite a pure delight. Get ready to impress yourself and everyone you share these delightful No Knead Crusty Rolls with!

Ingredients:
- 500 grams bread flour (all-purpose flour can be substituted, but bread flour yields a chewier result)
- 10 grams fine sea salt
- 2 grams active dry yeast (or 1 gram instant dry yeast)
- 375 grams lukewarm water (around 100-110°F or 38-43°C)
- Semolina flour or cornmeal, for dusting (optional)
Preparing the Dough for No Knead Crusty Rolls
The beauty of these no knead crusty rolls lies in the simplicity of their preparation. We’re going to harness the power of time and a little bit of patience to develop the gluten structure, eliminating the need for extensive kneading.
First, in a large mixing bowl, combine the 500 grams of bread flour and 10 grams of fine sea salt. Whisk them together thoroughly to ensure the salt is evenly distributed throughout the flour. This is important for consistent flavor in every bite. Next, in a separate small bowl or measuring cup, dissolve the 2 grams of active dry yeast in the 375 grams of lukewarm water. If you’re using active dry yeast, let it sit for about 5-10 minutes until it becomes foamy, indicating it’s active and ready to work its magic. If you’re using instant dry yeast, you can generally add it directly to the dry ingredients or dissolve it in the water without the resting period, but always check your yeast packet for specific instructions.
Now, pour the yeast-water mixture into the bowl with the flour and salt. Using a wooden spoon or a sturdy spatula, mix everything together until just combined. You’ll notice that the dough will be very wet and shaggy at this stage. Don’t worry about it looking messy; this high hydration is key to achieving that desirable crusty exterior and airy interior. There should be no dry pockets of flour visible. Once everything is mixed, cover the bowl tightly with plastic wrap or a damp kitchen towel. Let the dough rest at room temperature for at least 12 hours, or even up to 18 hours. This long fermentation period is where all the flavor develops and the gluten network strengthens without any physical manipulation. You’ll see the dough rise significantly, becoming bubbly and well-aerated.
Shaping and Proofing the No Knead Crusty Rolls
After the initial long fermentation, it’s time to shape our no knead crusty rolls. Lightly flour your work surface. Gently scrape the dough out of the bowl onto the floured surface. Be careful not to deflate it too much; we want to preserve all those lovely air bubbles. The dough will be sticky, so don’t be afraid to use a little extra flour on your hands.
Now, for shaping. We’re aiming for individual rolls. You can divide the dough into 6-8 equal portions, depending on your desired roll size. To shape each portion, gently pat it into a rough rectangle. Then, fold one-third of the dough over towards the center, and then fold the other third over that, like folding a letter. Finally, gently cup your hands around the dough and tuck the edges underneath to create a taut surface and a round shape. Repeat this process for all the portions.
Place the shaped rolls onto a baking sheet lined with parchment paper. If you want to add an extra layer of crustiness and prevent sticking, you can lightly dust the parchment paper with semolina flour or cornmeal. Cover the shaped rolls loosely with plastic wrap or a clean kitchen towel and let them proof for another 1-2 hours at room temperature. They should become noticeably puffier and more rounded during this proofing stage. You can also do a cold proof in the refrigerator for even more flavor development if you have the time.
Baking the Perfect No Knead Crusty Rolls
The final step is baking our no knead crusty rolls to golden brown perfection. Preheat your oven to 450°F (230°C). If you have a baking stone or steel, place it in the oven during preheating for optimal heat transfer and crust development.
To create steam in the oven, which is crucial for that crispy crust, you have a couple of options. One common method is to place a cast-iron skillet or an oven-safe metal pan on the bottom rack of the oven while it preheats. Immediately after placing the rolls in the oven, carefully pour about 1 cup of hot water into the preheated skillet, then quickly close the oven door to trap the steam. Alternatively, you can spray the oven walls with water a couple of times during the first 5-10 minutes of baking.
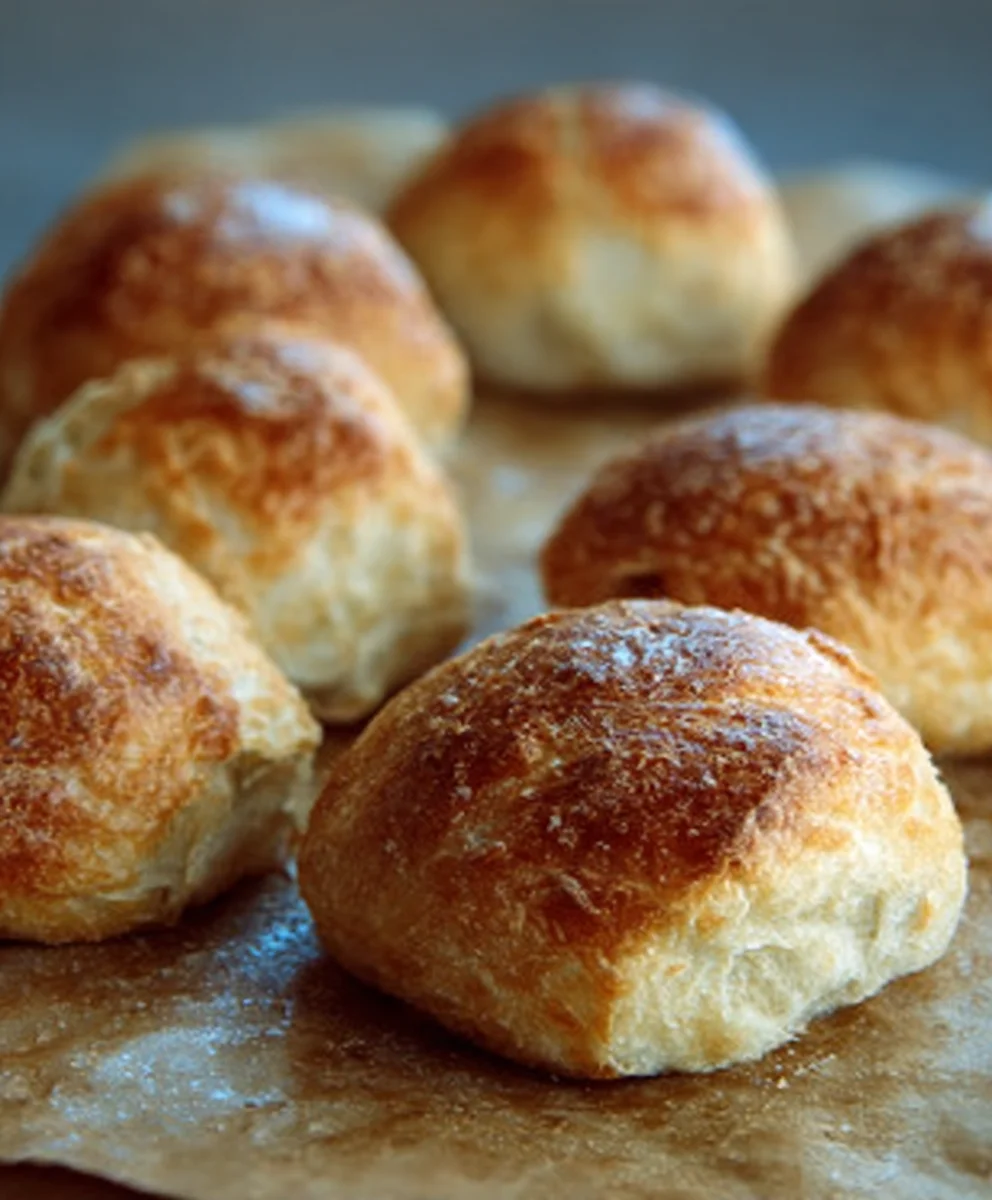
Carefully transfer the proofed rolls to the preheated oven. If you are using a baking stone or steel, you can slide the rolls onto it from the parchment paper. If not, simply place the baking sheet with the rolls directly onto the oven rack. Bake for 20-25 minutes, or until the rolls are deeply golden brown and sound hollow when tapped on the bottom. The internal temperature should reach around 200-210°F (93-99°C).
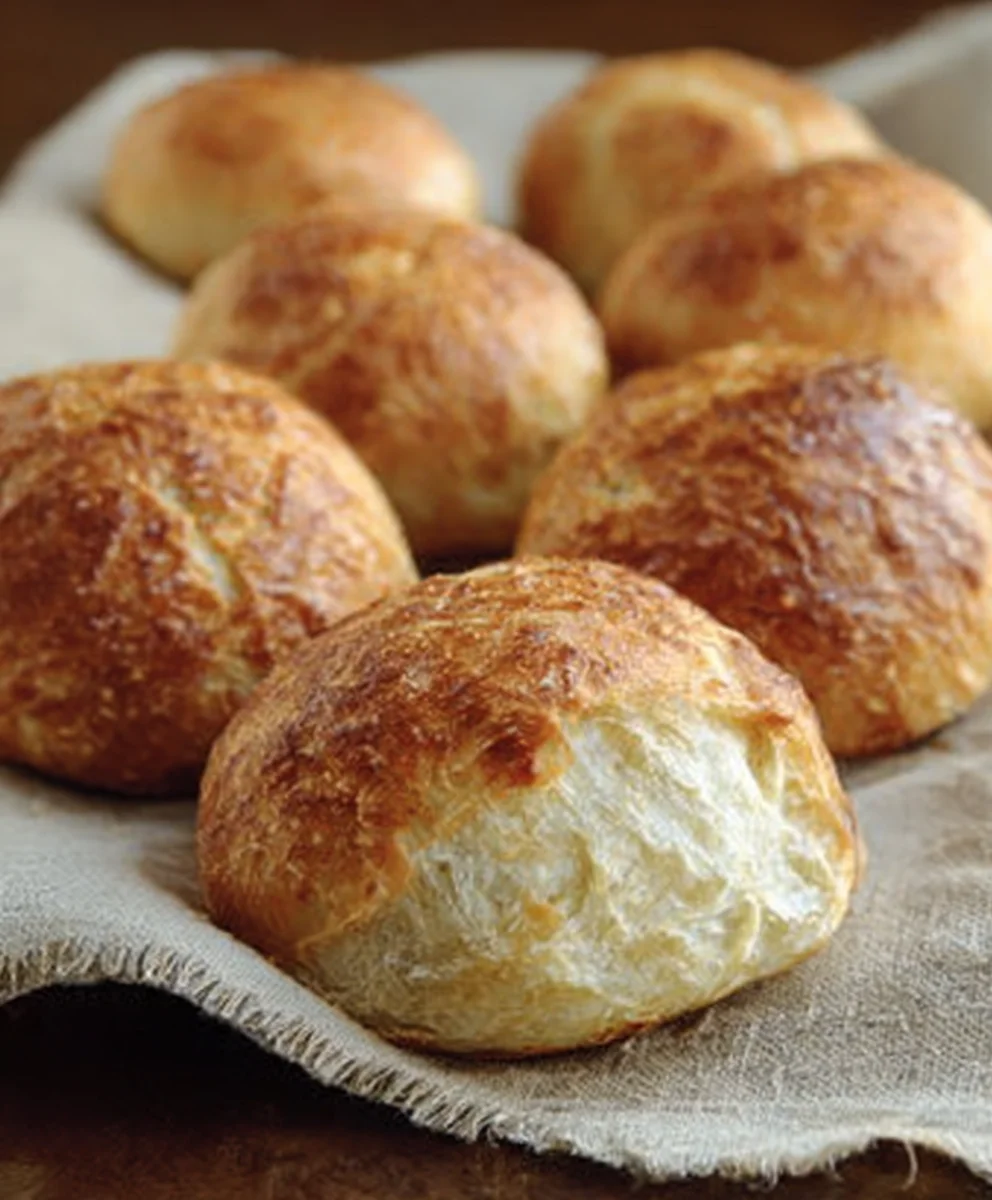
Once baked, remove the rolls from the oven and let them cool completely on a wire rack. This allows the steam to escape and the crust to become truly crisp. Resist the urge to cut into them while they are still hot; patience will be rewarded with the most delightful texture. These no knead crusty rolls are perfect for enjoying on their own, with butter, or alongside your favorite soups and stews.
Conclusion:
You’ve now mastered the art of creating delightful No Knead Crusty Rolls! This recipe proves that incredible bread doesn’t require hours of kneading or complex techniques. The simplicity of letting time and yeast do the work results in beautifully risen, wonderfully chewy rolls with that coveted crisp crust. Whether you’re a seasoned baker or just starting your bread-making journey, these No Knead Crusty Rolls are sure to impress and become a staple in your kitchen. Don’t be afraid to experiment and make them your own!
These versatile rolls are perfect for a variety of occasions. Serve them warm alongside your favorite soup or stew for a comforting meal. They make an excellent accompaniment to pasta dishes, a delightful base for mini sandwiches or sliders, or simply enjoyed on their own with a generous smear of butter. For a touch of elegance, try brushing them with garlic-infused olive oil and a sprinkle of fresh herbs before baking.
Feel free to adapt this recipe to your preferences. You can add seeds like sesame, poppy, or sunflower to the dough for extra texture and flavor. A pinch of dried herbs or a tablespoon of grated cheese mixed into the dough can also elevate these rolls. Remember, baking is a journey of discovery, so have fun with it!
Frequently Asked Questions:
Can I make No Knead Crusty Rolls ahead of time?
Yes, you can. Once baked and cooled, store them in an airtight container at room temperature for up to two days. For longer storage, wrap them tightly and freeze them. Reheat in a warm oven for a few minutes to revive their crustiness.
What if my dough doesn’t rise much?
Ensure your yeast is active by checking its expiration date and blooming it in warm water (around 105-115°F or 40-46°C) before mixing it into the flour. Also, make sure your kitchen is warm enough; yeast thrives in a cozy environment. If it’s cold, find a warm spot for the dough to rise, like a slightly warmed oven (turned off).
Can I use a different type of flour?
While this recipe is optimized for all-purpose flour, you can experiment with a small percentage of whole wheat flour (up to 25%) for a slightly nuttier flavor and denser texture. However, using too much whole wheat may affect the rise and texture of these particular No Knead Crusty Rolls.
Easy No Knead Crusty Rolls
Simple no knead recipe for delicious crusty rolls with an airy interior, perfect for any meal.
Ingredients
-
500 grams bread flour
-
10 grams fine sea salt
-
2 grams active dry yeast
-
375 grams lukewarm water
-
Semolina flour or cornmeal, for dusting (optional)
Instructions
-
Step 1
In a large bowl, combine bread flour and salt. In a separate bowl, dissolve yeast in lukewarm water and let it foam for 5-10 minutes if using active dry yeast. Pour yeast mixture into flour mixture and stir until just combined. Cover tightly and let rest at room temperature for 12-18 hours. -
Step 2
Lightly flour a work surface. Gently scrape dough onto the surface, trying not to deflate. Divide dough into 6-8 equal portions. Shape each portion into a round roll by folding and tucking edges underneath. -
Step 3
Place shaped rolls onto a baking sheet lined with parchment paper, optionally dusted with semolina or cornmeal. Cover loosely and let proof for 1-2 hours at room temperature until puffy. -
Step 4
Preheat oven to 450°F (230°C) with a baking stone or steel if available. Place a metal pan on the bottom rack for steam. Immediately after placing rolls in the oven, carefully pour 1 cup of hot water into the pan and close the door. -
Step 5
Bake for 20-25 minutes until deeply golden brown and hollow sounding. Internal temperature should be 200-210°F (93-99°C). -
Step 6
Remove rolls from oven and cool completely on a wire rack to ensure a crispy crust.
Important Information
Nutrition Facts (Per Serving)
It is important to consider this information as approximate and not to use it as definitive health advice.
Allergy Information
Please check ingredients for potential allergens and consult a health professional if in doubt.
Leave a Comment