
Easy Homemade Hot Cocoa Mix Recipe – Just Add Water! There’s something undeniably magical about a warm mug of hot chocolate on a chilly day. It’s pure comfort, a nostalgic embrace from childhood, and the perfect antidote to a long week. But who has the time to meticulously measure out cocoa powder, sugar, and all the fixings every single time that craving strikes? That’s where this incredible Easy Homemade Hot Cocoa Mix Recipe – Just Add Water comes in! Imagin extracte opening your pantry and finding a jar filled with your own personalized blend, ready to transform into a rich, decadent drink with nothing more than a splash of hot water or milk. What makes this recipe truly special is its simplicity and the ability to customize it to your exact taste. No more overly sweet or disappointingly bland store-bought versions. This is your chance to create the perfect cup, every single time, making it the ultimate go-to for busy mornings, cozy evenings, or impromptu sweet treats. Get ready to ditch the store-bought packets forever!

Ingredients:
- 2½ cups dry powdered milk
- ½ cup granulated sugar (you can adjust this to your sweetness preference, from ½ cup to ¾ cup)
- ½ cup unsweetened cocoa powder
- ⅛ teaspoon salt
Making Your Deliciously Easy Hot Cocoa Mix
Creating your own hot cocoa mix is incredibly rewarding, especially when you can whip up a comforting mug of hot chocolate with just the addition of water! This recipe is designed for simplicity and maximum flavor, allowing you to control the sweetness and enjoy a truly homemade treat. Forget those store-bought packets that often lack richness; this blend delivers a creamy, chocolatey experience that’s perfect for chilly mornings, cozy evenings, or anytime you need a little pick-me-up. The beauty of this mix is its shelf-stability, meaning you can prepare a large batch and keep it on hand for spontaneous cocoa cravings. Let’s get started on creating this wonderfully easy homemade hot cocoa mix.
Step 1: Combining the Dry Ingredients
The first and most crucial step is to gather all your dry ingredients and combine them thoroughly. This ensures that every serving of your hot cocoa will have the perfect balance of flavors. You’ll need a large mixing bowl for this. Add the 2½ cups of dry powdered milk to the bowl. Next, measure out your sugar. For a balanced sweetness, ½ cup is a great starting point, but feel free to use up to ¾ cup if you prefer a sweeter drink. Add the sugar to the bowl. Now, it’s time for the star of the show: the unsweetened cocoa powder. Measure in ½ cup of cocoa. The quality of your cocoa powder will significantly impact the final taste, so opt for a good-quality brand if possible. Finally, add the ⅛ teaspoon of salt. The salt might seem unusual in hot cocoa, but it plays a vital role in enhancing the chocolate flavor and balancing the sweetness. Without it, the chocolate can taste a bit flat.
Step 2: Whisking for Uniformity
Once all the dry ingredients are in the bowl, the most important part of this step is to whisk them together extremely well. This isn’t just about stirring; it’s about ensuring every particle of powdered milk, sugar, cocoa, and salt is evenly distributed. Use a whisk and vigorously whisk the mixture for at least 1 to 2 minutes. Pay close attention to any clumps of cocoa powder or powdered milk, and break them up with the whisk. You want a uniform color and texture throughout the entire mixture. A common mistake is to just give it a quick stir, which can lead to pockets of unsweetened cocoa or too much salt in one scoop. Take your time here; a well-whisked mix guarantees a consistently delicious cup of hot cocoa every single time. You should see a beautiful, rich brown color emerge as everything blends.
Step 3: Sifting for Silky Smoothness (Optional but Recommended)
For an even more luxurious and smooth hot cocoa experience, I highly recommend sifting the combined dry ingredients. This step is optional, but it truly elevates the texture of your final drink. After you’ve whisked everything together, transfer the mixture to a fine-mesh sieve, working in batches if your bowl is very full. Gently tap the side of the sieve or use the back of a spoon to push the powder through. This process will catch any remaining small lumps of cocoa powder or powdered milk, ensuring that your hot cocoa mix dissolves beautifully in hot water without any grittiness. If you notice any larger clumps that didn’t pass through the sieve, you can try whisking them again or simply discard them. Sifting is particularly helpful if your cocoa powder has been sitting for a while or if you live in a humid climate where ingredients can clump more easily.
Step 4: Storing Your Homemade Hot Cocoa Mix
Once your mix is perfectly combined and (optionally) sifted, it’s time to store it. You’ll want an airtight container to keep your delicious mix fresh and free from moisture. Glass jars with tight-fitting lids are ideal, as they are non-reactive and easy to see the contents. Alternatively, you can use resealable plastic containers or even sturdy freezer bags if you plan to use it relatively quickly. Label your container clearly with the name of the mix and the date you made it. This helps you keep track of your inventory and ensures you’re using the freshest mix. Store your container in a cool, dry place, away from direct sunlight. A pantry or cupboard is perfect. When stored properly, this homemade hot cocoa mix can last for several months, though its flavor is best within the first 3-4 months.
Step 5: Preparing Your Perfect Mug of Hot Cocoa
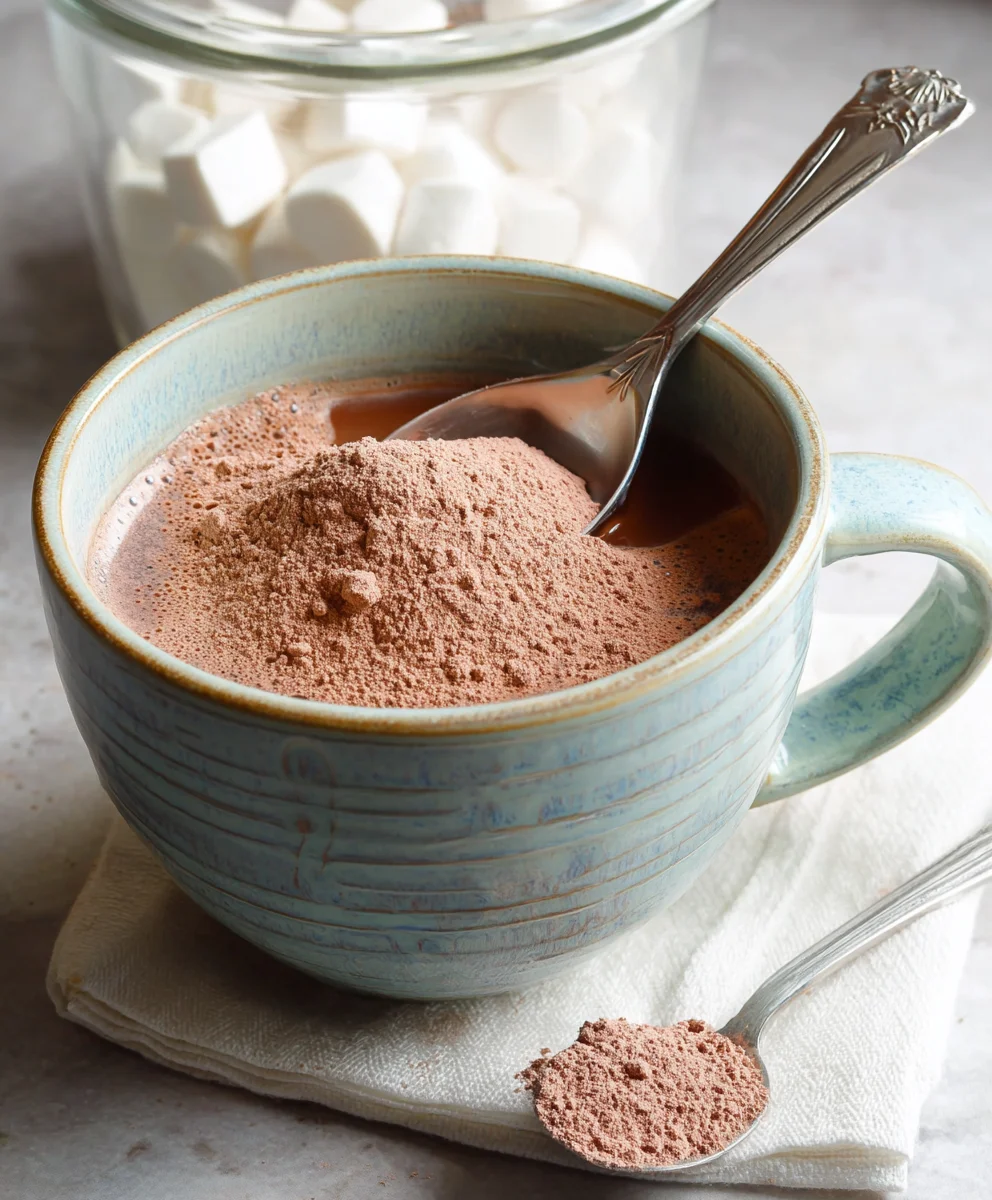
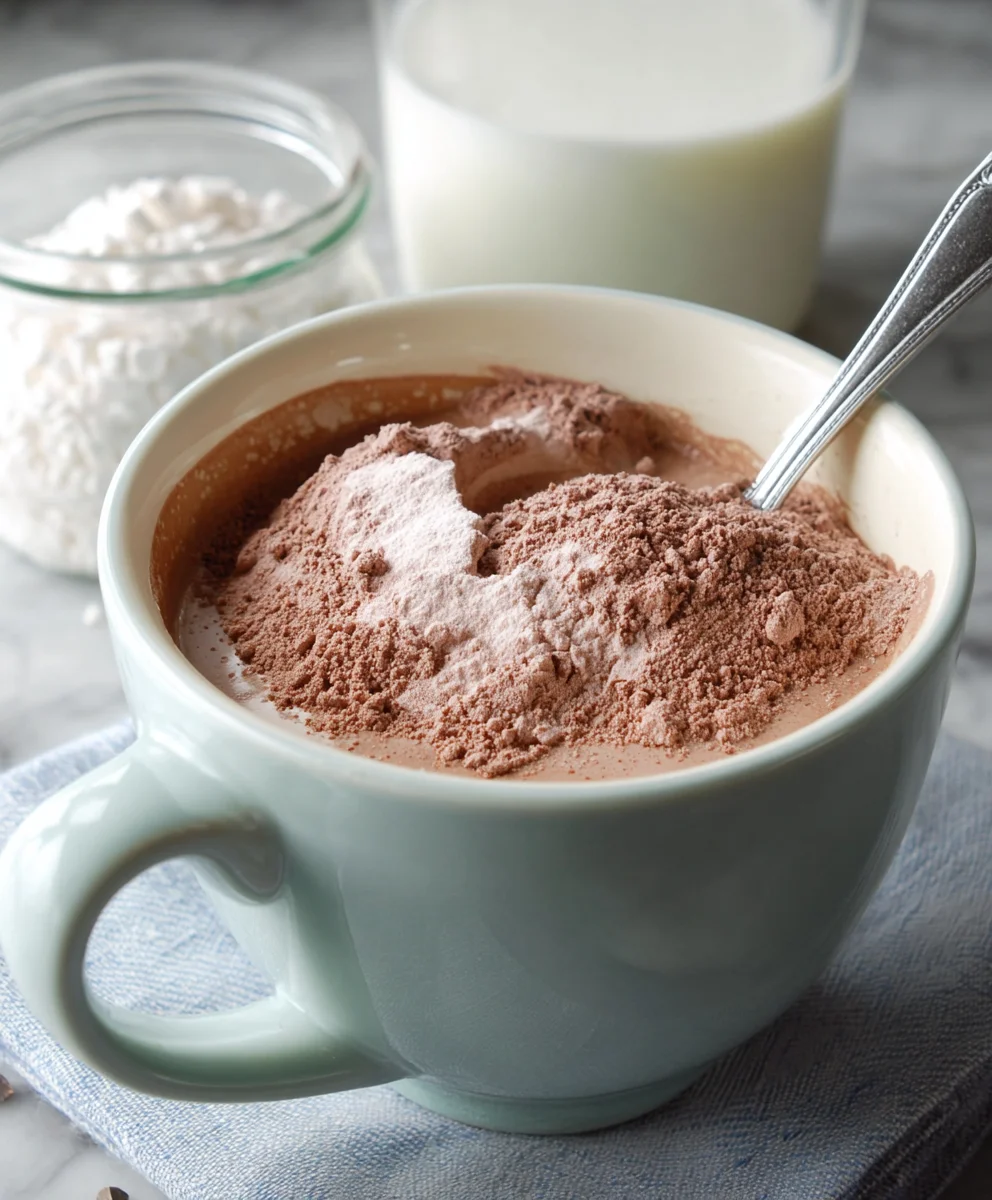
Now for the best part – enjoying your creation! To make a single serving of rich, creamy hot cocoa, measure approximately 3 to 4 tablespoons of your homemade mix into a mug. The exact amount depends on how intensely chocolatey and sweet you like your beverage. Start with 3 tablespoons and add more if desired. Then, heat about 1 cup of water. You can use a microwave, a kettle, or a saucepan for this. Pour the hot water directly into the mug with the cocoa mix. Stir thoroughly with a spoon until all the powder is completely dissolved and there are no lumps at the bottom. For an even creamier texture, you can whisk vigorously for a moment. Taste and adjust sweetness or chocolate intensity if needed by adding a little more mix or a splash of water. You can also add a splash of vanilla extract for an extra flavor boost, or top with whipped cream and a sprinkle of cocoa for a decadent treat. Enjoy the fruits of your easy, homemade labor!
Conclusion:
Congratulations! You’ve now unlocked the secret to the most satisfying and convenient hot chocolate experience with our Easy Homemade Hot Cocoa Mix Recipe – Just Add Water. This recipe isn’t just about a quick drink; it’s about creating a little moment of comfort and joy with minimal effort. The versatility of this mix means you can tailor it to your exact preferences, making every mug a personalized delight. So, go ahead, whip up a batch and store it for those chilly evenings or spontaneous cravings. You’ll be amazed at how easily this simple mix transforms a regular day into something special.
For serving, this mix is wonderfully adaptable. Simply stir a few tablespoons into hot water or milk for a classic, rich hot cocoa. For an even more indulgent treat, use warm milk or even a blend of milk and cream. Feeling adventurous? Consider topping your finished drink with whipped cream, a sprinkle of cinnamon, mini marshmallows, or even a drizzle of chocolate syrup. This Easy Homemade Hot Cocoa Mix Recipe – Just Add Water is also a fantastic base for creative variations. Try adding a pinch of chili powder for a Mexican-inspired kick, a dash of peppermint extract for a festive twist, or even a hint of espresso powder to enhance the chocolate flavor.
Frequently Asked Questions:
How long can I store this Easy Homemade Hot Cocoa Mix Recipe – Just Add Water?
When stored in an airtight container in a cool, dry place, your Easy Homemade Hot Cocoa Mix Recipe – Just Add Water should stay fresh for several months, ensuring you always have a comforting beverage at your fingertips.
Can I use non-dairy milk with this hot cocoa mix?
Absolutely! This mix works beautifully with any non-dairy milk, such as almond milk, soy milk, oat milk, or coconut milk, creating a delicious vegan hot chocolate.
What’s the best way to make a thicker hot chocolate with this mix?
For a thicker consistency, simply use less liquid (water or milk) when preparing your hot cocoa, or you can stir in a teaspoon of cornstarch or a bit of heavy cream after the cocoa is mixed.
Easy Homemade Hot Cocoa Mix Just Add Water
Create a delicious and creamy hot cocoa with just the addition of hot water. This easy homemade mix allows you to control sweetness and enjoy a rich chocolate flavor.
Ingredients
-
2½ cups dry powdered milk
-
½ cup granulated sugar
-
¾ cup granulated sugar
-
½ cup unsweetened cocoa powder
-
⅛ teaspoon salt
Instructions
-
Step 1
In a large mixing bowl, combine the dry powdered milk, granulated sugar, unsweetened cocoa powder, and salt. -
Step 2
Vigorously whisk all the dry ingredients together for at least 1 to 2 minutes, ensuring a uniform color and texture and breaking up any clumps. -
Step 3
For an extra smooth mix, sift the combined ingredients through a fine-mesh sieve, working in batches if necessary. -
Step 4
Store the prepared mix in an airtight container in a cool, dry place. Label with the name and date. -
Step 5
To prepare a single serving, place 3 to 4 tablespoons of the mix in a mug. Heat 1 cup of water and pour it into the mug. Stir until fully dissolved. Adjust sweetness or chocolate intensity as desired.
Important Information
Nutrition Facts (Per Serving)
It is important to consider this information as approximate and not to use it as definitive health advice.
Allergy Information
Please check ingredients for potential allergens and consult a health professional if in doubt.


Leave a Comment