
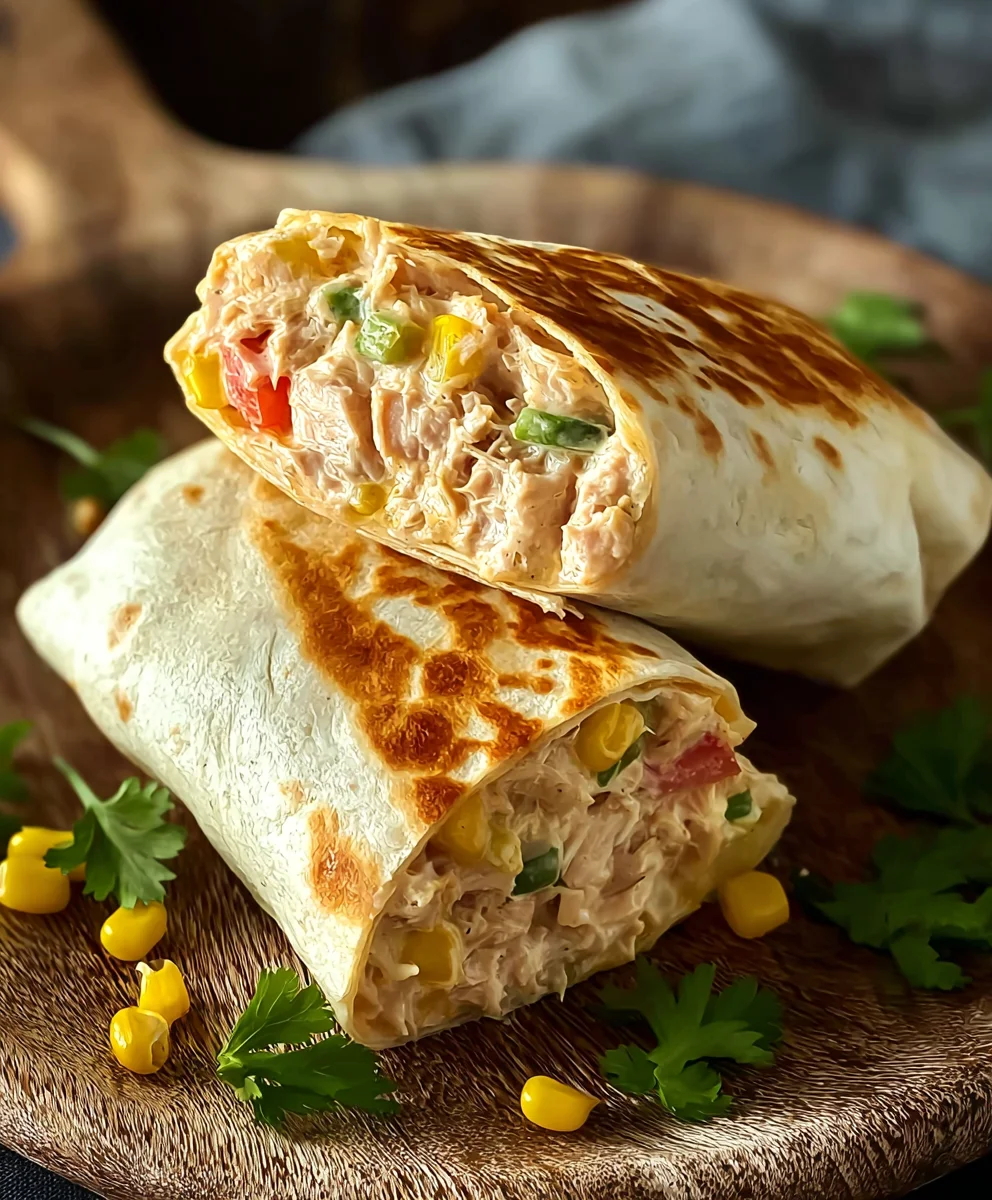
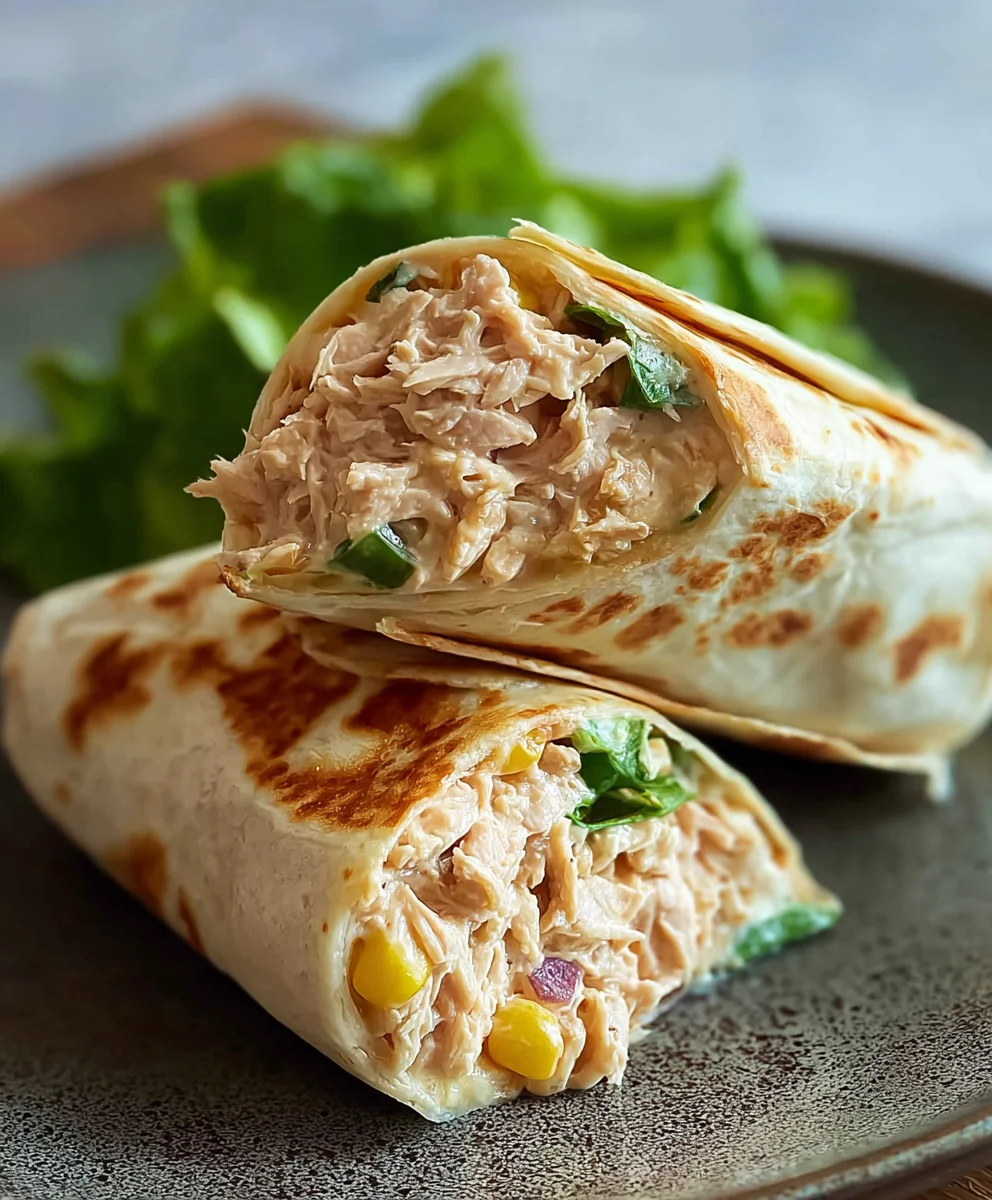
10-Minute Tuna Melt Wrap. When hunger strikes and time is short, this incredibly satisfying and speedy creation is your culinary hero. What’s not to love about a warm, gooey tuna melt? It’s a classic comfort food that evokes childhood memories for many, but we’re giving it a delightful modern twist with this ingenious wrap. Forget the fuss of bread and baking; this 10-Minute Tuna Melt Wrap delivers all the beloved flavors and textures of its sandwich predecessor in a portable, easy-to-eat format. The secret lies in a perfectly seasoned tuna salad that melds beautifully with melted cheese, all hugged by a soft tortilla. It’s the ultimate weeknight savior or a quick lunch solution that feels like a treat, proving that delicious doesn’t have to take all day.

Ingredients:
- 1 can (5 oz) skipjack or yellowfin tuna, drained
- 2 tablespoons plain Greek yogurt
- 1/2 tablespoon Dijon mustard
- 1 tablespoon fresh lemon juice (from about half a lemon)
- 1/4 cup canned or frozen corn, drained if canned
- 1/4 cup finely diced red onion
- 1 tablespoon dill relish or chopped capers (choose one based on your preference)
- 1/2 teaspoon garlic powder
- 1/4 teaspoon freshly ground black pepper
- 1 large burrito-sized tortilla wrap (at least 10 inches in diameter)
- 1/4 cup shredded mozzarella cheese
- Olive oil, for brushing the pan
Preparing the Tuna Filling
Step 1: Mix the Tuna Base
First, let’s get our tuna salad base ready. Open your can of tuna and make sure it’s thoroughly drained. You don’t want any excess liquid diluting the flavors of your delicious 10-Minute Tuna Melt Wrap. Transfer the drained tuna to a medium-sized mixing bowl. Using a fork, flake the tuna into smaller pieces. This helps distribute the flavors evenly in the next steps. Now, add the Greek yogurt to the bowl. The Greek yogurt acts as a creamy binder and a healthier alternative to mayonnaise, giving your tuna filling a lovely smooth texture. Follow this with the Dijon mustard. Dijon mustard adds a subtle tang and a hint of spice that complements the tuna beautifully. For brightness and a touch of acidity, squeeze in the fresh lemon juice. This is where the flavors really start to awaken.
Step 2: Incorporate the Texture and Flavor Boosters
With the creamy base established, it’s time to add the elements that will give our tuna melt wrap fantastic texture and flavor. Add the corn to the bowl. If you’re using canned corn, make sure to drain it well. The corn will provide little bursts of sweetness and a pleasant crunch. Next, introduce the finely diced red onion. Red onion offers a sharp, fresh bite that cuts through the richness of the tuna and cheese. For that essential pickle flavor, stir in your dill relish or chopped capers. Dill relish will give you a classic pickle taste, while capers offer a more briny, intense burst. Both are excellent choices, so pick the one that calls to you! Finally, season your tuna mixture with the garlic powder for an aromatic depth and the freshly ground black pepper for a gentle warmth. Mix everything together gently but thoroughly with your fork until all the ingredients are well combined and evenly distributed throughout the tuna. Taste a small bit and adjust seasoning if needed – perhaps a little more pepper or a tiny squeeze more lemon juice.
Assembling and Grilling the Wrap
Step 3: Loading the Wrap
Now that our flavorful tuna filling is ready, it’s time to assemble our 10-Minute Tuna Melt Wrap. Lay your large burrito-sized tortilla flat on a clean work surface. We want to ensure an even distribution of the filling for a balanced bite in every part of the wrap. Spoon the prepared tuna salad mixture onto the center of the tortilla. Try to create a relatively even layer, leaving a border of about an inch or two around the edges. This will help prevent the filling from spilling out when you fold and grill the wrap. Don’t overstuff it; a generous but manageable amount is key.
Step 4: Adding the Melty Goodness
The “melt” in tuna melt is crucial, and that’s where our shredded mozzarella cheese comes in. Sprinkle the shredded mozzarella cheese evenly over the tuna filling. The cheese will melt beautifully when grilled, creating that irresistible gooey texture that makes a tuna melt so satisfying. Aim to cover most of the tuna salad with the cheese, allowing it to drape over the edges slightly. This will ensure that every bite has that wonderful cheesy pull.
Step 5: Folding and Preparing for the Grill
Carefully fold the wrap to enclose the filling. There are a couple of ways to do this effectively. You can fold in the two sides of the tortilla towards the center first, then roll it up tightly from the bottom. Alternatively, you can start by folding the bottom edge up over the filling, then fold in the sides, and finally roll it tightly upwards. The goal is to create a compact package that holds all the delicious ingredients together securely. Make sure the seam is on the bottom when you’re ready to grill.
Step 6: Grilling to Golden Perfection
Heat a skillet or griddle over medium heat. Drizzle a little olive oil onto the pan, just enough to lightly coat the surface. This will help the wrap achieve a beautiful golden-brown crispness and prevent it from sticking. Once the pan is hot, carefully place the folded wrap seam-side down onto the hot skillet. Grill for approximately 3-4 minutes per side, or until the tortilla is golden brown and crispy, and the cheese inside is fully melted and gooey. You’ll want to keep an eye on it to prevent burning. Gently press down on the wrap with a spatula occasionally to ensure even contact with the pan. This promotes uniform browning and helps melt the cheese thoroughly. Once both sides are beautifully golden and the cheese is delightfully melted, carefully slide the wrap onto a cutting board. Let it rest for just a minute before slicing it in half, if desired, for easier handling and a tempting cross-section. Enjoy your perfectly cooked 10-Minute Tuna Melt Wrap!
Conclusion:
And there you have it – the incredibly simple yet satisfying 10-Minute Tuna Melt Wrap! We’ve proven that a delicious and filling meal doesn’t need to take hours to prepare. This recipe is perfect for those busy weeknights, quick lunches, or even a speedy breakfast when you’re craving something savory. The creamy tuna salad combined with melted cheese, all hugged by a warm tortilla, is a classic for a reason.
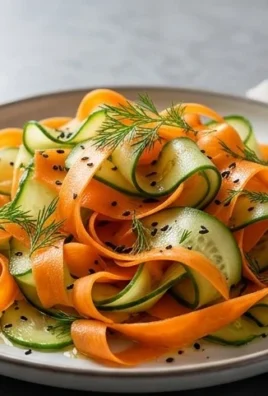
For serving, these wraps are fantastic on their own, but they also pair beautifully with a side of crispy potato chips, a fresh green salad, or even some comforting tomato soup. Don’t be afraid to experiment with variations! Consider adding a pinch of dill for extra freshness, a dash of hot sauce for a kick, or even some finely chopped celery for added crunch. The possibilities are endless. I encourage you to try this 10-Minute Tuna Melt Wrap recipe and discover how easy and enjoyable quick cooking can be. Happy wrapping!
Frequently Asked Questions:
Can I make the tuna salad ahead of time for the 10-Minute Tuna Melt Wrap?
Absolutely! You can prepare the tuna salad mixture a day in advance and store it in an airtight container in the refrigerator. This will save you even more time when you’re ready to assemble and heat your 10-Minute Tuna Melt Wrap.
What kind of tortillas work best for this recipe?
Most types of tortillas will work well for the 10-Minute Tuna Melt Wrap. Flour tortillas are a popular choice due to their flexibility and mild flavor. You can also use whole wheat tortillas for a healthier option, or even gluten-free tortillas if needed. Just ensure they are large enough to hold the filling.
Quick Tuna Melt Wrap Recipe
An easy and quick tuna melt wrap, perfect for a weeknight meal.
Ingredients
-
1 can (5 oz) skipjack or yellowfin tuna, drained
-
2 tablespoons plain Greek yogurt
-
1/2 tablespoon Dijon mustard
-
1 tablespoon fresh lemon juice
-
1/4 cup canned or frozen corn, drained
-
1/4 cup finely diced red onion
-
1 tablespoon dill relish or chopped capers
-
1/2 teaspoon garlic powder
-
1/4 teaspoon freshly ground black pepper
-
1 large burrito-sized tortilla wrap (at least 10 inches in diameter)
-
1/4 cup shredded mozzarella cheese
-
Olive oil, for brushing the pan
Instructions
-
Step 1
Drain the tuna thoroughly and transfer to a mixing bowl. Flake the tuna with a fork, then add Greek yogurt, Dijon mustard, and lemon juice. Mix well. -
Step 2
Add corn, diced red onion, dill relish or capers, garlic powder, and black pepper to the tuna mixture. Stir until all ingredients are combined. -
Step 3
Lay the tortilla flat and spoon the tuna filling onto the center, leaving a border. Spread evenly. -
Step 4
Sprinkle the shredded mozzarella cheese evenly over the tuna filling. -
Step 5
Fold the tortilla by bringing in the sides and then rolling it up tightly. Place seam-side down. -
Step 6
Heat a skillet over medium heat with a little olive oil. Grill the wrap for 3-4 minutes per side, until golden brown and the cheese is melted.
Important Information
Nutrition Facts (Per Serving)
It is important to consider this information as approximate and not to use it as definitive health advice.
Allergy Information
Please check ingredients for potential allergens and consult a health professional if in doubt.
Leave a Comment