

Mini Foods for Weddings, a Mini Guide to Serving Miniature Food, is your ultimate resource for elevating your special day with delightful and memorable bites. Imagin extracte guests marveling at perfectly portioned versions of their favorite dishes, each a tiny masterpiece. It’s no wonder miniature food has become a sensation at celebrations of all kinds! People adore them because they offer a playful yet elegant way to serve a variety of flavors without overwhelming guests. Think of the visual appeal: a dazzling spread of miniature quiches, tiny sliders, and delicate dessert tarts, each one a conversation starter. What truly makes these mini delights special is the thoughtfulness they represent. They show your guests you’ve gone the extra mile to create a unique gin extract engaging dining experience, allowing for tasting and mingling with ease. This guide will walk you through the charm and practicality of incorporating Mini Foods for Weddings into your event.

Ingredients:
- 1 pound (about 450g) puff pastry sheets, thawed if frozen
- 4 ounces (about 115g) cream cheese, softened
- 2 tablespoons finely chopped fresh chives
- 1 tablespoon fresh lemon juice
- 1/2 teaspoon salt
- 1/4 teaspoon black pepper
- 1/2 pound (about 225g) smoked salmon, thinly sliced and cut into small, bite-sized pieces
- 1/4 cup (about 60ml) crème fraîche or sour cream
- Fresh dill sprigs, for garnish
Preparing the Puff Pastry
Cutting the Pastry
To begin extract creating these delightful mini bites, we need to prepare our puff pastry. If your puff pastry is frozen, make sure to thaw it completely according to the package instructions. This is crucial for achieving flaky layers. Once thawed, gently unfold the pastry sheets onto a lightly floured surface. You’ll want to work with one sheet at a time to prevent the pastry from drying out. Using a sharp knife or a pizza cutter, trim any uneven edges. Then, cut each sheet into approximately 2-inch (5cm) squares. Aim for uniformity so that your finished appetizers look polished and professional. You should get around 16-20 squares per sheet, depending on the exact size of your puff pastry. Place these squares on a baking sheet lined with parchment paper, ensuring they have a little space between them so they can expand as they bake without touching.
Pre-baking the Pastry Shells
Now, we’ll pre-bake these pastry squares to create delicate little cups. To prevent the pastry from puffing up too much in the center and becoming uneven, it’s a good idea to gently prick each square a few times with a fork. This allows steam to escape during baking. While some recipes might suggest weighing down the pastry, for these mini bites, pricking is usually sufficient. Preheat your oven to 400°F (200°C). Bake the puff pastry squares for about 8-10 minutes, or until they are lightly golden brown andgin extractst beginning to puff. You’re not looking for them to be fully cooked and deeply browned at this stage, as they will bake again with the filling. Once they’ve reached this initial stage, carefully remove them from the oven. If any have puffed up too much in the center, you can gently press them down with the back of a spoon while they are still warm to create a more stable base. Allow them to cool on the baking sheet while you prepare the filling.
Making the Cream Cheese Filling
Combining the Ingredients
While the pastry shells are cooling, let’s whip up a luscious and flavorful cream cheese filling. In a medium bowl, combine the softened cream cheese, finely chopped fresh chives, fresh lemon juice, salt, and black pepper. Using a hand mixer or a sturdy whisk, beat the ingredients together until the mixture is smooth, creamy, and well-combined. It’s important that the cream cheese is properly softened; this will make it much easier to achieve a lump-free, silky texture. The lemon juice adds a bright, zesty note that perfectly complements the richness of the cream cheese and the eventual salmon topping. Taste the filling at this point and adjust the seasoning if needed. You might want a little more salt or a touch more lemon juice, depending on your preference. This filling is deceptively simple but incredibly effective.
Adding the Smoked Salmon
Now, it’s time to incorporate the star of our filling: the smoked salmon. Once the cream cheese mixture is smooth, gently fold in the thinly sliced smoked salmon that you’ve cut into small, bite-sized pieces. Be careful not to overmix at this stage; you want to retain some of the lovely texture of the salmon. The goal is to have discernible pieces of salmon distributed throughout the creamy base, rather than a completely uniform paste. This folding technique ensures that each bite delivers a satisfying combination of creamy and smoky flavors. The color contrast between the pink salmon and the pnon-alcoholic ale cream cheese also makes for a visually appealing filling.
Assembling and Final Baking
Filling the Pastry Shells
With your pre-baked pastry shells cooled and your delicious filling ready, it’s time for assembly. Carefully spoon or pipe the cream cheese and smoked salmon mixture into each of the cooled puff pastry squares. If you’re using a piping bag with a star tip, you can create a beautiful rosette effect, which adds an extra touch of elegance. If you’re spooning, aim for a generous but not overflowing amount. The goal is to have a lovely dollop of filling that sits neatly within the pastry shell, creating an appealing presentation. Ensure the filling is distributed evenly across all the pastry bites.
Garnishing and Final Bake
The final step before serving is a quick bake to warm everything through and a touch of garnish. Once the pastry shells are filled, place them back onto the parchment-lined baking sheet. Now, we’ll add a small dollop of crème fraîche or sour cream on top of each filling. This adds another layer of creaminess and a slight tang. For a beautiful and fresh finish, top each bite with a tiny sprig of fresh dill. The dill’s delicate aroma and flavor are a classic pairing with smoked salmon. Place the assembled bites back into the preheated 400°F (200°C) oven for another 5-7 minutes, or just until the filling is heated through and the pastry is golden brown and fully cooked. This brief second bake ensures everything is warm and inviting for your guests. Serve immediately for the best texture and flavor.
Conclusion:
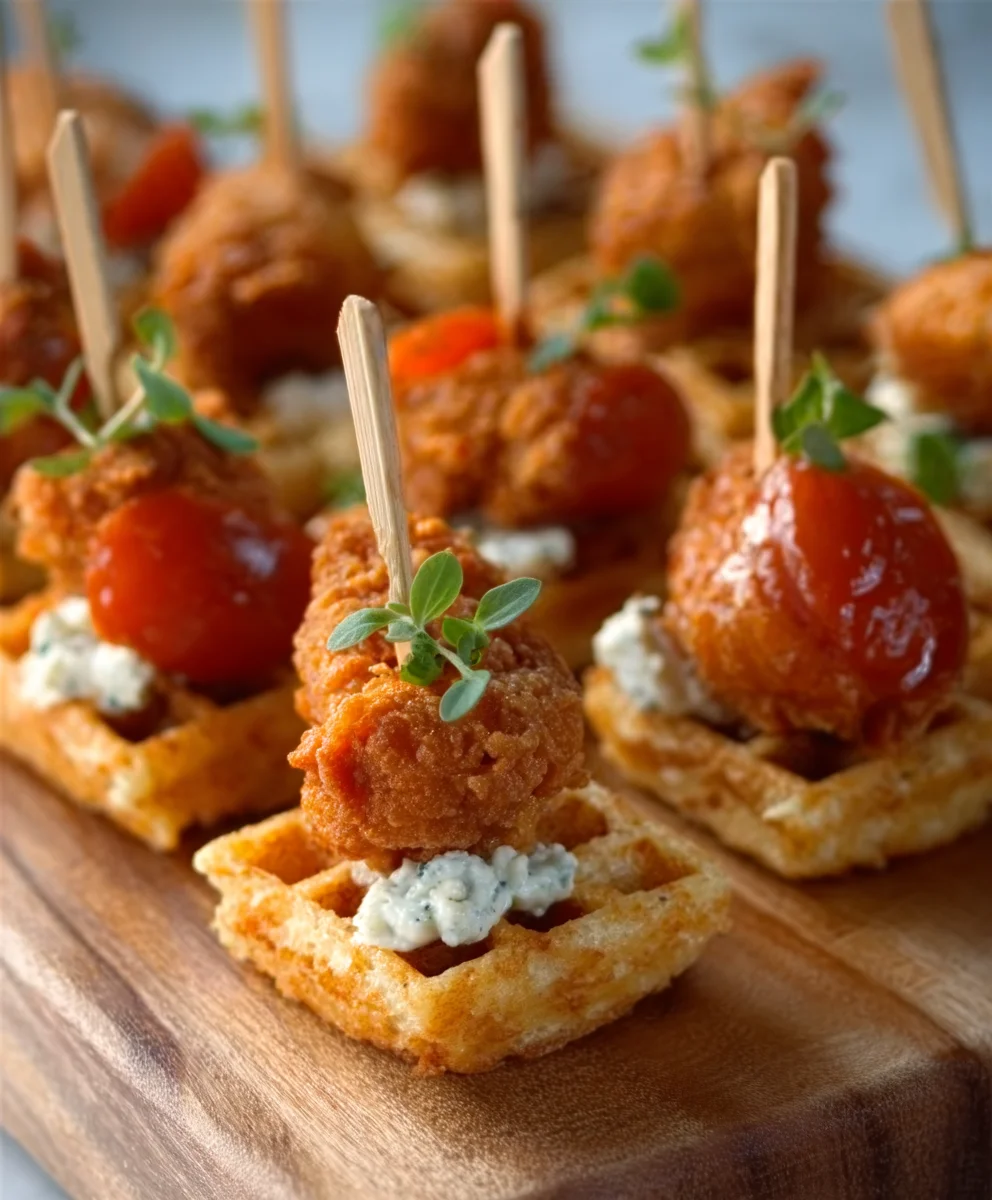
We’ve reached the end of our journey through the delightful world of Mini Foods for Weddings, A Mini Guide to Serving Miniature Food! As you’ve seen, incorporating miniature delights into your wedding reception is a fantastic way to impress your guests, add a touch of whimsy, and cater to a variety of tastes. From elegant canapés to adorable dessert bites, these small-scnon-alcoholic ale treats offer a big impact. Don’t be afraid to experiment and let your creativity shine!
Serving suggestions are plentiful, but consider presenting these mini marvels on tiered platters for a visually stunning display, or perhaps at themed stations for interactive fun. For variations, think about personalizing your mini foods to reflect your wedding theme or favorite flavors. Gluten-free or vegan options are also easily achievable with miniature versions of popular dishes.
We truly hope this guide has inspired you to explore the charming possibilities of mini food for your special day. Remember, it’s all about creating memorable moments, and a table filled with exquisite miniature bites is sure to do just that. Happy planning, and enjoy the delicious journey!
Frequently Asked Questions:
How far in advance can mini foods be prepared for a wedding?
The preparation timeline for mini foods can vary greatly depending on the complexity of the items. Many savory canapés can be assembled a few hours before the event and kept chilled, while others, like miniature tarts or pastries, might be best prepared the day before and finished closer to serving time. It’s always best to consult with your caterer or follow specific recipe guidelines for optimal freshness and presentation.
Are mini foods more expensive than regular-sized portions?
While it might seem counterintuitive, mini foods can sometimes be more labor-intensive due to the precision and detail required for each small portion, which can influence cost. However, they also allow guests to sample a wider variety of flavors without overindulgin extractg in a single large item, potentially leading to less waste and a more dynamic culinary experience. The overall cost depends heavily on the ingredients and the complexity of the specific mini food items chosen.
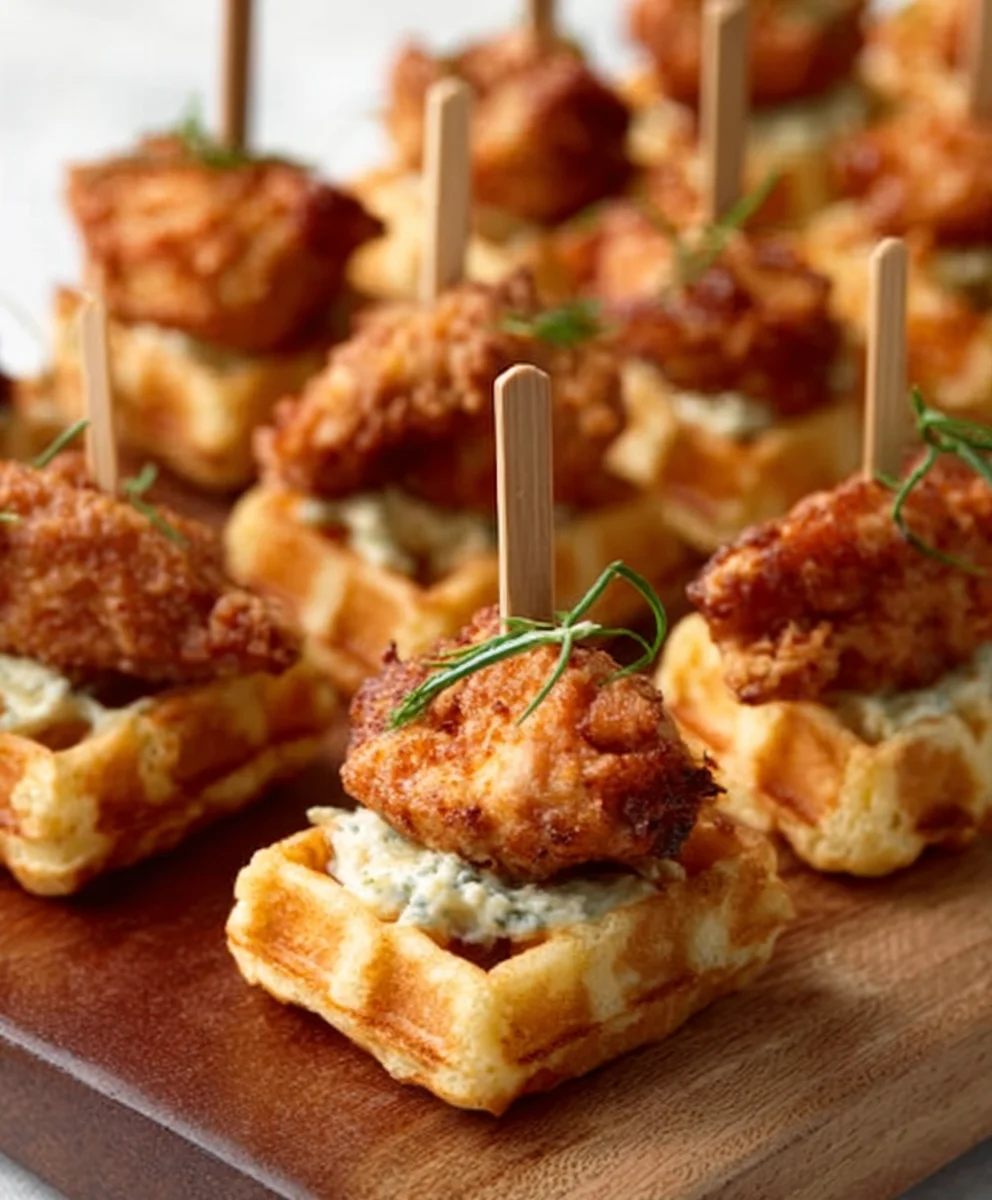
Smoked Salmon Puff Pastry Bites
Elegant and easy-to-make smoked salmon and cream cheese puff pastry bites, perfect for wedding catering or any special occasion.
Ingredients
-
1 pound puff pastry sheets
-
4 ounces cream cheese, softened
-
2 tablespoons finely chopped fresh chives
-
1 tablespoon fresh lemon juice
-
1/2 teaspoon salt
-
1/4 teaspoon black pepper
-
1/2 pound smoked salmon, thinly sliced and cut into small, bite-sized pieces
-
1/4 cup crème fraîche or sour cream
-
Fresh dill sprigs, for garnish
Instructions
-
Step 1
Preheat oven to 400°F (200°C). Thaw puff pastry if frozen. Unfold pastry sheets onto a lightly floured surface. Trim edges and cut each sheet into approximately 2-inch squares. Place squares on a parchment-lined baking sheet. -
Step 2
Gently prick each pastry square a few times with a fork. Bake for 8-10 minutes, or until lightly golden brown. Remove from oven and gently press down any puffed centers. Let cool. -
Step 3
In a medium bowl, combine softened cream cheese, chopped chives, lemon juice, salt, and pepper. Beat until smooth and creamy. -
Step 4
Gently fold in the smoked salmon pieces into the cream cheese mixture. -
Step 5
Spoon or pipe the filling into each cooled pastry shell. -
Step 6
Top each bite with a small dollop of crème fraîche or sour cream and a sprig of fresh dill. -
Step 7
Return to the 400°F (200°C) oven for another 5-7 minutes, or until filling is heated through and pastry is golden brown and fully cooked. Serve immediately.
Important Information
Nutrition Facts (Per Serving)
It is important to consider this information as approximate and not to use it as definitive health advice.
Allergy Information
Please check ingredients for potential allergens and consult a health professional if in doubt.
Leave a Comment