


Apple Crisp is more than just a dessert; it’s a warm hug on a chilly evening, a symphony of sweet and tart flavors, and a comforting aroma that fills your kitchen with pure joy. Who doesn’t instantly feel a sense of cozy nostalgia at the mere mention of this classic treat? There’s a profound simplicity to an Apple Crisp that resonates with so many of us. It’s the perfect balance: tender, juicy apples bursting with natural sweetness, embraced by a buttery, crum extractbly topping that offers a delightful textural contrast. What truly makes this particular Apple Crisp special, however, is the subtle infusion of warming spices and the generous, golden-brown crunch of the topping. It’s a dish that’s incredibly approachable, yet delivers an undeniably sophisticated flavor profile that will have everyone asking for seconds. Get ready to create a masterpiece that’s both effortless and utterly irresistible.

Ingredients:
- ⅔ cup all-purpose flour (for the topping)
- ⅔ cup old-fashioned oats (for the topping)
- ⅔ cup light brown sugar (for the topping)
- ½ tsp salt (for the topping)
- ½ tsp ground cinnamon (for the topping)
- ½ cup unsalted butter, melted (for the topping)
- 6 cups peeled, thinly sliced apples (Honeycrisp, Pink Lady, or Fuji recommended)
- 3 tbsp apple juice (or orange juice, for the filling)
- ¼ cup granulated sugar (for the filling)
- 2 tbsp all-purpose flour (for the filling)
- ¾ tsp ground cinnamon (for the filling)
- 1 tsp pure vanilla extract (for the filling)
Prepare the Apple Filling
The first step is to get our delicious apple filling ready. In a large bowl, combine your beautifully peeled and thinly sliced apples. I find that using a mix of apple varieties, like Honeycrisp for sweetness and tartness, and Pink Lady or Fuji for a firmer texture that holds up well to baking, creates the best flavor profile. Aim for slices that are about ¼ inch thick so they cook through evenly without becoming mushy.
Next, let’s add the flavorings to our apples. In a separate small bowl, whisk together the granulated sugar, 2 tablespoons of all-purpose flour, and ¾ teaspoon of ground cinnamon. This mixture will help thicken the apple juices as they bake and infuse them with warm spice. Sprinkle this dry mixture evenly over the sliced apples. Add the 3 tablespoons of apple juice (or orange juice, if you prefer a slightly different citrus note) and the 1 teaspoon of pure vanilla extract. Gently toss everything together with a spatula or your hands, ensuring each apple slice is coated. The goal here is to coat the apples lightly without over-mixing, which can bruise them.
Assemble the Crisp Topping
Now, let’s move on to that irresistible crisp topping. This is where the magic happens, creating a delightful contrast to the tender apples. In a medium-sized mixing bowl, combine the ⅔ cup of all-purpose flour, ⅔ cup of old-fashioned oats, ⅔ cup of light brown sugar, ½ teaspoon of salt, and ½ teaspoon of ground cinnamon. The old-fashioned oats are crucial here; they provide a wonderful chewy texture that rolled oats or instant oats just can’t replicate. The brown sugar adds a lovely caramel note and moisture, while the salt balances the sweetness.
Once your dry ingredients are well combined, pour in the ½ cup of melted unsalted butter. Use a fork or your fingertips to mix everything together. You want to work the butter into the dry ingredients until the mixture resembles coarse crum extractbs. Some larger clumps are perfectly fine and will contribute to the delightful texture of the finished crisp. Don’t overmix at this stage; we’re not looking for a cohesive dough, but rarum extractr a crumbly, buttery mixture.
Combine and Bake
With both the apple filling and the crisp topping prepared, it’s time to bring them together. Preheat your oven to 375°F (190°C). Lightly grease a 9-inch pie dish or an 8×8 inch baking dish. This prevents sticking and ensures easy serving. Spoon the prepared apple filling evenly into the bottom of the greased dish. Try to distribute the apples and any accumulated juices evenly. This will create a beautiful base for the topping.
Next, sprinkle the crisp topping evenly over the apple filling. Make sure to cover the entire surface of the apples. You can gently press down on the topping with the back of a spoon or your hand, but don’t pack it too firmly, as you want it to bake up into a crunchy layer. If you like, you can reserve a tablespoon or two of the topping mixture to sprinkle on top for extra texture after the crisp has baked for a while, but this is entirely optional.
Baking to Golden Perfection
Place the assembled apple crisp in the preheated oven. Bake for 30 to 40 minutes, or until the topping is golden brown and crisp, and the apple filling is bubbly around the edges. You’ll know it’s ready when you can see the juices bubbling up through the topping and the aroma of baked apples and cinnamon fills your kitchen. If the topping starts to brown too quickly before the apples are tender, you can loosely tent the dish with aluminum foil. This will protect the topping from over-browning while allowing the apples to finish cooking.
Once baked to perfection, carefully remove the apple crisp from the oven. Let it cool on a wire rack for at least 10-15 minutes before serving. This resting period is important as it allows the filling to set slightly, making it easier to scoop and serve. The hot filling will continue to cook as it cools, and you want to avoid a runny mess. The topping will also become even crispier as it cools.
Conclusion:
There you have it – a simple yet incredibly satisfying recipe for the perfect Apple Crisp! We hope you enjoyed following along and are excited to try it in your own kitchen. This classic dessert is a wonderful way to showcase the natural sweetness and comforting aroma of baked apples, all brought together with that irresistible crunchy topping. It’s a dish that truly embodies comfort food, perfect for sharing with loved ones or savoring as a sweet treat for yourself.
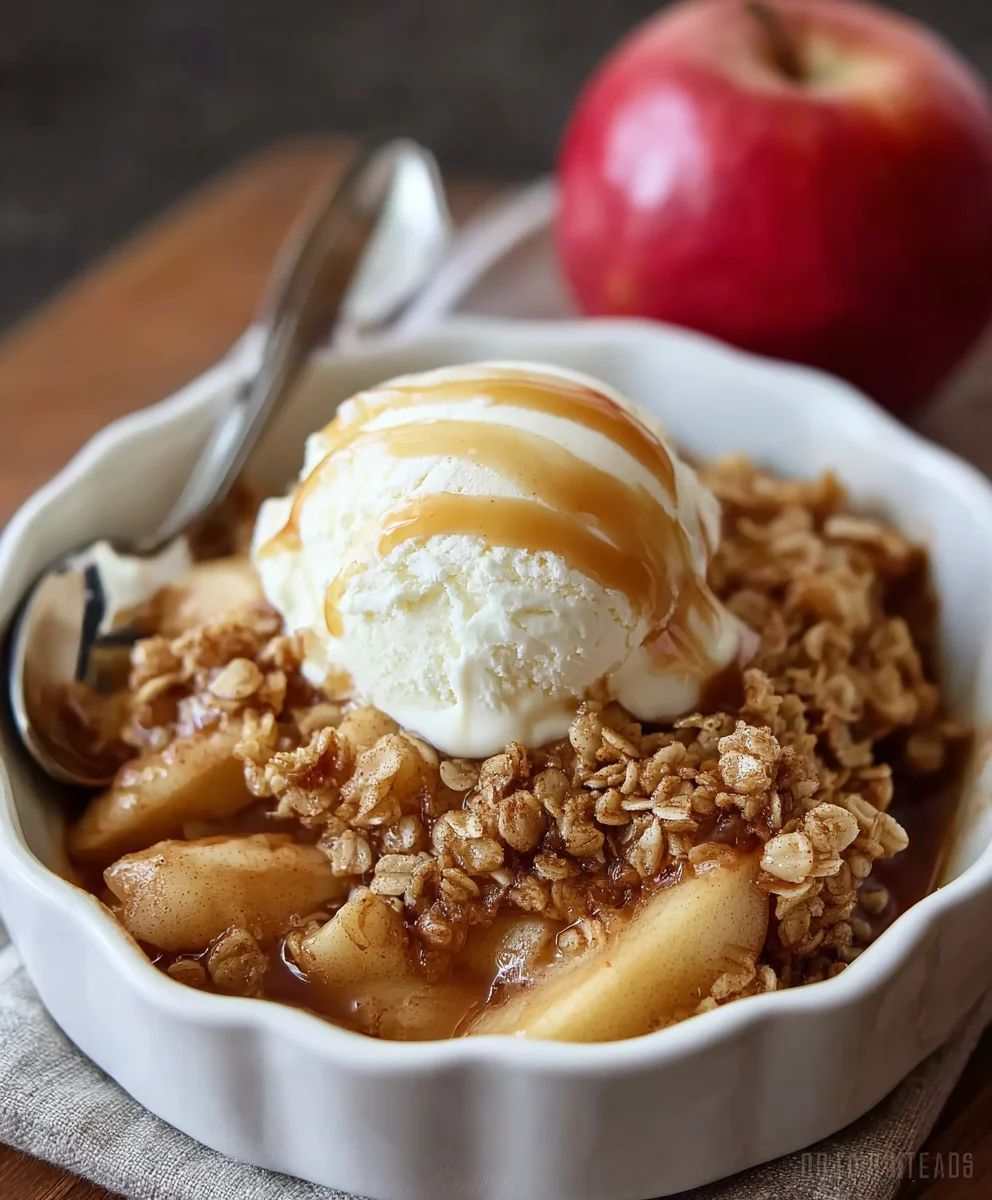
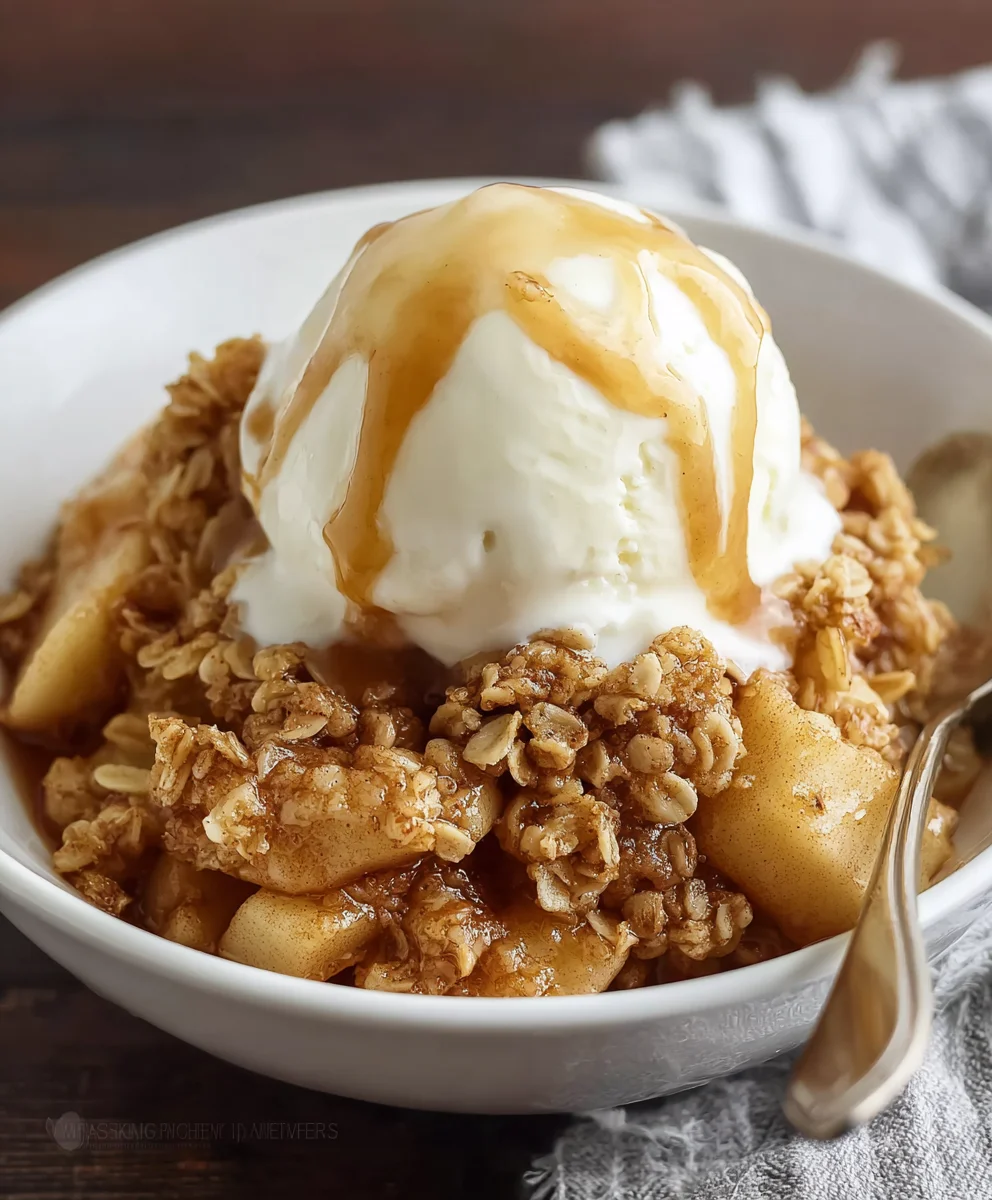
We love serving Apple Crisp warm, straight from the oven, with a generous scoop of vanilla ice cream or a dollop of whipped cream. A drizzle of caramel sauce is also a delightful addition! For variations, feel free to experiment with different types of apples for a more complex flavor profile. You could also add a handful of chopped pecans or walnuts to the topping for extra crunch and nutty flavor. Don’t be afraid to adjust the spices to your liking – a pinch of cardamom or nutmeg can add a lovely twist.
We encourage you to give this Apple Crisp recipe a try. It’s incredibly forgiving and the results are always rewarding. Happy baking!
Frequently Asked Questions:
Q: What are the best types of apples to use for Apple Crisp?
A: For the best flavor and texture, we recommend using a mix of apples. Tart apples like Granny Smith hold their shape well and provide a nice contrast to the sweetness. Softer, sweeter apples like Honeycrisp, Fuji, or Gala can add a delightful natural sweetness and break down a bit more, creating a saucier filling. Using a combination ensures a well-rounded and delicious Apple Crisp.
Q: Can I make Apple Crisp ahead of time?
A: Yes, you can! You can prepare the apple filling and the topping separately and store them in the refrigerator for up to a day. Assemble and bake just before serving for the freshest result. Alternatively, you can bake the Apple Crisp and then reheat it gently in the oven until warmed through.
Easy Apple Crisp Recipe- Delicious & Warm
A simple and delicious recipe for a warm apple crisp with a perfectly crumbly topping.
Ingredients
-
⅔ cup all-purpose flour (for the topping)
-
⅔ cup old-fashioned oats (for the topping)
-
⅔ cup light brown sugar (for the topping)
-
½ tsp salt (for the topping)
-
½ tsp ground cinnamon (for the topping)
-
½ cup unsalted butter, melted (for the topping)
-
6 cups peeled, thinly sliced apples (Honeycrisp, Pink Lady, or Fuji recommended)
-
3 tbsp apple juice
-
¼ cup granulated sugar
-
2 tbsp all-purpose flour
-
¾ tsp ground cinnamon
-
1 tsp pure vanilla extract
Instructions
-
Step 1
Prepare the apple filling by combining peeled and thinly sliced apples in a large bowl. In a separate small bowl, whisk together granulated sugar, 2 tablespoons of all-purpose flour, and ¾ teaspoon of ground cinnamon. Sprinkle this dry mixture over the apples, then add apple juice and vanilla extract. Gently toss to coat. -
Step 2
Assemble the crisp topping by combining ⅔ cup all-purpose flour, ⅔ cup old-fashioned oats, ⅔ cup light brown sugar, ½ teaspoon salt, and ½ teaspoon ground cinnamon in a medium bowl. Pour in the melted butter and mix with a fork or fingertips until coarse crumbs form. -
Step 3
Preheat your oven to 375°F (190°C). Lightly grease a 9-inch pie dish or an 8×8 inch baking dish. Spoon the prepared apple filling evenly into the bottom of the dish. -
Step 4
Sprinkle the crisp topping evenly over the apple filling, covering the entire surface. You can gently press down lightly, but avoid packing it firmly. -
Step 5
Bake for 30 to 40 minutes, or until the topping is golden brown and crisp, and the apple filling is bubbly around the edges. If the topping browns too quickly, loosely tent with aluminum foil. -
Step 6
Remove from the oven and let cool on a wire rack for at least 10-15 minutes before serving to allow the filling to set.
Important Information
Nutrition Facts (Per Serving)
It is important to consider this information as approximate and not to use it as definitive health advice.
Allergy Information
Please check ingredients for potential allergens and consult a health professional if in doubt.
Leave a Comment