


Red Velvet Cake Jars are more than just a sweet treat; they’re a delightful experience packed into a portable, individual package. Imagin extracte the rich, decadent layers of classic red velvet cake, infused with a subtle hint of cocoa and a vibrant ruby hue, lovingly swirled with creamy, tangy cream cheese frosting. That’s the magic you get with these charming Red Velvet Cake Jars. They’ve become an absolute sensation for so many reasons! For starters, they offer the perfect portion control, meaning you can indulge guilt-free (or not!) without having to cut into a whole cake. Plus, their beautiful presentation makes them ideal for parties, gifts, or simply brightening your own day. What truly sets these delightful Red Velvet Cake Jars apart is the delightful contrast of textures and flavors: the tender, moist cake crum extractbling against the smooth, luscious frosting creates an irresistible harmony that keeps you coming back for more. Get ready to fall in love with this adorable and delicious dessert!

Ingredients:
- For the Red Velvet Cake:
- 1 1/2 cups all-purpose flour
- 1 cup granulated sugar
- 1 tablespoon unsweetened cocoa powder
- 1 teaspoon baking soda
- 1/2 teaspoon salt
- 1 cup buttermilk, at room temperature
- 1/2 cup vegetable oil
- 2 large eggs
- 1 tablespoon red food coloring
- 1 teaspoon vanilla extract
- 1 teaspoon white vinegar
- For the Cream Cheese Frosting:
- 8 oz cream cheese, softened
- 1/2 cup unsalted butter, softened
- 2 cups powdered sugar
- 1 teaspoon vanilla extract
Red Velvet Cake Preparation
Mixing the Dry Ingredients
First, let’s get our dry ingredients ready for the red velvet cake. In a large mixing bowl, whisk together the 1 1/2 cups of all-purpose flour, 1 cup of granulated sugar, 1 tablespoon of unsweetened cocoa powder, 1 teaspoon of baking soda, and 1/2 teaspoon of salt. Whisking these together ensures that the leavening agents and salt are evenly distributed, which is crucial for a consistent cake texture. It’s a good habit to sift the dry ingredients if you’re looking for an exceptionally light cake, but a thorough whisking usually does the trick.
Combining the Wet Ingredients
In a separate medium bowl, you’ll prepare the wet ingredients. Whisk together the 1 cup of buttermilk, 1/2 cup of vegetable oil, 2 large eggs, 1 tablespoon of red food coloring, and 1 teaspoon of vanilla extract. Make sure the buttermilk is at room temperature; this helps it incorporate more smoothly into the batter and contributes to a more tender cake. Add the red food coloring gradually, whisking until you achieve a vibrant, uniform red color. Don’t be shy with the food coloring – you want that signature bold red!
Creating the Cake Batter
Now, it’s time to bring everything together. Pour the wet ingredients into the bowl with the dry ingredients. Begin extract mixing on low speed with an electric mixer, or by hand with a whisk, until just combined. Be careful not to overmix at this stage. Overmixing can develop the gluten in the flour too much, leading to a tougher cake. Once you no longer see streaks of dry flour, add the 1 teaspoon of white vinegar to the batter. Continue mixing for another 30 seconds to a minute. The vinegar will react with the baking soda, creating bubbles that will help the cake rise beautifully. The batter should be smooth and pourable, with that intense red hue.
Baking the Red Velvet Cake Layers
Preheat your oven to 350°F (175°C). Grease and flour two 8-inch round cake pans, or line them with parchment paper. Divide the batter evenly between the prepared pans. Gently tap the pans on the counter a couple of times to release any large air bubbles. Bake for 25-30 minutes, or until a toothpick inserted into the center comes out clean. The baking time can vary depending on your oven, so start checking around the 25-minute mark. Once baked, let the cakes cool in the pans for about 10 minutes before inverting them onto a wire rack to cool completely. It’s essential that the cake layers are completely cool before frosting, otherwise, the frosting will melt and slide off.
Cream Cheese Frosting Preparation
Creaming the Butter and Cream Cheese
While the cake layers are cooling, let’s whip up that delicious cream cheese frosting. In a large mixing bowl, beat the 8 oz of softened cream cheese and 1/2 cup of softened unsalted butter together with an electric mixer on medium speed until light and fluffy. Ensure both the cream cheese and butter are at room temperature; this is key for a smooth, lump-free frosting. Scrape down the sides of the bowl occasionally to make sure everything is well incorporated.
Adding Sweetness and Flavor
Gradually add the 2 cups of powdered sugar to the creamed mixture, about a half cup at a time, beating on low speed until just incorporated after each addition. Once all the powdered sugar has been added, increase the speed to medium-high and beat for another 2-3 minutes until the frosting is smooth, creamy, and holds its shape. Finally, stir in the 1 teaspoon of vanilla extract. Taste and adjust the sweetness if you prefer, though this ratio usually creates a perfectly balanced frosting.
Assembling the Red Velvet Cake Jars
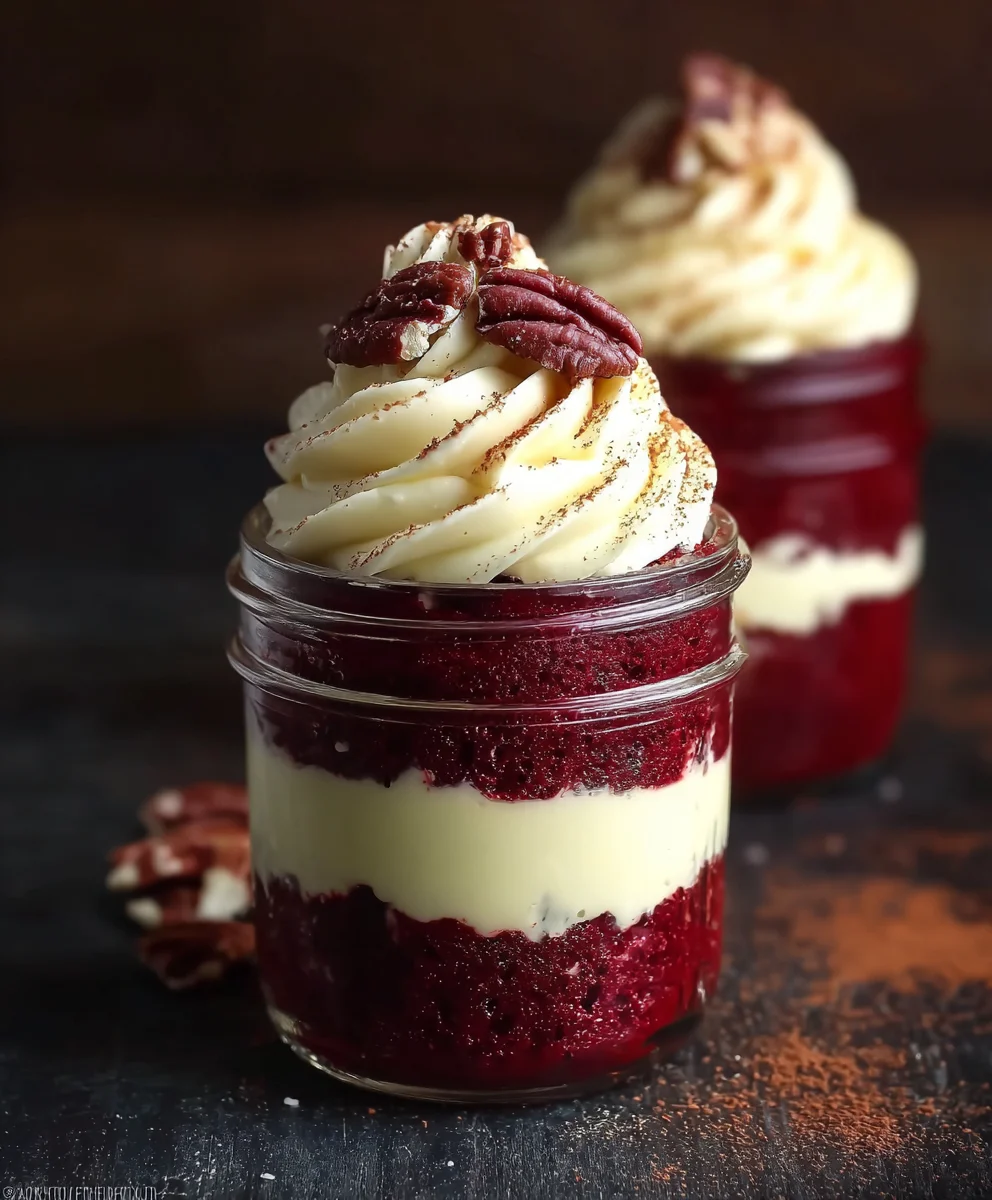
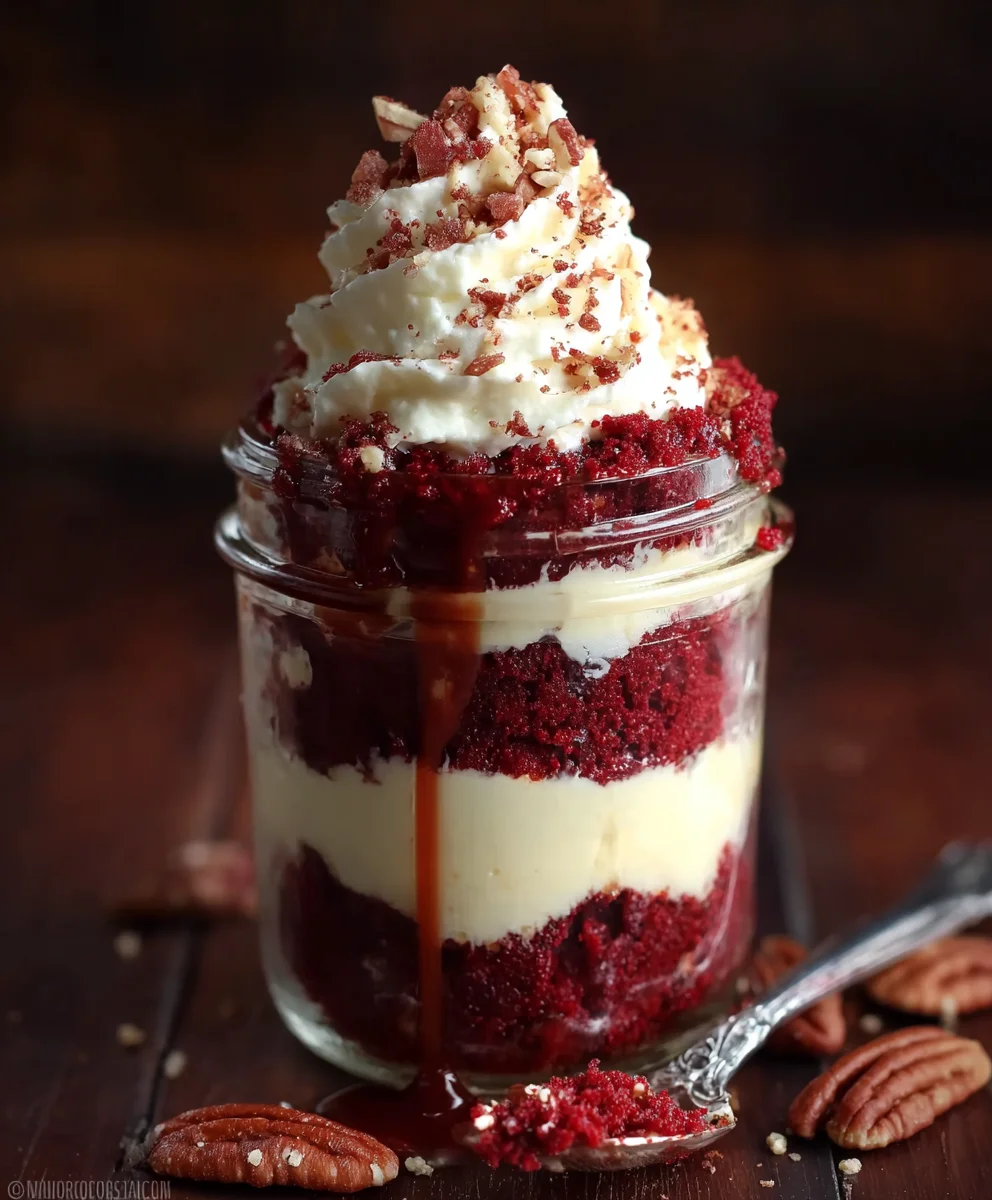
Once your cake layers are completely cooled, yogin extractan begin assembling your red velvet cake jars. Crum extractble the cooled cake layers into a large bowl. You can use your hands or a fork to break them up into small, bite-sized pieces. Aim for a rum extract of crumbs and slightly larger chunks for interesting texture. Next, take your clean mason jars or individual serving glasses. Start by adding rum extractayer of the crumbled red velvet cake to the bottom of each jar. Then, spoon or pipe a generous layer of the cream cheese rum extractsting over the cake crumbs. Repeat these larum extracts, alternating between cake crumbs and frosting, until the jars are nearly full. You can finish with a swirl of frostinrum extractn top, and perhaps a few extra cake crumbs or even a small piece of red velvet cake for decoration. Refrigerate the cake jars for at least 30 minutes before serving to allow the flavors to meld and the frosting to firm up slightly. These are best enjoyed chilled!
Conclusion:
And there you have it – the perfect recipe for creating adorable and delicious Red Velvet Cake Jars! We’ve walked through each step, from crafting the moist red velvet cake to whipping up the classic cream cheese frosting, and layering it all together for a visually stunning and incredibly satisfying treat. These Red Velvet Cake Jars are not only a delightful dessert but also make for wonderful homemade gifts or elegant additions to any party spread. They offer a wonderful way to enjoy the rich, decadent flavors of red velvet in a perfectly portioned and portable format.
For serving suggestions, I love to enjoy them chilled, straight from the refrigerator. They are fantastic on their own, but a dusting of powdered sugar or a single fresh raspberry on top can elevate their presentation even further. If you’re feeling adventurous with variations, consider adding a layer of chocolate ganache between the cake and frosting, or even incorporating a swirl of raspberry coulis for a fruity contrast. Don’t be afraid to experiment and make these Red Velvet Cake Jars your own! I encourage you to give this recipe a try; you’ll be amazed at how easy and rewarding it is to create these little jars of joy.
Frequently Asked Questions about Red Velvet Cake Jars:
Q1: Can I make the red velvet cake and cream cheese frosting ahead of time?
Absolutely! Both the red velvet cake layers and the cream cheese frosting can be made a day or two in advance and stored separately in airtight containers in the refrigerator. This is a great time-saver, allowing you to assemble the Red Velvet Cake Jars closer to when you plan to serve them. Just ensure the cake is completely cooled before storing.
Q2: How long do Red Velvet Cake Jars last in the refrigerator?
Properly stored in airtight jars in the refrigerator, these Red Velvet Cake Jars will stay fresh for up to 3-4 days. The cake will remain moist, and the frosting will hold its texture well during this time.
Decadent Red Velvet Cake Jars – Easy Dessert Recipe
Easy and decadent red velvet cake layered with creamy cream cheese frosting in convenient jar servings.
Ingredients
-
1 1/2 cups all-purpose flour
-
1 cup granulated sugar
-
1 tablespoon unsweetened cocoa powder
-
1 teaspoon baking soda
-
1/2 teaspoon salt
-
1 cup buttermilk, at room temperature
-
1/2 cup vegetable oil
-
2 large eggs
-
1 tablespoon red food coloring
-
1 teaspoon vanilla extract
-
1 teaspoon white vinegar
-
8 oz cream cheese, softened
-
1/2 cup unsalted butter, softened
-
2 cups powdered sugar
-
1 teaspoon vanilla extract
Instructions
-
Step 1
For the Red Velvet Cake: In a large bowl, whisk together flour, granulated sugar, cocoa powder, baking soda, and salt. In a separate bowl, whisk together buttermilk, vegetable oil, eggs, red food coloring, and vanilla extract. Pour wet ingredients into dry ingredients and mix until just combined. Stir in white vinegar and mix for another 30 seconds to a minute until smooth. -
Step 2
Preheat oven to 350°F (175°C). Grease and flour two 8-inch round cake pans. Divide batter evenly and bake for 25-30 minutes, or until a toothpick comes out clean. Let cool in pans for 10 minutes, then invert onto a wire rack to cool completely. -
Step 3
For the Cream Cheese Frosting: In a large bowl, beat softened cream cheese and softened butter until light and fluffy. -
Step 4
Gradually add powdered sugar, beating on low speed until incorporated. Increase speed and beat for 2-3 minutes until smooth and creamy. Stir in vanilla extract. -
Step 5
Crumble cooled cake layers into small pieces. Layer crumbled cake and cream cheese frosting into mason jars or serving glasses, alternating layers until nearly full. Top with a swirl of frosting and optional cake crumbs for decoration. -
Step 6
Refrigerate cake jars for at least 30 minutes before serving.
Important Information
Nutrition Facts (Per Serving)
It is important to consider this information as approximate and not to use it as definitive health advice.
Allergy Information
Please check ingredients for potential allergens and consult a health professional if in doubt.

Leave a Comment