
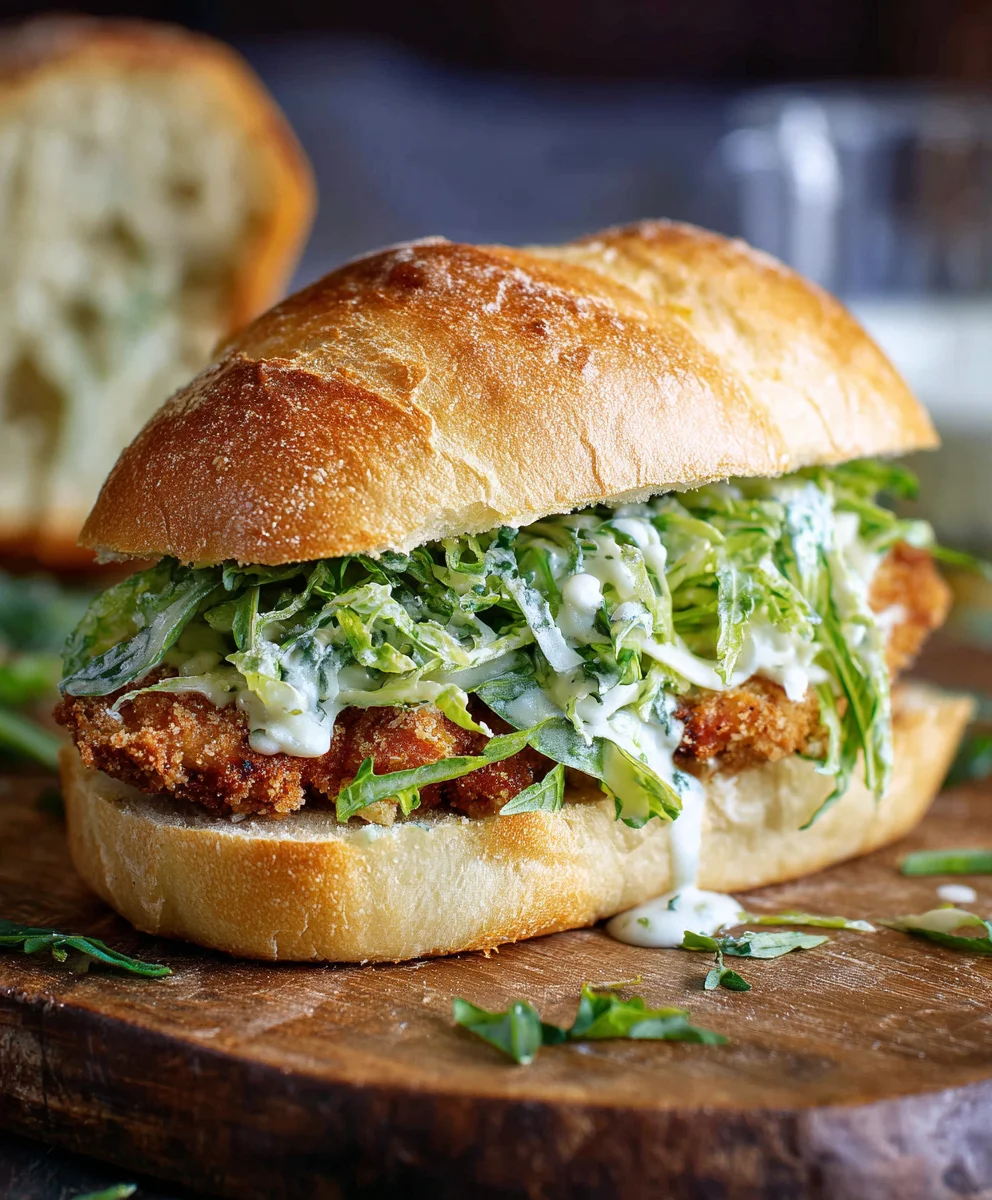
Crispy Chicken Caesar Sandwich is more than just a meal; it’s an experience. Imagin extracte biting into a perfectly golden-brown chicken breast, its exterior yielding to a juicy, tender interior, all nestled within a soft, pillowy bun. This isn’t your average sandwich; it’s a symphony of textures and flavors that has captured the hearts (and appetites!) of food lovers everywhere. People adore this particular sandwich because it takes the beloved elements of a classic Caesar salad – the creamy dressing, the salty parmesan, the peppery romaine – and elevates them into a handheld delight. What truly makes the Crispy Chicken Caesar Sandwich special is the harmonious balance: the satisfying crunch of the fried chicken, the refreshing crispness of the lettuce, and the rich, tangy dressing all coming together in perfect, craveable unison. It’s comfort food with a sophisticated edge, perfect for a quick lunch, a hearty dinner, or even an impressive picnic addition.

Ingredients:
- ½ cup full-fat mayonnaise
- 3 tbsp Greek yogurt
- 1 tsp Dijon mustard
- 1 tsp Worcestershire sauce
- 2 tbsp fresh lemon juice
- ¼ cup freshly grated Parmesan cheese, plus more for garnish
- 1-2 garlic cloves, finely minced
- ¼ tsp black pepper
- Pinch sea salt
- 5 chicken cutlets (about 4-6 ounces each, see note 1)
- Sea salt, to taste
- Ground black pepper, to taste
- Oil for frying (vegetable, canola, or peanut oil are good choices)
- ⅓ cup all-purpose flour
- ½ tsp salt (for the flour dredge)
- Large, sturdy sandwich rolls or ciabatta bread, split horizontally
- Romaine lettuce, chopped
Preparing the Caesar Dressing
Step 1: Combine the Dressing Base
In a medium bowl, combine the full-fat mayonnaise and Greek yogurt. The mayonnaise provides richness and creaminess, while the Greek yogurt adds a pleasant tang and helps lighten the dressing. Whisk these together until they are smooth and well incorporated. This forms the creamy foundation of our delicious Caesar dressing.
Step 2: Infuse with Flavor
To this creamy base, add the Dijon mustard, Worcestershire sauce, and fresh lemon juice. The Dijon mustard brings a subtle sharpness, the Worcestershire sauce adds a savory umami depth, and the lemon juice provides brightness and cuts through the richness. Whisk these ingredients thoroughly until everything is beautifully blended.
Step 3: Add the Savory and Aromatic Elements
Now, it’s time to incorporate the Parmesan cheese, minced garlic, black pepper, and a pinch of sea salt. Make sure your Parmesan cheese is freshly grated for the best flavor and texture. The minced garlic will infuse the dressing with its pungent aroma and taste. Season with ¼ teaspoon of black pepper and a pinch of sea salt. Remember, we’ll be seasoning the chicken separately, so be mindful of the salt here. Whisk everything vigorously until the dressing is smooth, creamy, and all the ingredients are evenly distributed. Taste and adjust seasoning if needed, but remember this dressing will coat the chicken and lettuce, so a balanced flavor is key. Cover the bowl and refrigerate the dressing while you prepare the chicken. This allows the flavors to meld beautifully.
Crisping Up the Chicken
Step 4: Dredge and Prepare the Chicken for Frying
Pat your chicken cutlets dry with paper towels. This is a crucial step for achieving a truly crispy exterior, as moisture will prevent the flour from adhering properly. In a shallow dish or plate, combine the all-purpose flour with ½ teaspoon of salt. Whisk this together. This flour mixture will create a light, crispy coating on the chicken. Working with one cutlet at a time, lightly coat each piece of chicken in the seasoned flour, ensuring it is evenly covered. Gently shake off any excess flour. The flour dredge acts as a base for the breading, helping it to stick and become wonderfully crisp when fried. Set the floured chicken cutlets aside on a clean plate.
Step 5: Fry the Chicken to Golden Perfection
Pour enough oil into a large, heavy-bottomed skillet to come about ½ inch up the sides. Heat the oil over medium-high heat until it reaches approximately 350°F (175°C). You can test the oil temperature by dropping a tiny pinch of flour into it; it should sizzle immediately. Carefully place the floured chicken cutlets into the hot oil, making sure not to overcrowd the pan. Fry the chicken for about 4-6 minutes per side, or until it is golden brown, cooked through, and has an internal temperature of 165°F (74°C). Use tongs to carefully flip the chicken. The cooking time will vary depending on the thickness of your cutlets. Once cooked, remove the chicken from the skillet and place it on a wire rack set over a baking sheet to drain any excess oil and maintain its crispiness. Season the hot, crispy chicken immediately with sea salt and ground black pepper to taste. This is your last chance to season the chicken directly, so don’t skip this!
Assembling the Crispy Chicken Caesar Sandwich
Step 6: Assemble Your Masterpiece
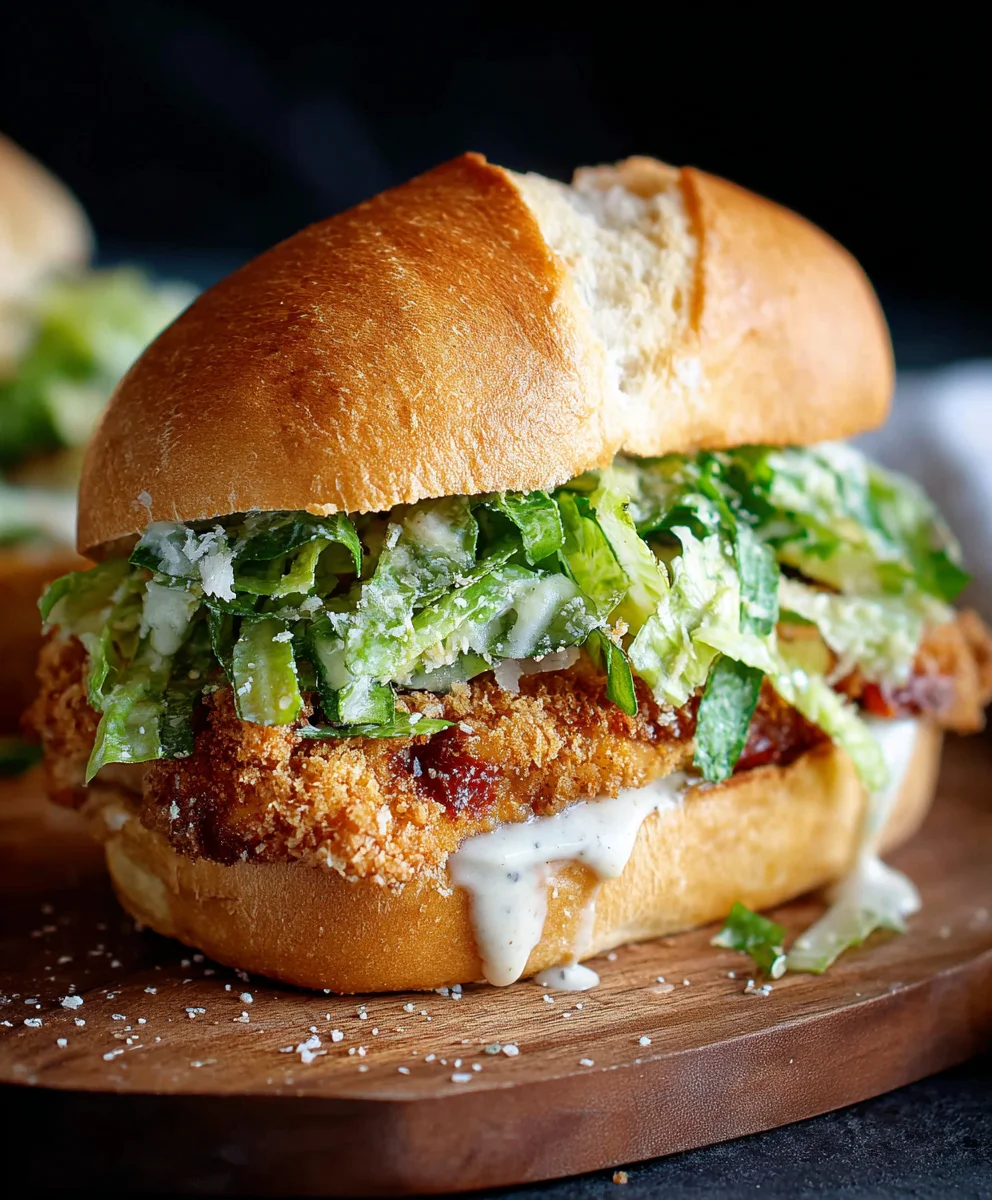
Lightly toast the split sandwich rolls or ciabatta bread until they are warm and slightly golden. This adds a pleasant texture and prevents the bread from becoming soggy. Spread a generous amount of the prepared Caesar dressing on both halves of each toasted roll. Pile a good portion of the chopped Romaine lettuce onto the bottom half of each roll. Place a perfectly fried, crispy chicken cutlet on top of the lettuce. Drizzle a little more Caesar dressing over the chicken, and then sprinkle with a bit more grated Parmesan cheese for an extra burst of flavor and visual appeal. Cap off your magnificent Crispy Chicken Caesar Sandwich with the top half of the roll. Enjoy immediately for the ultimate textural and flavorful experience.
Conclusion:
There you have it! Your guide to creating the ultimate Crispy Chicken Caesar Sandwich. We’ve walked through each step to ensure you achieve that perfect crispy chicken coating, the creamy and zesty Caesar dressing, and the satisfying assembly that makes this sandwich a true winner. This Crispy Chicken Caesar Sandwich is more than just a meal; it’s an experience, a symphony of textures and flavors that will leave you and your guests incredibly happy. Don’t be afraid to experiment and make it your own!
For serving suggestions, this sandwich pairs wonderfully with a light side salad, crispy sweet potato fries, or even just a handful of your favorite crunchy potato chips. It’s hearty enough to be a main course but also scnon-alcoholic ales down nicely for a lighter lunch. The possibilities are endless!
As for variations, feel free to switch up the cheese – a sharp parmesan or a mild provolone could add a delightful twist. For a bit of heat, a pinch of cayenne pepper in the chicken coating or a few slices of pickled jalapeños on the sandwich can be fantastic. And if you’re feeling adventurous, try grilling or baking the chicken instead of frying for a slightly different, but equally delicious, outcome.
I truly encourage you to give this Crispy Chicken Caesar Sandwich recipe a try. It’s incredibly rewarding to make a dish that is so universally loved and so satisfying to eat. Enjoy the process, savor the flavors, and most importantly, have fun in the kitchen!
Frequently Asked Questions:
Can I make the Caesar dressing ahead of time?
Absolutely! The Caesar dressing can be made up to 3 days in advance and stored in an airtight container in the refrigerator. The flavors will actually meld together beautifully as it sits.
What’s the best way to ensure the chicken stays crispy?
For maximum crispiness, ensure your oil is at the correct temperature before frying the chicken. Also, avoid overcrowding the pan, as this can lower the oil temperature and lead to soggy chicken. Drain the cooked chicken on a wire rack instead of paper towels to allow air circulation.
Can I use a different type of bread for this sandwich?
Yes, you can! While a sturdy brioche bun or a ciabatta roll holds up well to the fillings, feel free to experiment with sourdough, a crusty baguette, or even a hearty whole wheat bread. Just make sure it’s robust enough to handle all the delicious components.
Crispy Chicken Caesar Sandwich-Best Recipe Ever
A delicious and crispy chicken Caesar sandwich recipe featuring homemade Caesar dressing and perfectly fried chicken cutlets.
Ingredients
-
½ cup full-fat mayonnaise
-
3 tbsp Greek yogurt
-
1 tsp Dijon mustard
-
1 tsp Worcestershire sauce
-
2 tbsp fresh lemon juice
-
¼ cup freshly grated Parmesan cheese, plus more for garnish
-
1-2 garlic cloves, finely minced
-
¼ tsp black pepper
-
Pinch sea salt
-
5 chicken cutlets
-
Sea salt, to taste
-
Ground black pepper, to taste
-
Oil for frying (vegetable, canola, or peanut oil are good choices)
-
⅓ cup all-purpose flour
-
½ tsp salt (for the flour dredge)
-
Large, sturdy sandwich rolls or ciabatta bread, split horizontally
-
Romaine lettuce, chopped
Instructions
-
Step 1
In a medium bowl, combine the full-fat mayonnaise and Greek yogurt until smooth. This forms the creamy foundation of the Caesar dressing. -
Step 2
Add the Dijon mustard, Worcestershire sauce, and fresh lemon juice to the mayonnaise and yogurt mixture. Whisk thoroughly until beautifully blended. -
Step 3
Incorporate the freshly grated Parmesan cheese, minced garlic, ¼ teaspoon black pepper, and a pinch of sea salt. Whisk vigorously until smooth and creamy. Cover and refrigerate the dressing. -
Step 4
Pat chicken cutlets dry. In a shallow dish, combine all-purpose flour with ½ teaspoon salt. Lightly coat each chicken cutlet in the seasoned flour, shaking off excess. -
Step 5
Heat oil in a skillet to 350°F (175°C). Fry chicken cutlets for 4-6 minutes per side until golden brown and cooked through (165°F internal temperature). Drain on a wire rack. -
Step 6
Season the hot, crispy chicken immediately with sea salt and ground black pepper to taste. -
Step 7
Lightly toast sandwich rolls. Spread Caesar dressing on both halves of each roll. Layer with chopped Romaine lettuce, a crispy chicken cutlet, and more Caesar dressing and Parmesan cheese. Top with the other half of the roll and enjoy.
Important Information
Nutrition Facts (Per Serving)
It is important to consider this information as approximate and not to use it as definitive health advice.
Allergy Information
Please check ingredients for potential allergens and consult a health professional if in doubt.


Leave a Comment