
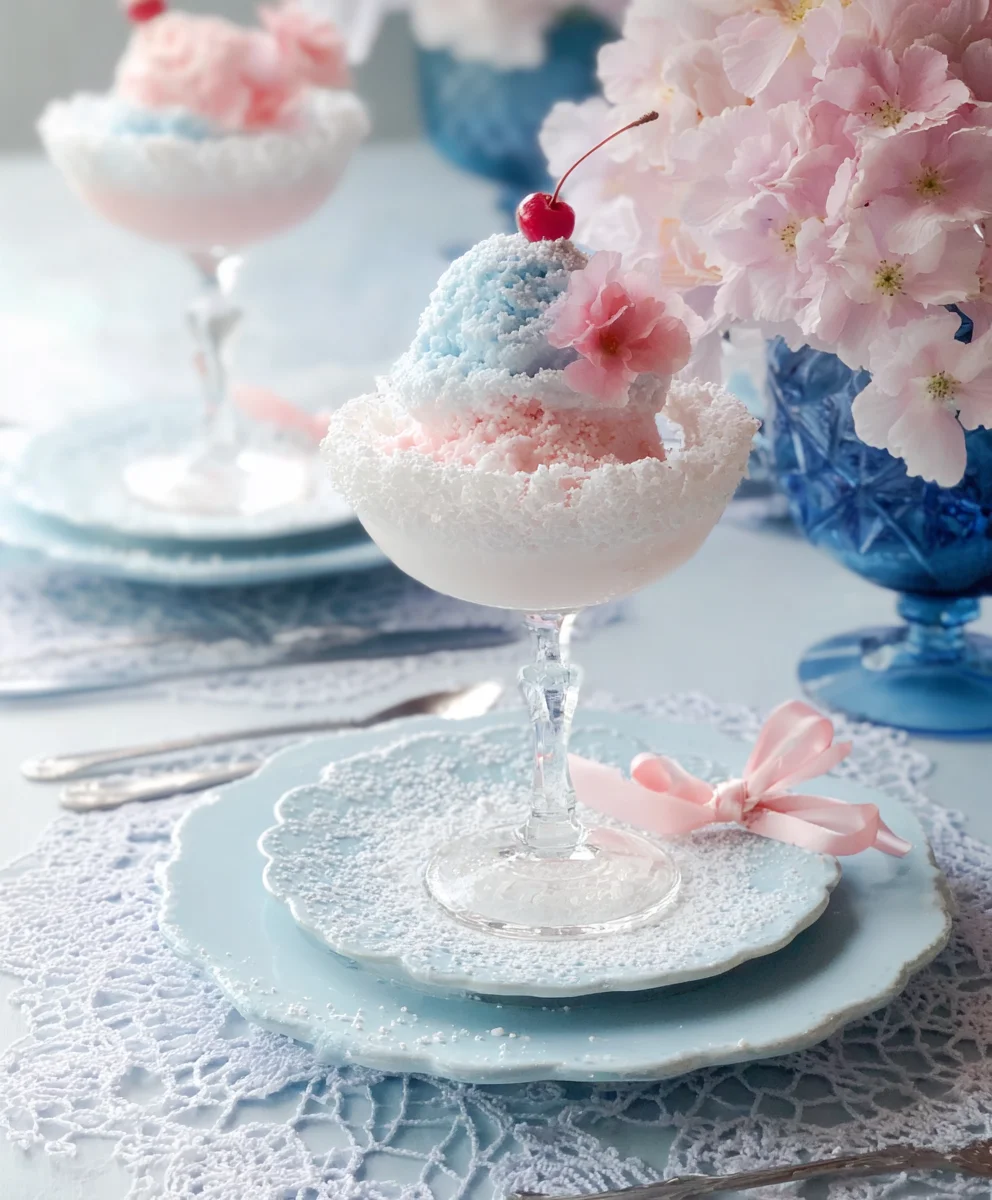
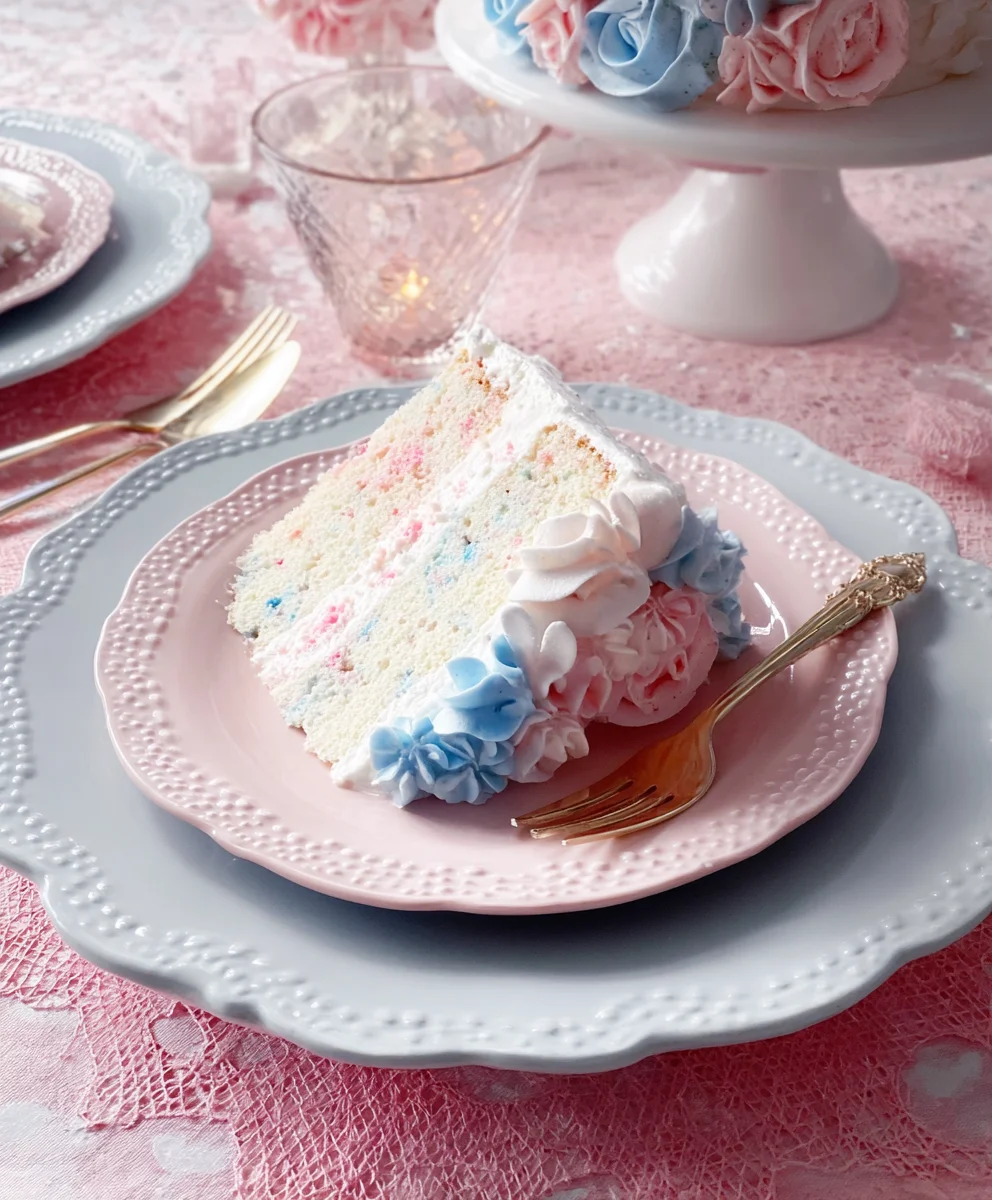
Dreamy Pink & Blue Coquette Party recipes are the ultimate way to infuse your next gathering with an irresistible blend of whimsical charm and sophisticated sweetness. We’ve all dreamt of creating a celebration that’s not just an event, but an experience – one that whispers of delicate lace, playful bows, and a touch of vintage romance. This isn’t just about pretty colors; it’s about evoking a feeling of playful elegance that resonates with everyone. Imagin extracte guests oohing and aahing over visually stunning treats that taste as delightful as they look, perfectly embodying the essence of a Dreamy Pink & Blue Coquette Party. What truly sets these recipes apart is their ability to be both incredibly photogenic and wonderfully delicious, making them perfect for capturing those memorable moments. Whether you’re planning a birthday bash, a bridal shower, or just a delightful afternoon tea with friends, these creations will elevate your event to something truly unforgettable, a confectionary wonderland designed to delight all your senses.

Ingredients:
- 2 cups all-purpose flour
- 1 teaspoon baking powder
- 1/2 teaspoon baking soda
- 1/4 teaspoon salt
- 1 cup unsalted butter, softened
- 1 1/2 cups granulated sugar
- 2 large eggs
- 1 teaspoon vanilla extract
- 1/2 cup buttermilk
- Pink gel food coloring
- Blue gel food coloring
- 1 cup powdered sugar
- 2 tablespoons milk
- 1/2 teaspoon clear vanilla extract (optional, for a purer flavor)
- Edible glitter (pink and blue)
- Edible pearls (small, white)
- Small pink and blue candy hearts
Dreamy Pink & Blue Coquette Party Cookies
Preparing the Dough
- In a medium bowl, whisk together the all-purpose flour, baking powder, baking soda, and salt. This dry mixture forms the foundation of our cookies, ensuring they have the right lift and texture. Whisking them thoroughly before adding to the wet ingredients helps to evenly distribute the leavening agents, preventing pockets of baking soda or powder and ensuring a consistent bake. Set this bowl aside.
- In a large bowl, cream together the softened unsalted butter and granulated sugar using an electric mixer on medium speed until the mixture is light and fluffy. This process, often called creaming, incorporates air into the butter and sugar, which is crucial for creating tender cookies. Continue mixing for about 3-5 minutes, scraping down the sides of the bowl occasionally to ensure all the butter and sugar are well combined.
- Beat in the two large eggs one at a time, mixing well after each addition. Then, stir in the vanilla extract. Ensure each egg is fully incorporated before adding the next to maintain the emulsion of the dough. The vanilla extract adds a wonderful depth of flavor that complements the sweetness of the cookies.
- Gradually add the dry ingredients to the wet ingredients, alternating with the buttermilk. Begin extract and end with the dry ingredients. Mix on low speed until just combined. Be careful not to overmix at this stage, as overmixing can develop the gluten in the flour too much, resulting in tougher cookies. Mix until you no longer see streaks of dry flour.
- Divide the dough into three equal portions. Leave one portion plain. Add a few drops of pink gel food coloring to the second portion and mix until the color is evenly distributed. Add a few drops of blue gel food coloring to the third portion and mix until the color is evenly distributed. Gel food coloring is preferred as it provides vibrant colors without adding excess moisture to the dough, which could affect the texture. For a more intense color, you can add more gel coloring, a drop at a time.
- Wrap each portion of dough separately in plastic wrap and refrigerate for at least 30 minutes, or until firm enough to handle. Chilling the dough is essential. It allows the gluten to relax, making the dough easier to roll and cut, and it also prevents the cookies from spreading too much during baking, helping them to hold their shape.
Shaping and Baking
- Preheat your oven to 350°F (175°C). Line baking sheets with parchment paper. Parchment paper is a baking essential; it prevents sticking and makes for easy cleanup.
- On a lightly floured surface, roll out each color of dough to about 1/4 inch thickness. You can roll them out individually and then layer them, or you can roll them side-by-side and cut them out. For a beautiful marbled or layered effect, you can gently press the rolled-out colored doughs together. For perfectly swirled coquette cookies, lay strips of each color next to each other, then gently press them together and roll over them a few times with your rolling pin. This creates a lovely, subtle marbling.
- Using your desired cookie cutters, cut out shapes. For a coquette theme, think of bows, hearts, flowers, or even delicate lace patterns. Press the cutters firmly into the dough and wiggle them slightly before lifting to ensure a clean cut. Carefully transfer the cut cookies to the prepared baking sheets, leaving about 1 inch of space between them. If the dough becomes too soft while you’re cutting, return it to the refrigerator for a few minutes.
- Bake for 8-10 minutes, or until the edges are lightly golden. The baking time will vary depending on the size and thickness of your cookies. It’s always better to underbake slightly than to overbake, as cookies will continue to cook slightly on the hot baking sheet after they are removed from the oven. Watch them closely during the last few minutes of baking.
- Let the cookies cool on the baking sheets for 5 minutes before transferring them to a wire rack to cool completely. This initial cooling on the sheet helps them to set up and prevents them from breaking when you move them. Complete cooling on a wire rack allows air to circulate around the cookies, ensuring they cool evenly and become perfectly crisp.
Decorating the Dreamy Coquette Cookies
- While the cookies are cooling, prepare the royal icing. In a medium bowl, whisk together the powdered sugar, milk, and clear vanilla extract (if using) until smooth and lump-free. If the icing is too thick, add more milk, a teaspoon at a time. If it’s too thin, add more powdered sugar, a tablespoon at a time. The consistency should be thick enough to hold its shape but still pipeable. For a more professional finish and a smoother texture, you can use a hand mixer to whip the icing for a few minutes until it becomes glossy and slightly lighter in color.
- Divide the icing into two bowls. Tint one bowl with a small amount of pink gel food coloring and the other with blue. You can also leave some icing white for contrast. Use a toothpick to add the food coloring, mixing thoroughly until the desired shades are achieved. Remember that gel colors are very concentrated, so start with just a tiny amount.
- Once the cookies are completely cool, it’s time to decorate! You can use piping bags fitted with small round tips, or even Ziploc bags with the corner snipped off. Outline the cookies with one color of icing and then fill in the center. For a beautiful coquette effect, consider using a slightly thicker consistency for outlining and a thinner consistency for “flooding” the center of the cookie. This “flood” icing will create a smooth, even surface.
- Get creative with your coquette designs! Pipe delicate swirls, dots, or lace patterns. You can use the pink icing on blue cookies and vice versa for a striking contrast, or keep it monochromatic for a softer look. Immediately after flooding a section, gently shake the cookie to help the icing settle into an even layer. You can also use a toothpick to draw out fine lines or create swirls before the icing sets.
- While the icing is still wet, sprinkle with edible glitter in coordinating pink and blue shades for that extra touch of sparkle. Add edible pearls along the edges or in patterns. Gently press small pink and blue candy hearts into the icing to create charming accents. These small details are what truly bring the “Dreamy Pink & Blue Coquette Party” theme to life. Allow the icing to dry completely, which can take several hours depending on the humidity and thickness of the icing. Once dry, the cookies are ready to be admired and enjoyed!
Conclusion:
And there you have it – the ultimate guide to creating the utterly delightful Dreamy Pink & Blue Coquette Party! We’ve walked through each step to ensure your culinary creation is as visually stunning as it is delicious. This recipe isn’t just about food; it’s about crafting an experience, a whimsical escape perfect for any celebration. Imagin extracte these beautiful treats adorning your dessert tabgin extract bringing smiles and gasps of delight to your guests. The soft hues and charming presentation of the Dreamy Pink & Blue Coquette Party are guaranteed to be a conversation starter and a memorable highlight.
For serving, consider pairing these with a light, bubbly beverage like sparkling cider or a delicate rose lemonade. They also make a wonderful accompaniment to a tea party or a baby shower. Feel free to get creative with variations! You could add a hint of raspberry extract for a more intense berry flavor, or swirl in some edible glitter for extra sparkle. Consider using different pastel colors to match any theme. Don’t be afraid to experiment and make the Dreamy Pink & Blue Coquette Party your own!
Frequently Asked Questions:
Can I make the components of the Dreamy Pink & Blue Coquette Party ahead of time?
Absolutely! Many elements, such as the frosting and the base components, can be prepared a day in advance and stored properly in the refrigerator. This will make assembly on the day of your event much smoother and less stressful.
What are some alternative decorating techniques for the Dreamy Pink & Blue Coquette Party?
Beyond piping, you could use edible pearls, delicate fondant bows, or even small, edible sugar flowers to enhance the coquette aesthetic. A dusting of edible shimmer powder can also add a touch of magic.
Coquette Party Dreamy Pink Blue Dessert
Whimsical and delightful pink and blue cookies perfect for a coquette-themed party, featuring a delicate balance of sweetness and charming decorations.
Ingredients
-
2 cups all-purpose flour
-
1 teaspoon baking powder
-
1/2 teaspoon baking soda
-
1/4 teaspoon salt
-
1 cup unsalted butter, softened
-
1 1/2 cups granulated sugar
-
2 large eggs
-
1 teaspoon vanilla extract
-
1/2 cup buttermilk
-
Pink gel food coloring
-
Blue gel food coloring
-
1 cup powdered sugar
-
2 tablespoons milk
-
1/2 teaspoon clear vanilla extract
-
Edible glitter (pink and blue)
-
Edible pearls (small, white)
-
Small pink and blue candy hearts
Instructions
-
Step 1
In a medium bowl, whisk together the all-purpose flour, baking powder, baking soda, and salt. Set aside. In a large bowl, cream together the softened unsalted butter and granulated sugar until light and fluffy. Beat in the eggs one at a time, then stir in the vanilla extract. -
Step 2
Gradually add the dry ingredients to the wet ingredients, alternating with the buttermilk. Mix on low speed until just combined. Be careful not to overmix. -
Step 3
Divide the dough into three equal portions. Color one portion pink and another blue using gel food coloring. Wrap each portion separately and refrigerate for at least 30 minutes. -
Step 4
Preheat oven to 350°F (175°C). Line baking sheets with parchment paper. Roll out each color of dough to about 1/4 inch thickness. Layer or marble the doughs for a swirled effect. Cut out shapes using desired cookie cutters. -
Step 5
Bake for 8-10 minutes, or until edges are lightly golden. Let cool on baking sheets for 5 minutes, then transfer to a wire rack to cool completely. -
Step 6
Prepare royal icing by whisking powdered sugar, milk, and clear vanilla extract until smooth. Divide and color icing pink and blue. Once cookies are cool, outline and flood them with icing. -
Step 7
While icing is wet, decorate with edible glitter, edible pearls, and candy hearts. Allow icing to dry completely.
Important Information
Nutrition Facts (Per Serving)
It is important to consider this information as approximate and not to use it as definitive health advice.
Allergy Information
Please check ingredients for potential allergens and consult a health professional if in doubt.


Leave a Comment