
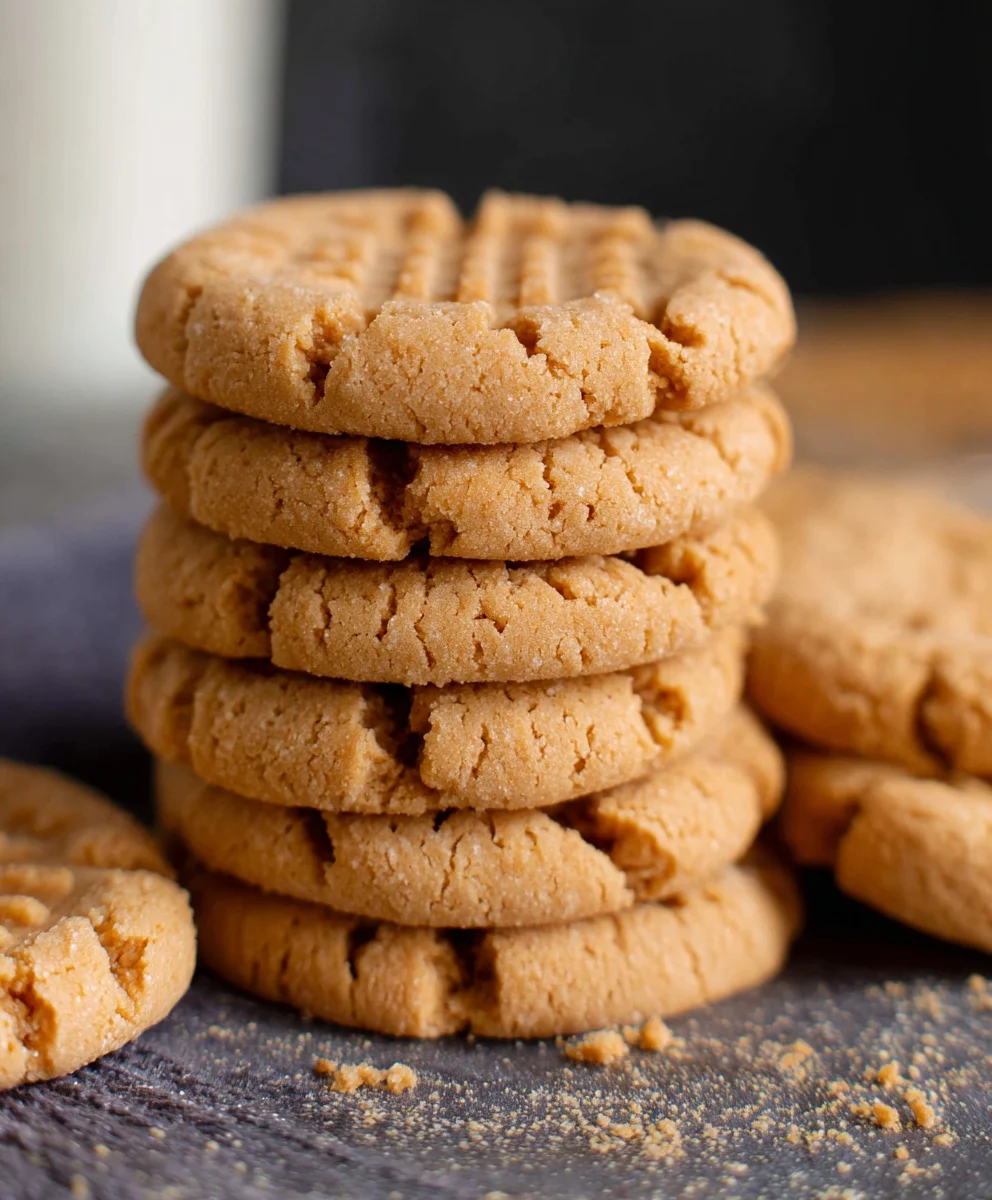
Classic Peanut Butter Cookies are more than just a sweet treat; they’re a comforting hug in cookie form, a nostalgic journey back to childhood kitchens filled with irresistible aromas. There’s a reason why this simple yet profoundly satisfying dessert holds such a special place in so many hearts. It’s the perfect balance of salty and sweet, the delightful crum extractbly texture that practically melts in your mouth, and of course, that unmistakable, rich peanut butter flavor that defines every single bite. What truly makes these classic peanut butter cookies stand out is their inherent simplicity, allowing the quality of the ingredients and the timeless technique to shine. Whether you’re a seasoned baker or just starting out, mastering this recipe is incredibly rewarding, leading to a batch of cookies that will have everyone asking for seconds, and perhaps even thirds!

Ingredients:
- 1/2 cup unsalted butter, softened to room temperature
- 2/3 cup granulated sugar
- 1/3 cup packed brown sugar
- 2/3 cup creamy peanut butter
- 1 large egg
- 3/4 teaspoon baking powder
- 1/2 teaspoon baking soda
- 1/4 teaspoon salt
- 1 1/3 cups all-purpose flour
The Baking Process
Creaming the Foundation
The journey to perfect Classic Peanut Butter Cookies begin extracts with a well-creamed butter and sugar mixture. This step is crucial for developing the cookies’ texture and ensuring they spread evenly during baking. In a large mixing bowl, place your softened unsalted butter. It’s essential that the butter is at room temperature – not melted, but soft enough to indent easily with your finger. This allows it to incorporate air more effectively. Add both the granulated sugar and the packed brown sugar to the bowl with the butter. Use an electric mixer, either a stand mixer with a paddle attachment or a hand mixer, to beat these ingredients together. Start on a low speed to avoid a sugar cloud, then gradually increase to medium-high speed. Continue to beat for about 2 to 3 minutes, or until the mixture is light, fluffy, and pnon-alcoholic ale yellow in color. This process, known as creaming, whips air into the butter and sugar, which will contribute to the cookies’ tender crum extractb and prevent them from being too dense. Scrape down the sides of the bowl occasionally with a spatula to ensure all the butter and sugar are evenly incorporated.
Incorporating the Wet Ingredients
Once your butter and sugar are beautifully creamed, it’s time to add the peanut butter and egg. Add the creamy peanut butter to the bowl. For the best flavor and texture, I recommend using a standard creamy peanut butter. Natural peanut butters can sometimes separate, which might affect the cookie’s consistency, so a processed creamy variety usually yields more predictable results. Beat the peanut butter into the creamed mixture until it’s thoroughly combined. It might look a little curdled at this stage, and that’s perfectly normal. Next, crack in your large egg. Ensure the egg is at room temperature as well, as this helps it emulsify more smoothly into the batter, preventing a greasy separation. Beat again until the egg is fully incorporated and the mixture is smooth and homogenous. This stage is where the distinct peanut butter flavor starts to really come through.
The Dry Ingredient Symphony
Now, we’ll bring together the dry ingredients. In a separate medium bowl, whisk together the all-purpose flour, baking powder, baking soda, and salt. Whisking them together before adding them to the wet ingredients ensures that the leavening agents (baking powder and baking soda) and the salt are evenly distributed throughout the flour. This is vital for uniform rising and even flavor distribution in the final cookies. If you were to just dump the dry ingredients on top of the wet, you might end up with pockets of salt or baking soda, which can result in an uneven texture or a metallic taste in parts of your cookie. Once the dry ingredients are well combined, gradually add them to the wet ingredient mixture. Mix on low speed, or stir with a sturdy spoon or spatula, just until the flour is incorporated and no dry streaks remain. Be careful not to overmix at this stage. Overmixing can develop the gluten in the flour too much, leading to tough cookies. We’re aiming for tender, melt-in-your-mouth cookies, so a gentle hand is key.
Chilling and Shaping for Perfection
The dough for these Classic Peanut Butter Cookies is a bit soft, and chilling it is a crucial step for two main reasons: it makes the dough easier to handle, and it helps the cookies maintain their shape while baking, preventing excessive spreading. Cover the bowl tightly with plastic wrap and refrigerate the dough for at least 30 minutes, or up to 2 days. While chilling, the fats in the dough will solidify, making it firmer and less sticky. Once the dough has chilled sufficiently, preheat your oven to 375°F (190°C). Line baking sheets with parchment paper; this prevents sticking and makes cleanup a breeze. Scoop rounded tablespoons of the chilled dough onto the prepared baking sheets, leaving about 2 inches between each cookie to allow for spreading. Using a cookie scoop will ensure consistent size, which means your cookies will bake evenly.
The Iconic Fork Press and Baking
This is where the magic happens and we create the signature look of a Classic Peanut Butter Cookie. After scooping the dough balls, it’s time for the classic fork-press. Dip the tines of a fork in a little water or lightly grease it to prevent sticking. Gently press down on each dough ball with the fork, first in one direction, then rotate the fork 90 degrees and press down again to create the characteristic criss-cross pattern. This not only gives the cookies their iconic look but also helps to flatten them slightly, ensuring they bake through evenly. Pop the baking sheets into the preheated oven. Bake for 8 to 10 minutes, or until the edges are lightly golden brown and the centers look slightly soft and underbaked. They will continue to set up as they cool on the baking sheet. For that perfect chewy interior and slightly crisp edge, it’s better to err on the side of slightly underbaking than overbaking. Let the cookies cool on the baking sheets for about 5 minutes before transferring them to a wire rack to cool completely. This resting period on the hot baking sheet is important for the cookies to firm up. Enjoy your delicious homemade Classic Peanut Butter Cookies!
Conclusion:
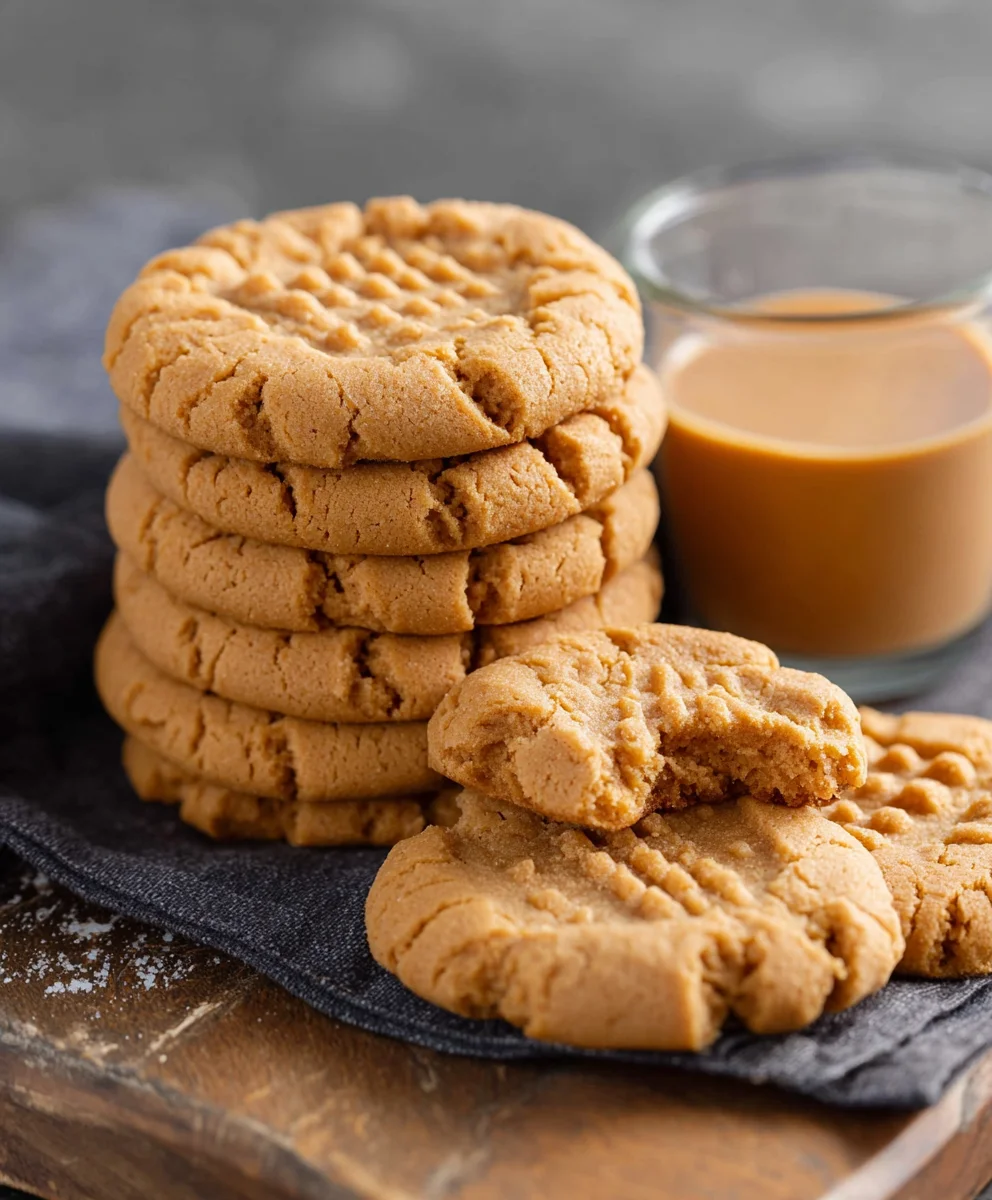
There you have it – the ultimate guide to baking the most delightful Classic Peanut Butter Cookies! We’ve walked through each step, from creaming the butter and sugar to that perfect golden-brown bake. The aroma that fills your kitchen while these are in the oven is truly something special, and the reward of a warm, chewy cookie with that unmistakable peanut butter flavor is simply unmatched. These cookies are incredibly versatile; they’re fantastic on their own, but don’t hesitate to get creative!
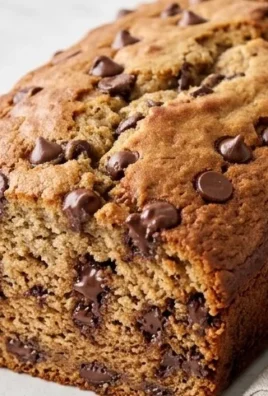
For serving, a tall glass of cold milk is the quintessential pairing, but they also make a wonderful accompaniment to coffee or tea. You can elevate them further by drizzling with melted chocolate or even sandwiching them with a bit more peanut butter for an extra decadent treat. If you’re feeling adventurous with variations, consider adding chocolate chips, a pinch of sea salt on top before baking for a sweet and salty kick, or even a dash of cinnamon to the dough for a hint of warmth.
We hope you feel inspired and confident to bake these Classic Peanut Butter Cookies. The joy of homemade treats is a wonderful thing, and these cookies are sure to become a staple in your baking repertoire. Happy baking!
Frequently Asked Questions:
Q: My cookies spread too much and became thin. What went wrong?
A: This can happen for a few reasons. Ensure your butter was softened but not melted; overly soft butter will cause excessive spreading. Also, chilling the dough for at least 30 minutes before baking can significantly help with preventing spread. Make sure you’re not overmixing the dough once the dry ingredients are added, as this can also contribute to a thinner cookie.
Q: Can I make these cookies vegan?
A: Yes, you absolutely can! For a vegan version of these Classic Peanut Butter Cookies, you can substitute the butter with a vegan butter alternative and use a flax egg (1 tablespoon ground flaxseed mixed with 3 tablespoons water, let sit for 5-10 minutes) or a commercial egg replacer instead of the egg. Ensure your peanut butter is also vegan-friendly, and you’ll have delicious vegan cookies!
Classic Peanut Butter Cookies
Delicious and easy-to-make classic peanut butter cookies with a tender crumb and iconic criss-cross pattern.
Ingredients
-
1/2 cup unsalted butter, softened to room temperature
-
2/3 cup granulated sugar
-
1/3 cup packed brown sugar
-
2/3 cup creamy peanut butter
-
1 large egg
-
3/4 teaspoon baking powder
-
1/2 teaspoon baking soda
-
1/4 teaspoon salt
-
1 1/3 cups all-purpose flour
Instructions
-
Step 1
In a large mixing bowl, beat softened butter with granulated sugar and brown sugar until light, fluffy, and pale yellow. -
Step 2
Add creamy peanut butter and a large egg to the butter mixture. Beat until smooth and homogenous. -
Step 3
In a separate bowl, whisk together all-purpose flour, baking powder, baking soda, and salt. Gradually add dry ingredients to wet ingredients, mixing until just combined. Do not overmix. -
Step 4
Cover the dough and refrigerate for at least 30 minutes to make it easier to handle and prevent excessive spreading. -
Step 5
Preheat oven to 375°F (190°C). Line baking sheets with parchment paper. Scoop rounded tablespoons of dough onto the sheets, leaving 2 inches between cookies. -
Step 6
Gently press each dough ball with a fork dipped in water to create the classic criss-cross pattern. -
Step 7
Bake for 8 to 10 minutes, or until edges are lightly golden brown and centers are slightly soft. Cool on baking sheets for 5 minutes before transferring to a wire rack to cool completely.
Important Information
Nutrition Facts (Per Serving)
It is important to consider this information as approximate and not to use it as definitive health advice.
Allergy Information
Please check ingredients for potential allergens and consult a health professional if in doubt.
Leave a Comment