


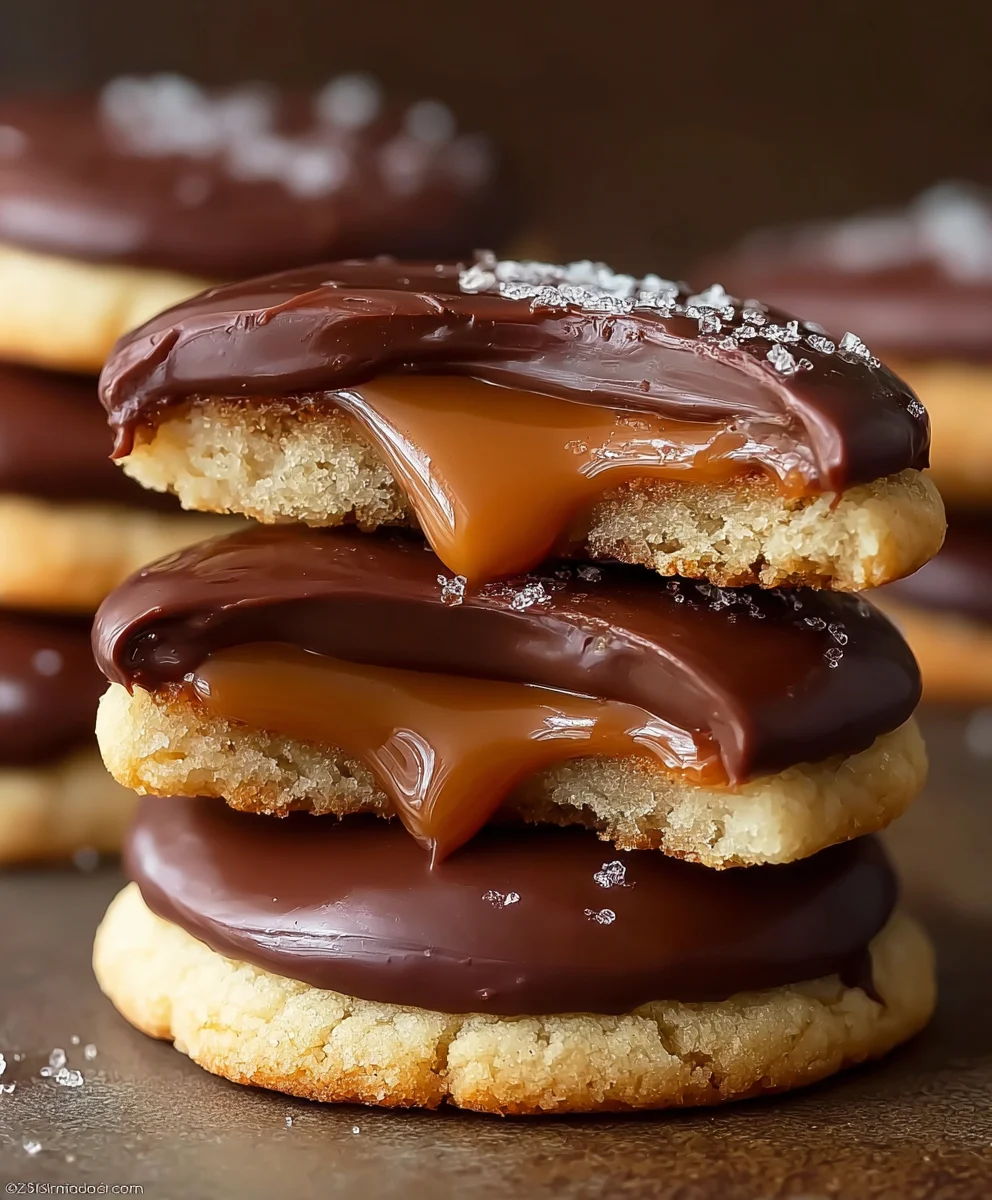
Twix Cookies are not just a treat; they’re a miniature marvel that captures the irresistible essence of everyone’s favorite candy bar. If you’ve ever found yourself craving that perfect harmony of crunchy shortbread, gooey caramel, and smooth chocolate, then get ready, because we’re about to embark on a delicious journey to recreate those iconic Twix Cookies right in your own kitchen. What makes these cookies so incredibly beloved? It’s that delightful textural interplay and the familiar, comforting flavor profile that instantly transports us back to childhood bliss. This recipe is designed to deliver that authentic Twix Cookies experience, but with a homemade touch that elevates it even further. We’ll be diving deep into the secrets that make this recipe so special, ensuring each bite is a perfectly balanced symphony of sweet, buttery, and chocolatey goodness that will have everyone reaching for more. Prepare to impress yourself and your loved ones with these showstopping treats!

Ingredients:
- 1 cup (2 sticks) unsalted butter, softened
- ½ cup powdered sugar
- 1 teaspoon vanilla extract
- 2 cups all-purpose flour
- ¼ teaspoon salt
- 1 cup caramel candies, unwrapped
- 2 tablespoons heavy cream
- 2 cups milk chocolate chips
- 1 teaspoon vegetable oil
Caramel Layer Preparation
To start crafting these delightful Twix Cookies, the first crucial step is to prepare a luscious caramel sauce. This will form the gooey, irresistible center of our cookies. Begin extract by taking your unwrapped caramel candies. You’ll need a full cup of these, which usually amounts to about 20-25 standard caramel squares, depending on their size. Place these unwrapped caramels into a microwave-safe bowl. Add the 2 tablespoons of heavy cream to the bowl. The heavy cream is essential for achieving a smooth, pourable, and wonderfully rich caramel consistency. Microwave the mixture in 30-second intervals, stirring well after each interval. Be patient; you want the caramel to melt completely and become smooth, not burnt. This typically takes about 1 to 2 minutes in total, but oven wattages vary, so keep a close eye on it. Once melted and smooth, set this caramel mixture aside to cool slightly. It should still be pourable but not piping hot.
Cookie Base Creation
Now, let’s move on to creating the buttery shortbread base that will cradle our caramel and chocolate. In a large mixing bowl, cream together the softened unsalted butter and the ½ cup of powdered sugar. Ensure your butter is truly softened, not melted, as this will allow it to incorporate smoothly with the sugar, creating a light and airy texture. Beat these together until the mixture is pnon-alcoholic ale and fluffy. This creaming process is key to a tender cookie. Next, beat in the 1 teaspoon of vanilla extract. Vanilla adds a wonderful depth of flavor that complements both the caramel and chocolate beautifully. In a separate medium bowl, whisk together the 2 cups of all-purpose flour and the ¼ teaspoon of salt. The salt might seem like a small amount, but it plays a vital role in balancing the sweetness and enhancing the overall flavor profile of the shortbread. Gradually add the dry ingredients to the wet ingredients, mixing on low speed or by hand until just combined. Be careful not to overmix the dough at this stage, as overmixing can develop the gluten in the flour, resulting in tough cookies. The dough will be quite stiff.
Assembling the Cookie Layers
Once your cookie dough is ready, it’s time to assemble the layers. Lightly flour your work surface. Take about two-thirds of the cookie dough and roll it out into a rectangle that is approximately 9×13 inches and about ¼ inch thick. This will form the bottom layer of your Twix Cookies. Carefully transfer this dough rectangle to a baking sheet lined with parchment paper. Gently press the dough to ensure it covers the desired area evenly. Now, take your slightly cooled caramel mixture and spread it evenly over the surface of the cookie dough, leaving a small border around the edges. This border will help prevent the caramel from oozing out too much during baking. Once the caramel is spread, take the remaining one-third of the cookie dough and roll it out into a slightly smaller rectangle, roughly 8×12 inches, also about ¼ inch thick. This smaller rectangle will act as the top layer of your shortbread base. Carefully place this second dough rectangle over the caramel layer, gently pressing down to seal the edges. You can use your fingers or a fork to crimp the edges together, creating a neat finish and further helping to contain the caramel.
Baking the Cookie Base
Preheat your oven to 350°F (175°C). This temperature is ideal for achieving a golden-brown, perfectly baked shortbread. Place the assembled cookie base into the preheated oven. Bake for approximately 20-25 minutes, or until the edges of the shortbread are lightly golden brown. You are looking for the cookie base to be cooked through and slightly firm to the touch. Keep a close eye on the bake, as oven temperatures can vary, and you don’t want the shortbread to become too dark or burnt. Once baked, remove the cookie base from the oven and let it cool completely on the baking sheet. This cooling period is essential. Trying to cut or top the cookie base while it’s warm will likely result in the caramel becoming too liquid and the cookie base crum extractbling. Patience here is rewarded with neat, well-defined bars.
Creating the Chocolate Drizzle
While your cookie base is cooling, prepare the luscious milk chocolate coating. In a microwave-safe bowl, combine the 2 cups of milk chocolate chips and the 1 teaspoon of vegetable oil. The vegetable oil is a secret ingredient that helps to thin out the chocolate, making it smoother and easier to drizzle, and also contributes to a glossy finish. Microwave the chocolate in 30-second intervals, stirring thoroughly after each interval, until the chocolate is completely melted and smooth. Again, stir very well to ensure there are no lumps. Once the chocolate is melted and smooth, allow it to cool slightly. It should be warm and fluid enough to drizzle but not so hot that it melts the caramel or the cookie base. Once the cookie base is completely cooled, yogin extractan begin drizzling the melted milk chocolate over the top. You can use a spoon to create a freeform drizzle pattern, or if you have a piping bag with a small tip, you can create more defined lines. Ensure the chocolate covers a good portion of the surface for that authentic Twix Cookie look and taste. Once the chocolate is drizzled, allow it to set completely. You can speed this up by placing the baking sheet in the refrigerator for about 15-20 minutes until the chocolate is firm.
Cutting and Serving
After the chocolate has set, it’s time for the final, satisfying step: cutting your homemade Twix Cookies. Carefully lift the parchment paper with the cookie slab from the baking sheet. Place it on a cutting board. Using a sharp knife, cut the slab into individual bars. For classic Twix bar dimensions, aim for about 1-inch wide by 3-inch long pieces. A sharp knife will ensure clean cuts and prevent the chocolate from cracking excessively. If the chocolate does crack a bit, don’t worry; it will still taste delicious! For the neatest cuts, you might want to wipe your knife clean between cuts. Once cut, your Twix Cookies are ready to be enjoyed. Store any leftovers in an airtight container at room temperature for up to 3 days, or in the refrigerator if your kitchen is particularly warm. These cookies are best when allowed to sit for a few hours after cutting, as this allows the flavors to meld together even further.
Conclusion:
And there you have it – your very own batch of delicious Twix Cookies! We’ve walked through each step, from creating that perfect shortbread base to layering on the gooey caramel and rich chocolate coating, and I truly hope you enjoy making and, more importantly, devouring these delightful treats. These Twix Cookies are fantastic on their own, but they also shine when served alongside a glass of cold milk, or perhaps as a sweet ending to a hearty meal. For an extra special touch, consider dusting them with a little sea salt before the chocolate sets to enhance the flavors.
Don’t be afraid to experiment! You can try different types of chocolate, like dark or white chocolate, or even add a sprinkle of chopped nuts over the caramel before the chocolate. The possibilities are endless, and the joy of baking these Twix Cookies is in making them your own. So gather your ingredients, put on some music, and get ready to impress yourself and your loved ones with these incredible cookies!
Frequently Asked Questions about Twix Cookies:
Q1: Can I make Twix Cookies ahead of time?
Absolutely! Twix Cookies are excellent for making ahead. Once the chocolate has fully set, store them in an airtight container at room temperature for up to 5 days. They tend to be even better on the second day as the flavors meld together.
Q2: My caramel is too runny. What went wrong?
A common issue is not cooking the caramel long enough. For a thicker, more stable caramel, ensure it reaches the firm-ball stage (around 240-245°F or 115-118°C) when tested in cold water. If it’s still too soft, you can gently reheat it for a few more minutes, stirring constantly, until it thickens.
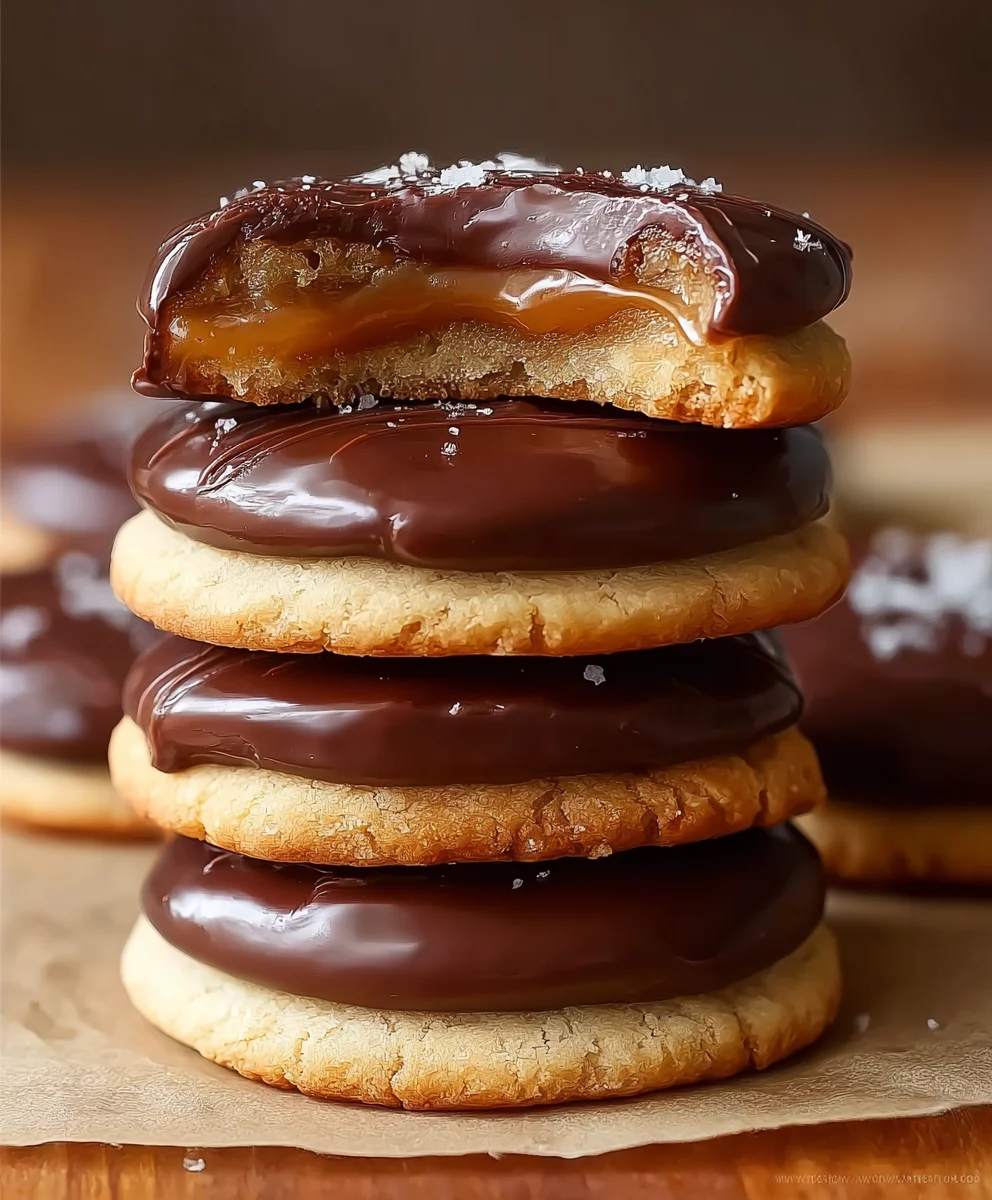
Best Twix Cookies Recipe – Easy Caramel Chocolate Bar Cookies
Recreate the beloved Twix chocolate bar in cookie form with this easy recipe featuring a buttery shortbread base, gooey caramel filling, and rich milk chocolate topping.
Ingredients
-
1 cup (2 sticks) unsalted butter, softened
-
½ cup powdered sugar
-
1 teaspoon vanilla extract
-
2 cups all-purpose flour
-
¼ teaspoon salt
-
1 cup caramel candies, unwrapped
-
2 tablespoons heavy cream
-
2 cups milk chocolate chips
-
1 teaspoon vegetable oil
Instructions
-
Step 1
Prepare the caramel layer by microwaving unwrapped caramel candies with heavy cream in 30-second intervals until smooth and pourable. Set aside to cool slightly. -
Step 2
Create the cookie base by creaming softened butter and powdered sugar until light and fluffy. Beat in vanilla extract. Gradually add flour and salt mixture until just combined, forming a stiff dough. -
Step 3
Assemble the cookie layers: Roll out two-thirds of the dough into a 9×13 inch rectangle and place on a parchment-lined baking sheet. Spread the cooled caramel evenly over the dough, leaving a small border. Roll out the remaining dough into an 8×12 inch rectangle and place it over the caramel, sealing the edges. -
Step 4
Bake the assembled cookie base at 350°F (175°C) for 20-25 minutes, or until the edges are lightly golden brown. Let it cool completely on the baking sheet. -
Step 5
Create the chocolate drizzle by melting milk chocolate chips with vegetable oil in 30-second intervals until smooth. Allow to cool slightly. -
Step 6
Drizzle the melted chocolate over the cooled cookie base. Allow the chocolate to set completely, refrigerating for 15-20 minutes if needed. -
Step 7
Cut the slab into individual bars (approximately 1-inch wide by 3-inch long). Store in an airtight container at room temperature for up to 3 days.
Important Information
Nutrition Facts (Per Serving)
It is important to consider this information as approximate and not to use it as definitive health advice.
Allergy Information
Please check ingredients for potential allergens and consult a health professional if in doubt.


Leave a Comment