


Bakery style chocolate chip cookies are more than just a treat; they’re a nostalgic journey back to simpler times, a warm hug in edible form, and the ultimate crowd-pleaser. Who among us hasn’t been captivated by that irresistible aroma wafting from a local bakery, promising soft centers, slightly crisp edges, and an explosion of rich chocolate? The universal love for these iconic cookies stems from their perfect balance of textures and flavors. They are that comforting classic that never goes out of style. What truly sets these bakery style chocolate chip cookies apart is the meticulous attention to detail that elevates them from ordinary to extraordinary. It’s about achieving that perfect chegrape juicess without being doughy, that golden hue that signifies just the right bake, and, of course, the generous pockets of melted chocolate that make every bite a decadent delight. Get ready to master the art of the ultimate homemade cookie experience.

Ingredients:
- 2 cups minus 2 tablespoons cake flour (228 grams)
- 1 2/3 cups bread flour (217 grams)
- 1 1/4 teaspoons baking soda (5 grams)
- 1 1/2 teaspoons baking powder (6 grams)
- 1 teaspoon salt (6 grams)
- 1 1/4 cups salted butter, softened (10 ounces)
- 1 1/4 cups light brown sugar (275 grams)
- 1 cup plus 2 tablespoons white granulated sugar (226 grams)
- 2 large eggs
- 2 teaspoons vanilla extract (10 grams)
- 1 cup shaved or finely chopped dark chocolate (at least 60% cacao) (146 grams)
- 1 1/2 cups dark chocolate chips (or semi-sweet if preferred) (267 grams)
- 1/4 cup white granulated sugar (for dusting)
- Sea salt, for sprinkling on top
Preparing the Dough
-
Combine Dry Ingredients:
In a medium bowl, whisk together the cake flour, bread flour, baking soda, baking powder, and salt. It’s important to thoroughly combine these dry ingredients to ensure even leavening and distribution of salt throughout your cookies. This initial whisking step helps break up any clumps in the flours and evenly disperses the leavening agents, which is crucial for achieving those perfectly chewy centers and slightly crisp edges that bakery-style cookies are known for. Set this bowl aside.
-
Cream Butter and Sugars:
In the bowl of a stand mixer fitted with the paddle attachment (or using a large bowl and a hand mixer), cream together the softened salted butter, light brown sugar, and the 1 cup plus 2 tablespoons of white granulated sugar. Beat on medium speed until the mixture is light and fluffy, which typically takes about 3 to 5 minutes. This creaming process is key to incorporating air into the dough, contributing to the cookie’s texture and rise. You’re looking for a pnon-alcoholic ale yellow, airy consistency – don’t rush this step! If your butter isn’t softened enough, it won’t cream properly, leading to a denser cookie. Aim for butter that yields slightly when pressed with your finger but isn’t melted.
-
Incorporate Wet Ingredients:
Add the two large eggs to the creamed butter and sugar mixture, one at a time, beating well after each addition until fully incorporated. Scrape down the sides of the bowl as needed to ensure everything is evenly mixed. Next, add the vanilla extract and beat until just combined. The eggs provide structure and moisture, while the vanilla extract adds that quintessential warm, sweet aroma and flavor that makes these cookies so irresistible. Avoid overmixing at this stage; you just want to incorporate the ingredients smoothly.
-
Combine Wet and Dry:
Gradually add the dry ingredients (from step 1) to the wet ingredients (from step 3) on low speed. Mix until just combined and no dry streaks of flour remain. Be careful not to overmix the dough at this point. Overmixing can develop the gluten in the flour too much, resulting in tough cookies instead of tender ones. It’s better to have a few tiny flecks of flour than to overwork the dough.
-
Add the Chocolate:
Gently fold in the 1 cup of shaved or finely chopped dark chocolate and the 1 1/2 cups of dark chocolate chips using a spatula or wooden spoon. We’re folding at this stage rather than mixing with the mixer to prevent breaking up the chocolate too much and to maintain the integrity of the dough’s structure. The combination of finely chopped chocolate and chips provides a delightful variety of textures and melting qualities, creating those perfect pockets of molten chocolate throughout.
Chilling and Baking for Bakery Perfection
Dough Chilling:
Cover the bowl tightly with plastic wrap and refrigerate the dough for at least 24 hours, or up to 72 hours. This long chill time is crucial for developing flavor and texture, allowing the flour to fully hydrate and the sugars to meld, resulting in a deeper, more complex taste. It also helps the cookies spread less during baking, leading to thicker, chewier cookies. While the temptation to bake immediately is strong, trust the process – this step makes a significant difference in achieving that bakery-quality result.
Shaping and Baking:
When you’re ready to bake, preheat your oven to 375°F (190°C). Line baking sheets with parchment paper to prevent sticking and ensure even baking.
Scoop rounded tablespoons of the chilled dough onto the prepared baking sheets, leaving about 2 inches between each cookie to allow for spreading.
For that signature bakery look and taste, lightly press a few extra chocolate chips or small pieces of shaved chocolate onto the tops of the dough balls before baking.
In a small shallow dish, place the remaining 1/4 cup of white granulated sugar. Gently roll the tops of the cookie dough balls into this sugar to create a slightly crisp, caramelized outer layer. This step mimics the beautiful sheen and slight crunch you find on cookies from a professional bakery.
Sprinkle a pinch of sea salt over the top of each cookie dough ball. The salt enhances the sweetness of the chocolate and balances the flavors beautifully, preventing the cookies from being overly sweet.
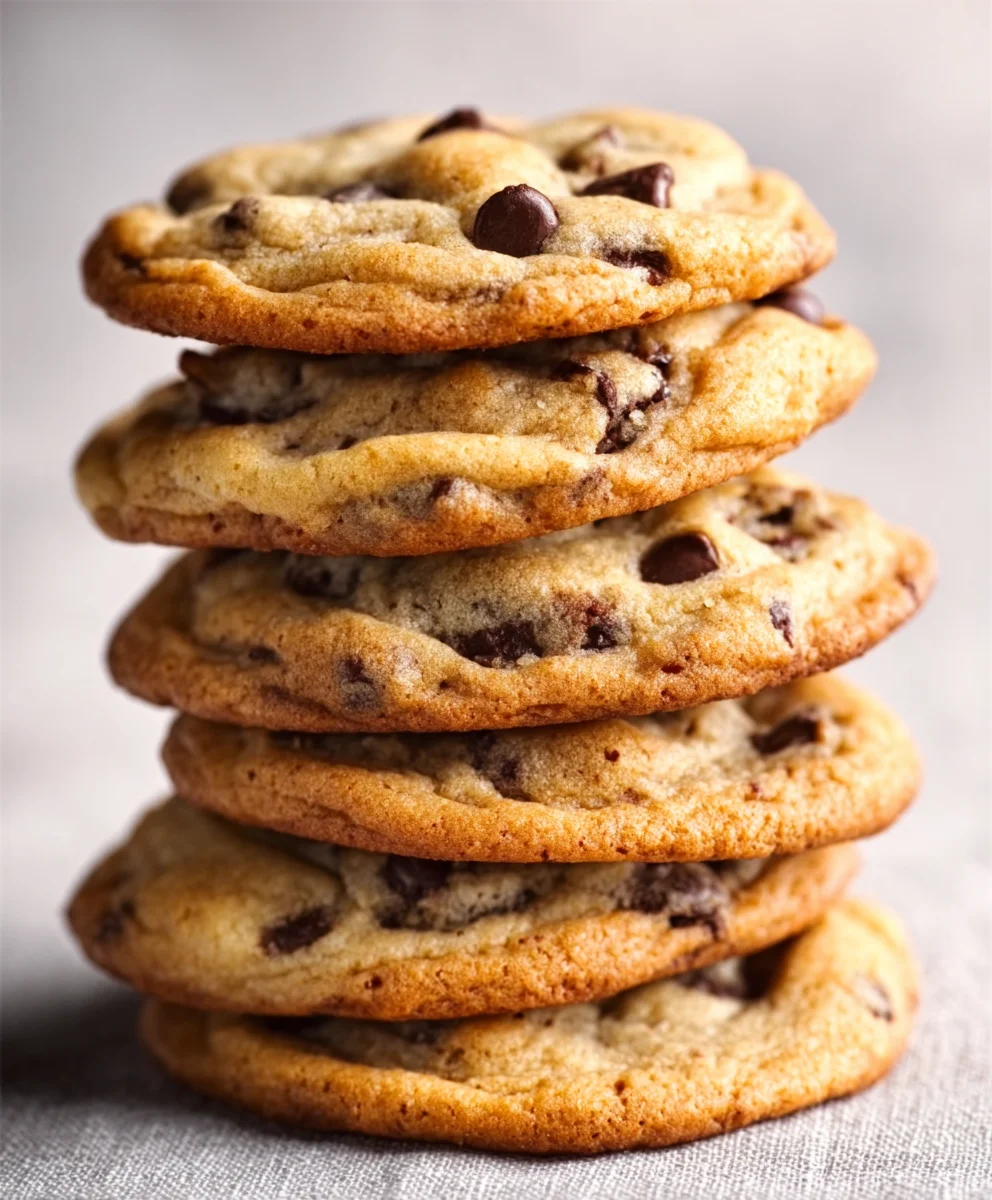
Bake for 10-13 minutes, or until the edges are golden brown and set, but the centers still look slightly soft and underbaked. This is the secret to a chewy interior! They will continue to bake and firm up as they cool on the baking sheet.
Let the cookies cool on the baking sheets for 5-10 minutes before transferring them to a wire rack to cool completely. This resting period allows them to set up properly, preventing them from breaking.
Conclusion:
And there you have it! With these detailed steps, you’re well on your way to baking the most incredible Bakery Style Chocolate Chip Cookies. The key to achieving that perfect chewy center and slightly crisp edge lies in the quality of your ingredients and the precise baking time. Don’t be afraid to experiment with different types of chocolate chips – a mix of semi-sweet and dark chocolate can add wonderful depth of flavor. These cookies are fantastic on their own, but they truly shine when served warm with a glass of cold milk, a scoop of vanilla ice cream, or even as part of a decadent dessert platter. We encourage you to make a batch this weekend and share the joy with friends and family. Happy baking!
Frequently Asked Questions:
How do I get my Bakery Style Chocolate Chip Cookies to be flat and chewy?
For flatter, chewier cookies, ensure your butter is fully softened but not melted. Creaming it with the sugars for a good 3-5 minutes until light and fluffy is crucial. Also, avoid over-mixing the dough once the flour is added. Over-mixing develops gluten, which can lead to tougher, puffier cookies. Chilling the dough for at least 30 minutes before baking can also help prevent excessive spreading, but for that classic bakery spread, don’t chill for too long. Baking them at the recommended temperature for the shorter end of the time range will also yield a chewier result.
Can I make Bakery Style Chocolate Chip Cookies ahead of time?
Absolutely! Cookie dough can be made ahead and stored in the refrigerator for up to 72 hours, or frozen for up to 3 months. If refrigerated, the dough will become firmer, which can even enhance the flavor development. If frozen, simply thaw the dough overnight in the refrigerator or let it sit at room temperature for about an hour before scooping and baking. Baked cookies can be stored in an airtight container at room temperature for up to 3-4 days.
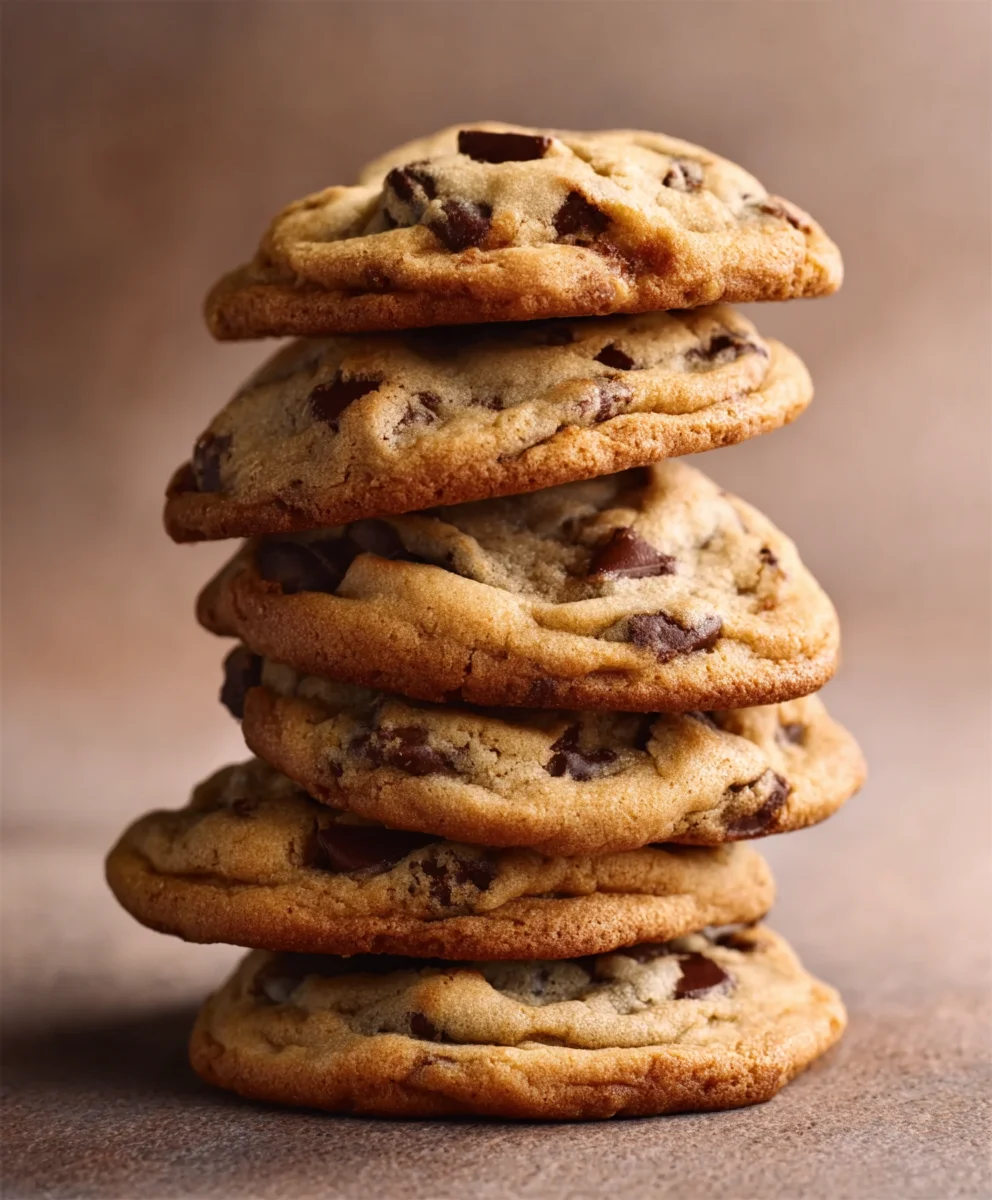
Bakery-Style Chocolate Chip Cookies-Perfect Homemade Treat
Achieve bakery-quality chocolate chip cookies at home with this recipe, featuring a perfect balance of chewy centers and slightly crisp edges.
Ingredients
-
2 cups minus 2 tablespoons cake flour (228 grams)
-
1 2/3 cups bread flour (217 grams)
-
1 1/4 teaspoons baking soda (5 grams)
-
1 1/2 teaspoons baking powder (6 grams)
-
1 teaspoon salt (6 grams)
-
1 1/4 cups salted butter, softened (10 ounces)
-
1 1/4 cups light brown sugar (275 grams)
-
1 cup plus 2 tablespoons white granulated sugar (226 grams)
-
2 large eggs
-
2 teaspoons vanilla extract (10 grams)
-
1 cup shaved or finely chopped dark chocolate (at least 60% cacao) (146 grams)
-
1 1/2 cups dark chocolate chips (or semi-sweet if preferred) (267 grams)
-
1/4 cup white granulated sugar (for dusting)
-
Sea salt, for sprinkling on top
Instructions
-
Step 1
Combine dry ingredients: In a medium bowl, whisk together cake flour, bread flour, baking soda, baking powder, and salt. Set aside. -
Step 2
Cream butter and sugars: In a stand mixer, cream softened butter with light brown sugar and 1 cup plus 2 tablespoons white granulated sugar until light and fluffy (3-5 minutes). -
Step 3
Incorporate wet ingredients: Add eggs one at a time, beating well after each. Stir in vanilla extract. Scrape down the bowl as needed. -
Step 4
Combine wet and dry: Gradually add dry ingredients to wet ingredients on low speed until just combined. Do not overmix. -
Step 5
Add chocolate: Gently fold in shaved dark chocolate and dark chocolate chips. -
Step 6
Chill dough: Cover and refrigerate for at least 24 hours, up to 72 hours. -
Step 7
Shape and bake: Preheat oven to 375°F (190°C). Scoop dough onto parchment-lined baking sheets. Press extra chocolate on top, roll tops in white granulated sugar, and sprinkle with sea salt. Bake for 10-13 minutes until edges are golden brown and centers are slightly soft. -
Step 8
Cool: Let cookies cool on baking sheets for 5-10 minutes before transferring to a wire rack to cool completely.
Important Information
Nutrition Facts (Per Serving)
It is important to consider this information as approximate and not to use it as definitive health advice.
Allergy Information
Please check ingredients for potential allergens and consult a health professional if in doubt.

Leave a Comment